

The drawer knobs on the large drawer in the Ellis organizer are circled with inlaid maple rings. The 1⁄4" hole you drill for the knobs are also used with a small router trammel you see to the right to make the groove in the drawer front for the inlay. (The main article shows making the groove in the drawer front for the ring.) Here you’ll make the rings that fit in the groove.
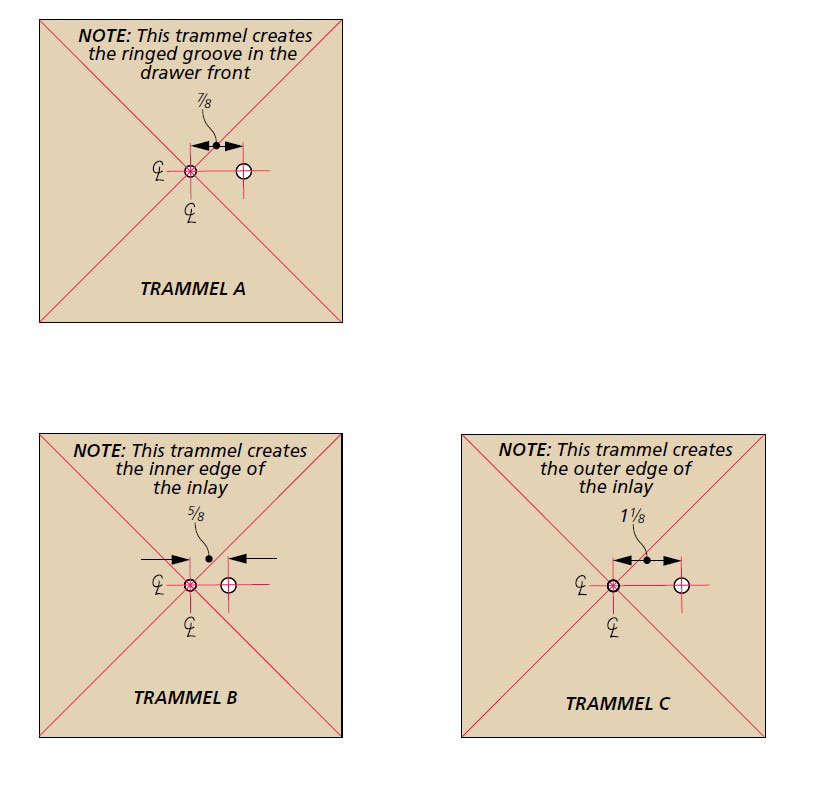
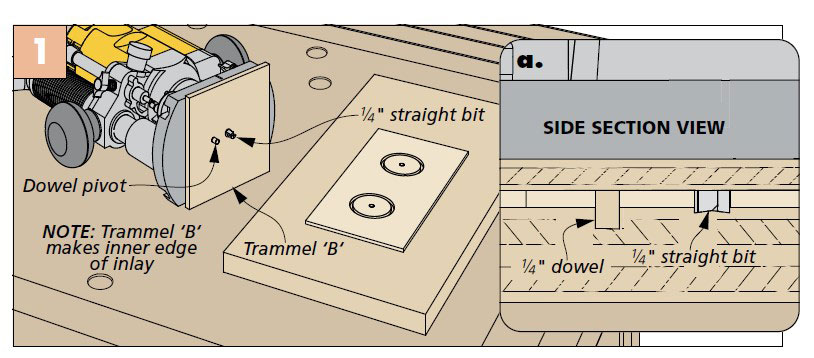
TWO MORE TRAMMELS. The other two trammels define the inner and outer edge of the inlay piece. Like the first trammel, each have a 1⁄4" dowel that fits into the screw hole and an opening for a 1⁄4" straight bit. (They’re attached to the router base with double-sided tape.) Start by planing the maple to final thickness. (Leave in the inlay a little thicker than the depth of the groove in the drawer front.) Figure 1 below shows the setup. The maple is attached to a sacrificial board with double-sided tape. At the drill press, drill holes for the dowel in the trammels. To make the inner edge of the ring attach trammel ‘B’ to the base. Detail ‘a’ shows the router bit set deep enough to cut through the inlay.
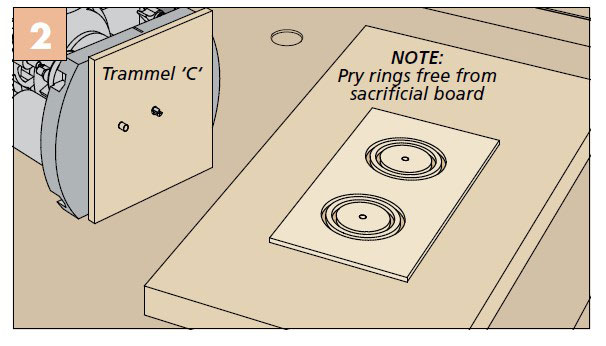
Switch out to trammel ‘C’ to cut the outer edge of the inlay. Figure 2 shows this step completed. Now you can gently pry the rings free. After gluing the rings in place, sand them flush to the surface of the drawer front.


