


How to Rout Perfect Circles with a Router Trammel
Cutting a perfect circle in wood can be a challenge, especially when the project calls for both inside and outside curves. A band saw can get you close, but if you want a smooth, accurate circle right off the tool, a router and a simple trammel are hard to beat.
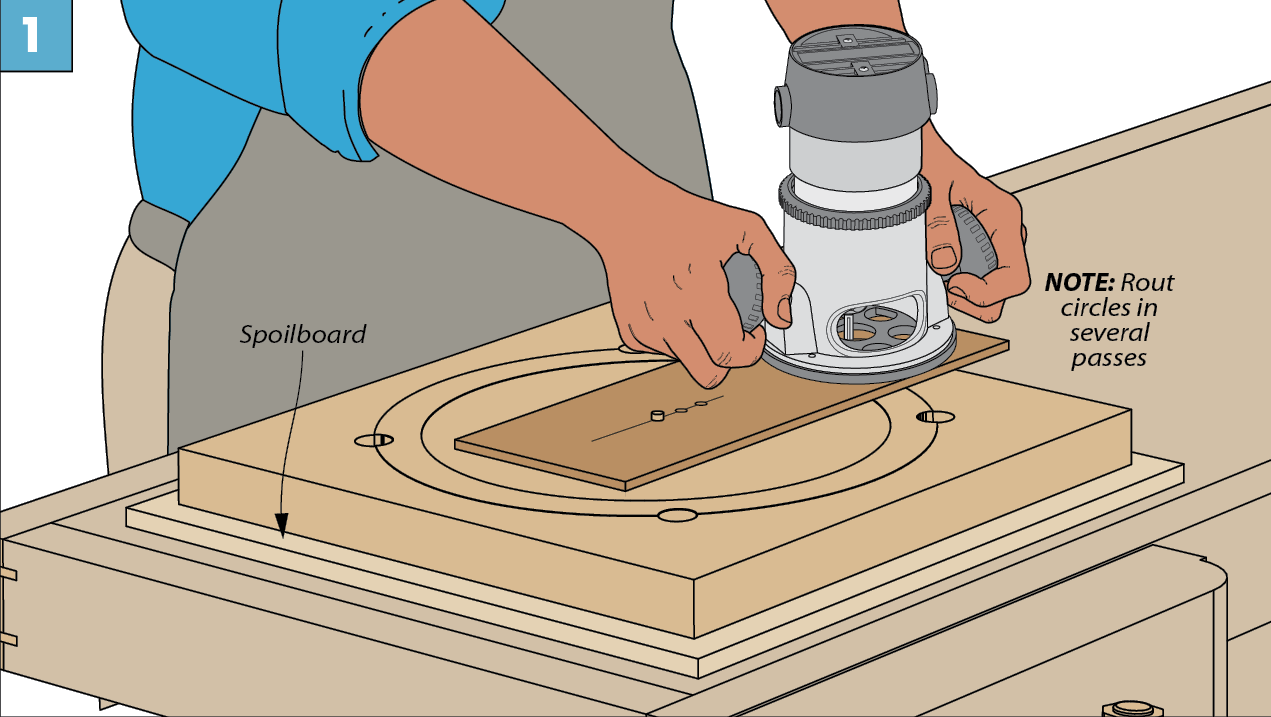
When we built the Occasional Stool featured in Woodsmith Issue 269, several of the parts required precise circular cuts. The solution was a shop-made router trammel that made it easy to rout the outside perimeter, cut an interior opening, and create a groove for a reed spline.
A router trammel works much like a large compass. It's simply a long, narrow arm attached to the router, with a pivot point at the center of the workpiece. As the router moves around the pivot, the bit follows a consistent circular path.
Best of all, you can make a trammel from a scrap of plywood or another suitable sheet material.
Make a Simple Router Trammel Jig
A router trammel doesn't need to be complicated. The key is making a sturdy arm that holds the router securely while allowing it to rotate around a fixed centerpoint.
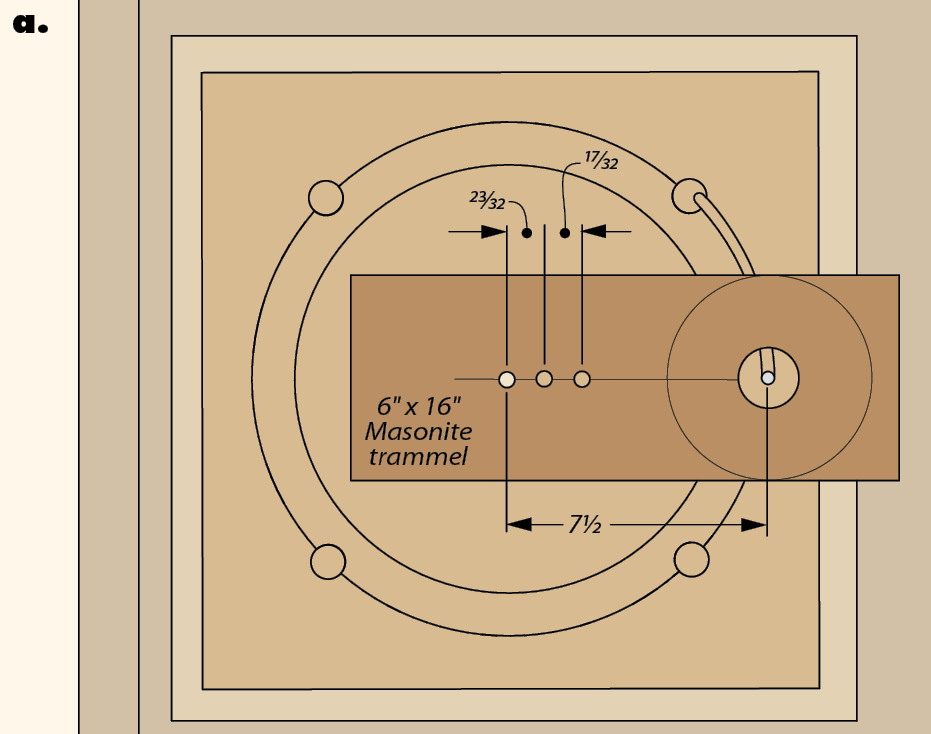
I start by fitting the trammel to the router I'll be using. Once the router's mounting location is established, I drill a clearance hole for the router bit.
From there, I can lay out the pivot holes that determine the size of the circles.
Position the Pivot Holes
The pivot point is what makes the trammel work. A dowel passes through a hole in the trammel and into a matching hole at the center of the workpiece.
The distance between the pivot and the router bit determines the radius of the circle.
Keep in mind that the finished diameter also depends on the diameter of the router bit and whether you're cutting on the inside or outside of the layout line.
For the Occasional Stool, I drilled three pivot holes in the trammel:
- One for routing the outside perimeter of the circular stretcher ring.
- One for routing the groove that holds the reed spline.
- One for cutting and cleaning up the inside opening.
With these holes in place, I could complete all three operations using the same jig.
Set Up the Router for Cutting Circles
Before making a cut, securely attach the router to the trammel using the router's baseplate mounting holes.
The router needs to sit flat on the trammel, with the bit centered in the clearance opening.
Next, locate the center of the circle on your workpiece and drill a hole to accept the dowel pivot pin.
The pin should fit snugly enough to keep the trammel centered while still allowing it to rotate smoothly.
Secure the Workpiece to a Spoilboard
One important step is securing the workpiece before routing.
I like to attach the blank to a spoilboard using double-sided tape. The spoilboard protects the workbench and provides support as the router cuts through the material.
It also helps keep the circular pieces from shifting when the final pass separates them.
Use enough tape to hold both the workpiece and any waste pieces securely. Clamp the spoilboard to the bench, and make sure the pivot remains anchored throughout the operation.
Rout the Outside of the Circle
With the router attached and the pivot pin installed, you're ready to start cutting.
Fit the trammel over the pivot point that establishes the outside diameter. Then move the router around the centerpoint to cut the circular perimeter.
The important thing is to remove material gradually rather than trying to cut through the full thickness in one pass.
I generally limit each pass to about 1/4" of depth, or less if the bit, wood, or router calls for a lighter cut.
Taking shallow passes reduces stress on the router and bit and makes the cut easier to control.
Continue lowering the bit and routing around the circle until you've reached the desired depth.
Rout Grooves and Inside Circles
One advantage of a trammel is that you can use the same setup to create several concentric circles.
After routing the outside perimeter of the stool's stretcher ring, I repositioned the trammel on the pivot hole for the reed spline groove.
This allowed me to rout a consistent circular groove at the required radius.
Finally, I moved the trammel to the pivot hole for the inside opening.
Cutting the Inside Diameter
Routing an inside circle follows the same basic process as cutting the outside.
Set the trammel to the proper radius, then make a series of shallow passes until the waste can be removed.
As you approach the final pass, make sure the center waste piece remains securely supported so it doesn't shift into the spinning bit.
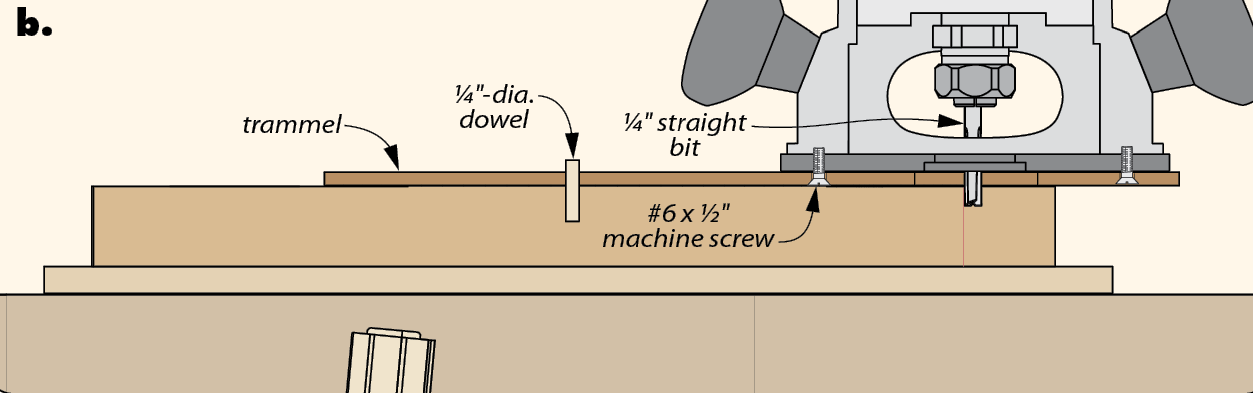
For the smoothest results, maintain steady control of the router and use a feed direction that keeps the bit cutting against its rotation. With a conventional clockwise-spinning router bit, that generally means moving counterclockwise around an outside edge and clockwise around an inside edge.
Tips for Accurate Router-Cut Circles
A few simple habits can make a big difference when routing circles.
Check the radius before cutting. Make a test cut in scrap material if the finished diameter is critical. Remember to account for the router bit's diameter.
Keep the pivot secure. Any movement at the centerpoint can affect the accuracy of the circle.
Use shallow passes. Removing too much material at once can cause chatter, burning, or excessive strain on the router.
Maintain a smooth, steady feed rate. Avoid stopping in one place, which can leave burn marks or uneven spots.
Support the workpiece and waste. Make sure both remain secure, especially when routing completely through the material.
A Simple Jig for Perfect Circles
A router trammel is one of those shop-made accessories that's worth keeping around.
Whether you're making a round tabletop, a circular frame, or a decorative ring, it provides a reliable way to cut accurate circles without spending a lot of time sanding the edges afterward.
And by adding a few extra pivot holes, you can use the same jig to rout concentric circles, grooves, and inside openings.
It's a simple solution that delivers precise, repeatable results.
Put Your Router Trammel to Work
Ready to put your circle-cutting skills to the test? Our Occasional Stool is a great project for practicing router trammel techniques while building a stylish, functional piece of furniture.
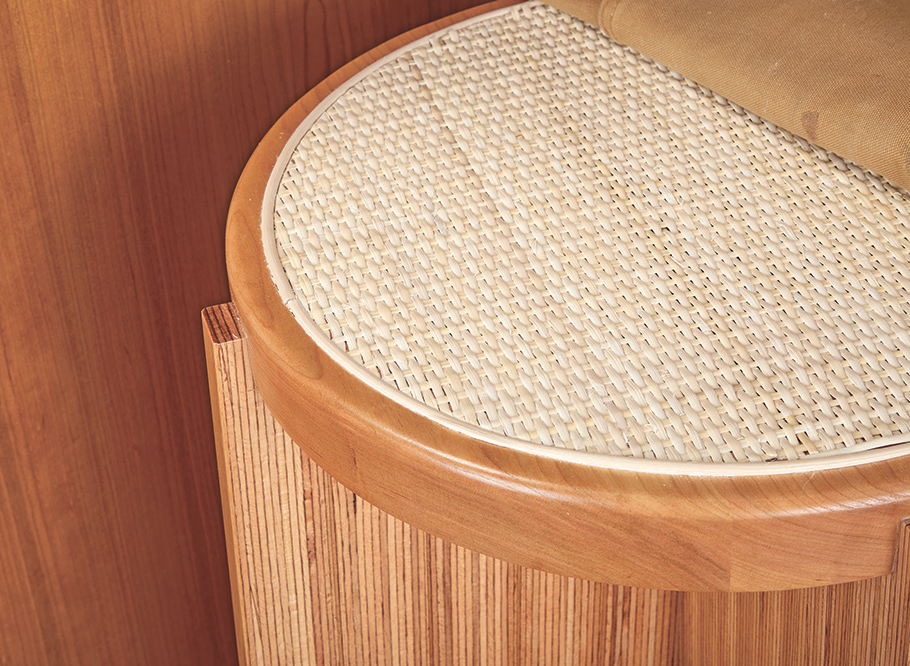
This modern stool combines strong laminated baubuche legs with a contrasting cherry stretcher and a traditional woven cane seat. The circular seat opening and spline groove are perfect applications for the router trammel techniques covered here.
With its clean lines, striking materials, and straightforward joinery, this stool is equally at home beside a kitchen counter, at a bar, or in your workshop.
GET THE STEP-BY-STEP WOODWORKING PLANS → Build an Occasional Stool
Build an Inexpensive Router Trammel
Need a router trammel but don't want to build a dedicated plywood jig? A length of electrical conduit and a few inexpensive hardware-store parts can do the job.

Our Low-Cost Router Trammel tip shows how to make an adjustable circle-cutting jig that doubles as a beam compass for laying out large circles.
MAKE A LOW-COST ROUTER TRAMMEL → Low-Cost Router Trammel & Beam Compass


