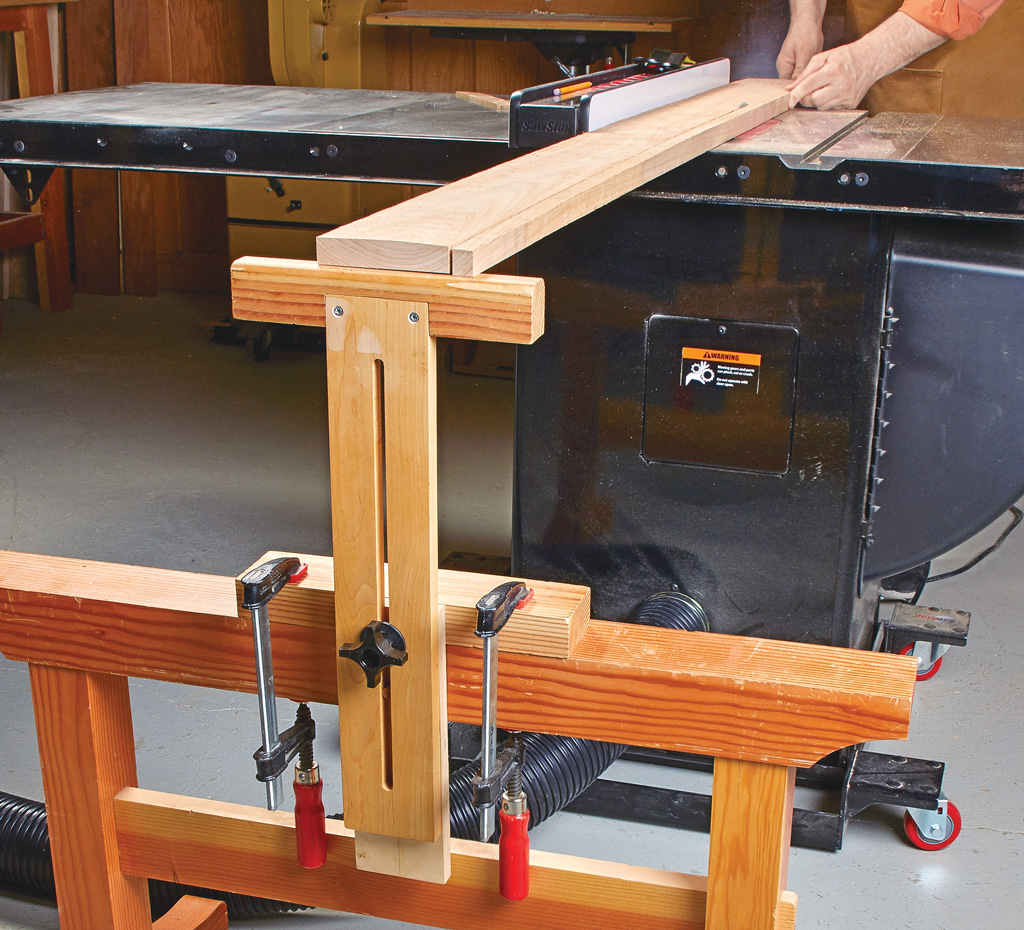
It seems like every time I’m in the shop, I need a thin piece of wood for something. Either as edging for a plywood panel, a spacer, or for a bent lamination project. At first glance, ripping thin strips looks easy. You just set the rip fence, and push the workpiece through the blade. But if you haven’t taken a few key steps first, you might not have a strip that’s the same thickness from end to end.
The first step I take is to make sure I have a sharp combination or rip blade installed. Then I install a zero-clearance insert to prevent the strip from getting into the throat opening. You’ll also want to add a splitter so that the strip doesn’t pinch the back of the blade during the cut and kick back.

One of the best ways to safely rip strips that are less than 30" long is to use a simple push sled that rides against the rip fence. It’s just a piece of plywood with a hardwood cleat attached so it overhangs the edge The workpiece fits into the notch formed by the cleat. Once you have the rip fence positioned to the width of the sled plus the thickness of the thin strip, just slide the sled and the workpiece through the saw blade.

The sled works great for shorter boards. But if you have longer strips to cut, you’ll need a different setup.
If you prefer to have the strips come off the waste side of the blade, you can use a stop block. A wood block and a couple of clamps will work. But some featherboards can be turned around and mounted in the miter slot as well. I clamp the block just in front of the blade at a distance that matches the thickness of the strip. You’ll have to move your fence for each cut. Just move it until the workpiece butts against the stop block without binding the fence.

If you don’t want to move the fence each time you make a cut, then the saddle push block is a better option. This is just a block the same width as your rip fence with a piece of 1/4" hardboard attached to each edge. One side of the block has a notch cut in it. The block straddles the fence as you push the workpiece through the saw blade. So the next time a project calls for thin strips, turn to one of these methods. You’ll get consistent strips ready for glueup.

Related Content Best Log Splitters Best Portable Generators


