It’s tough to beat the quality of a sprayed finish. But outfitting your shop with expensive spray equipment can be a major investment. Fortunately, most popular finishes are also available in aerosol cans. For a fraction of the cost, these “canned” products can provide a finish that rivals one applied with a shop full of spray equipment. Like any finishing task, it’s simply a matter of proper preparation and using the right method.

SURFACE PREP. To get the best results from an aerosol spray finish, you’ll need to start with a little surface preparation on your project. It doesn’t matter if you plane, scrape, or sand, but the surface must be clean and smooth to achieve a high-quality finish. That also means a good vacuuming and wipe-down with a tack cloth, to get rid of the any remaining sanding dust.
A PLACE FOR SPRAYING. After preparing the project, the next step is to find a safe, clean place to spray. It’s not a good idea to spray in your shop unless you have a reliable system for removing the dangerous vapors. I prefer to spray outside whenever possible.
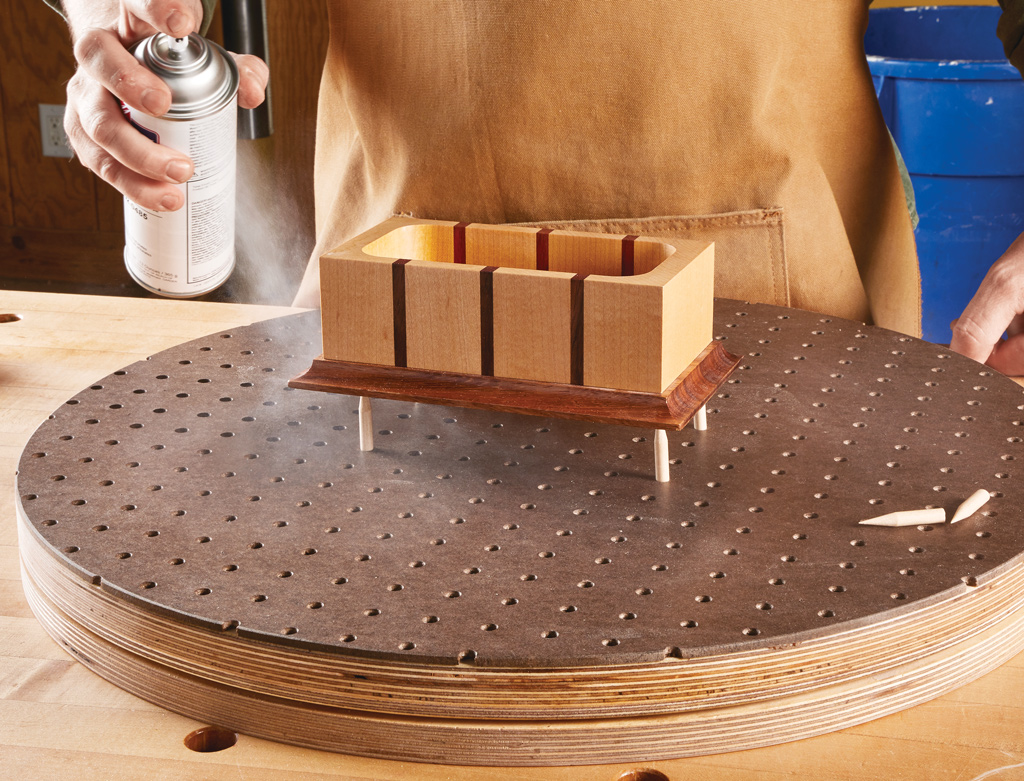
You’ll also want to pick up a few things to make the job easier. The spray handle shown in the main photo is a good example. It makes spraying far less tiring for your trigger finger. A few large sheets of kraft paper are a good idea, too.
THINK IT THROUGH. Before you start spraying, it’s worth taking a minute to make a plan. For instance, for the table shown in the main photo, I started by spraying the inside surfaces first. Then, after inspecting the inside, I was free to focus on the more visible outside surfaces. This “inside then out” technique is a good rule of thumb for most finishing tasks.
IT’S ALL IN THE STROKE. With the preparations complete, you’re ready to apply the first coat. There are a couple of things to keep in mind as you begin. First, the key to a good finish is to build several, thin coats instead of a couple of thicker ones. So when you’re spraying, always keep the stream of spray moving. If you stop, or even move too slowly, the finish can puddle or run.
You can avoid this by starting to spray off to the side of the project and holding down the button until you’re past the opposite edge. The illustration at the top of the opposite page shows you what I mean.
The other thing to keep an eye on is the distance of the nozzle from the workpiece (follow the directions on the can, usually 10"-12"). Swinging your arm in an arc, from side to side, results in being closer at the center of the arc. It may not sound like much, but the consequence is a heavier coat in the middle and less on the outside edges. Try to move side to side while maintaining an equal distance to the workpiece (drawing at right). This is a sure way to maintain even coverage of the surface, without causing runs.

OVERLAP. Finally, pay attention to how far you overlap the spray pattern of each successive pass. For the first coat (where the raw wood will drink up the finish), I usually overlap about half the width of the stroke, resulting in two light coats. The drawings below give you an idea of how to approach the task.
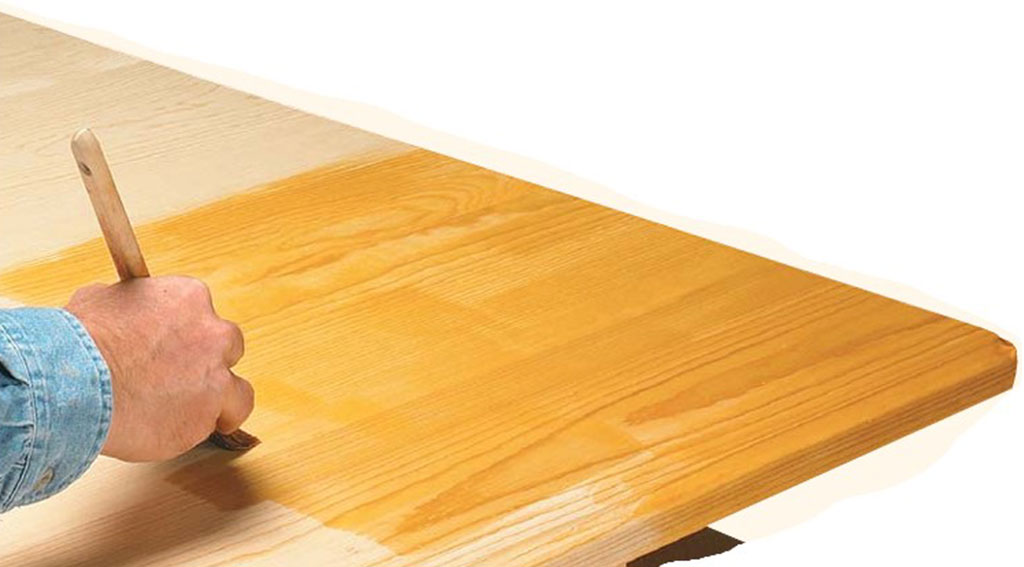
QUICK BUILD-UP. One of the biggest benefits of spraying a finish is how quickly you can apply additional coats. Since a sprayed coat is thinner than a brushed finish (much more of what you’re spraying is solvent), the surface is soon ready for another coat.
Of course, how quickly the finish dries depends on the temperature, humidity level, and the type of finish. Lacquer, for instance, can be ready in less than an hour. Polyurethane may take a bit longer, but still is usually ready for a second coat long before a brushed application of the same finish.

GIVE IT A REST. After the first two or three coats, I like to let the project sit overnight and allow the finish to cure. Then you can give it a light sanding and add another couple of coats. For many projects, this might be all you need.
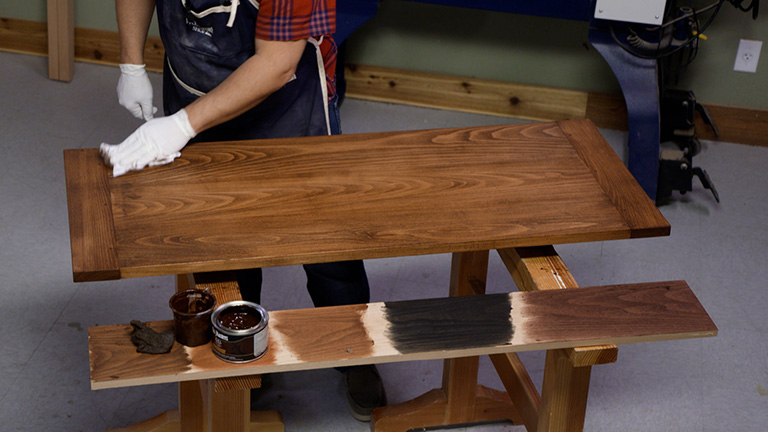
DRAWBACKS. On the downside, aerosols are quite expensive compared to a brush-on finish. This is due to the low yield caused by the high percentage of solvent and the cost of aerosol propellant. Second, you’re limited to common, clear shades. Fortunately, there’s a product that can help out if you need a tinted finish (box below).
For small projects, the convenience is well worth the cost. You’ll find you can get a beautiful finish right out of the can. And the best part is, you won’t have brushes or a spray gun to clean up.
Cool Idea: Preval Sprayer

Although just about all conventional finishes are available in aerosol cans, there are still times when an off-the-shelf finish doesn’t meet your needs. This is especially true if you want to add a tint to your finish. That’s where the Preval sprayer can be a real problem solver.

As you can see in the photos, the Preval sprayer is simply a can of spray propellant that attaches to a glass container. You can mix your own batch of any custom finish and get high-quality results. I found that thinning the finish by about 50% worked best and resulted in a nice, even coat.
Product Recommendations
Here are some supplies and tools we find essential in our everyday work around the shop. We may receive a commission from sales referred by our links; however, we have carefully selected these products for their usefulness and quality.


