My first experience with dovetails involved building a drawer. This is a pretty common introduction for most woodworkers. But when it comes to uses for dovetail joinery, drawer construction is really just one of many. Another very important traditional use for dovetails was for solid-wood case construction. And the advantages and benefits of building with this type of joinery are still valid today.
A COMPARISON. Whether machinecut or hand-cut, dovetails can be more labor intensive than other joinery methods. So the pluses need to justify the extra effort. A simple comparison of joinery techniques should be convincing.
Think of the case for a chest of drawers or a cabinet as a big box — two sides, a top and bottom, and possibly some dividers. One way to join these parts at the corners is with a simple tongue and dado joint, as shown in Figure 1. This joint is quick and easy to cut and to assemble. When you’re using plywood, this option gives you an adequate amount of long grain to long grain gluing surface, and results in a fairly strong joint.
But in solid wood construction, this joint is relatively weak. You have only end grain to long grain gluing surface and little mechanical strength or racking resistance.
Substituting dovetail joinery at the corners, as shown in Figure 2, overcomes all of these weaknesses. First, the sides of the mating pins and tails provides a large amount of good, long grain gluing surface. Second a dovetail creates a strong mechanical lock. Even without glue, the joint has a great deal of holding power. Finally, a dovetail joint is extremely rigid. Once glued, it has a very high resistance to racking forces and results in the strongest possible case.

HALF-BLIND OR THROUGH. The purpose of using dovetail joinery is to create a solidly built and long-lasting case. The box below explains how the dovetails can be configured to accomplish this with a minimum of time and effort.
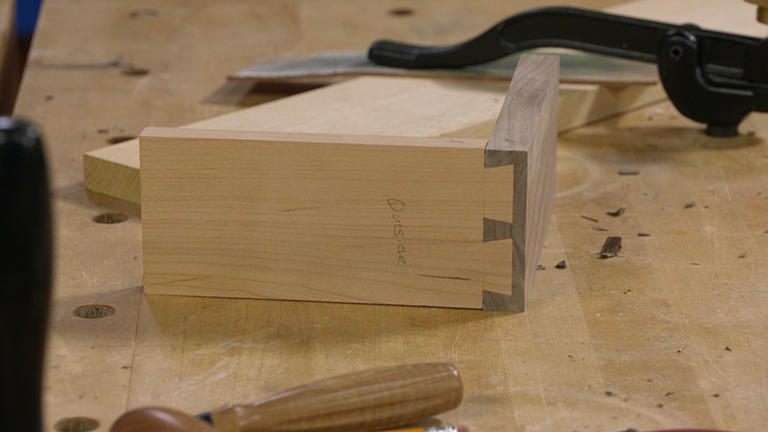
Both half-blind dovetails, as illustrated in the lower right drawing on the opposite page, and through dovetails (upper drawing at right) have a place in case joinery. Halfblind dovetails only show on one surface. This allows you to hide the dovetails under the case top or below the base. The disadvantage is that half-blind dovetails can be more difficult to cut and won’t give you quite as much gluing surface.
Through dovetails can be left exposed and used as an aesthetic detail. Like a molding or a base profile, the joinery is meant to draw attention. This is a common feature of Shaker furniture.
Through dovetails are somewhat easier and less time-consuming to cut than half-blind dovetails. If left exposed, make sure the dovetails are a good fit. Or, they may also be partially or completely hidden beneath an applied molding and a case top (upper right drawing).


DOVETAILED RAILS. Dovetails can also lend themselves to more efficient case construction. If a separate top is going to be added to the case, you can substitute a pair of narrow rails dovetailed into the sides for a full-width panel (middle drawing at right). This arrangement still results in a rigid assembly while saving material and minimizing the weight of the case.
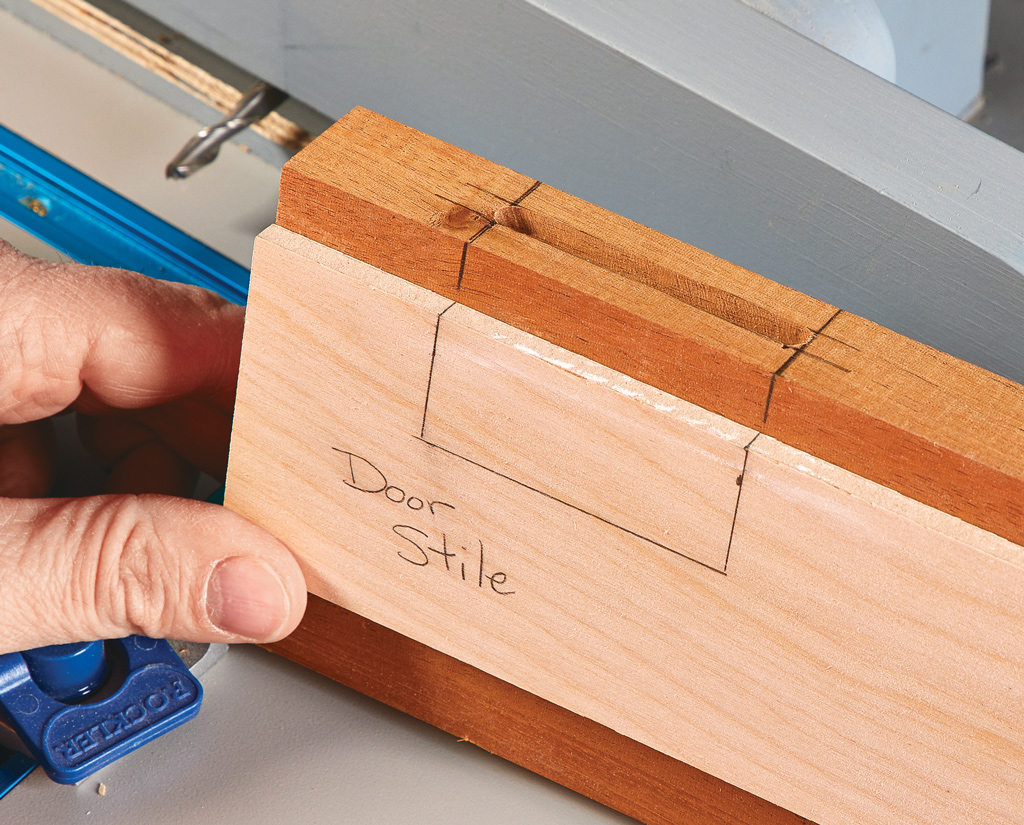
This option works well when the sides of the case are made with frame and panel construction. The narrow top rails are dovetailed into the vertical stiles of the sides.
The drawing shows two small dovetails on the end of the rail. This maximizes the gluing surface. Another option is to cut one large tail and install a woodscrew through it to reinforce the joint.
SLIDING DOVETAILS. Standard dovetails work very well for assembling a case with 90° corners. But what about case dividers or a bottom panel that’s not flush with the ends of the sides. Here, a dado joint can be used, but you won’t get a strong connection. A better choice is a sliding dovetail, as shown in the bottom drawing at right.
The advantage is derived from a strong mechanical lock. At assembly, the dovetailed end of the panel slides snugly into the flared housing creating a strong connection that doesn’t rely on gluing strength.
Knowing how and where to use dovetail joinery in case construction is certainly a valuable tool to master. You can rely on the test of time as the best proof of this.
Dovetail Layout
The drawings at right contrast the layout of drawer dovetails and case dovetails. The pins and tails of drawer dovetails are generally more uniform, as in Figure 1.
Case dovetails can be made with proportionally wider tails — 2 1 ⁄ 2 to 3 times the width of the pins (Figure 2). Cutting fewer tails means less work without sacrificing any strength. And for more holding power, you can lay out the tails with a greater slope, up to 15°.


