

As good-looking as this shop-made torpedo level is, it should be accurate as well. Taking care during the construction process should get you close (or close enough). However, part of this project's magic is its adjustment mechanism. The process is straightforward.

Before getting started on the level, you need a known level surface. My workbench is level. (I checked it with another level in the shop.) You could use shims and a piece of MDF to make a small platform. Again having another level is handy to get this set up.

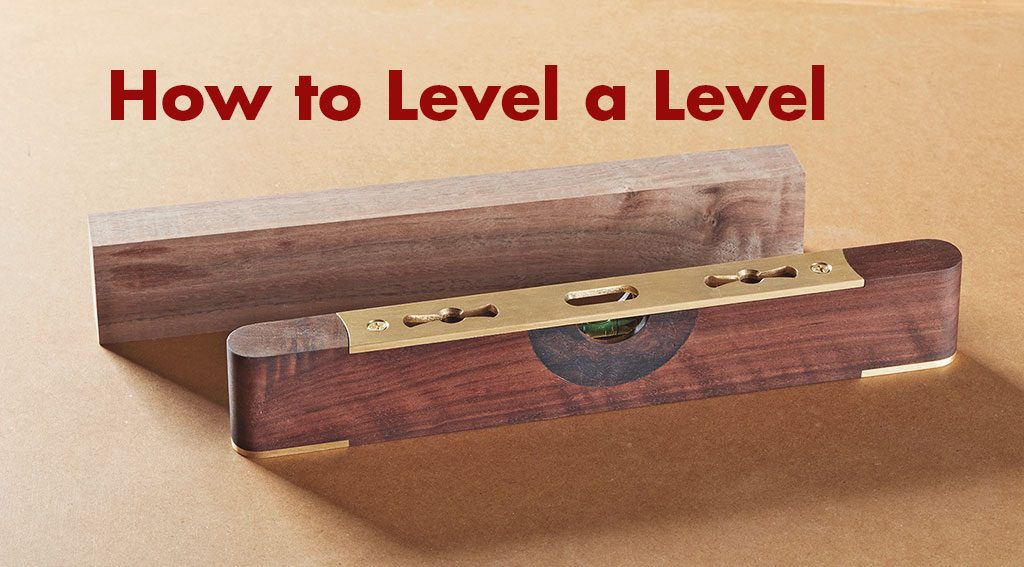
Remove the brass top plate of the level to have access to the vial carriage and its adjustment screws. Turn the screws in small amounts to center the bubble in the vial.

After centering the air bubble in the vial, it’s a good idea to double check the adjustment. To do this, turn the level end for end — the reading should be the same. Once you’re satisfied with the adjustment, simply attach the cover plate with screws.
That's it. The level is good to go. Should it ever become misaligned, simply repeat these steps.


