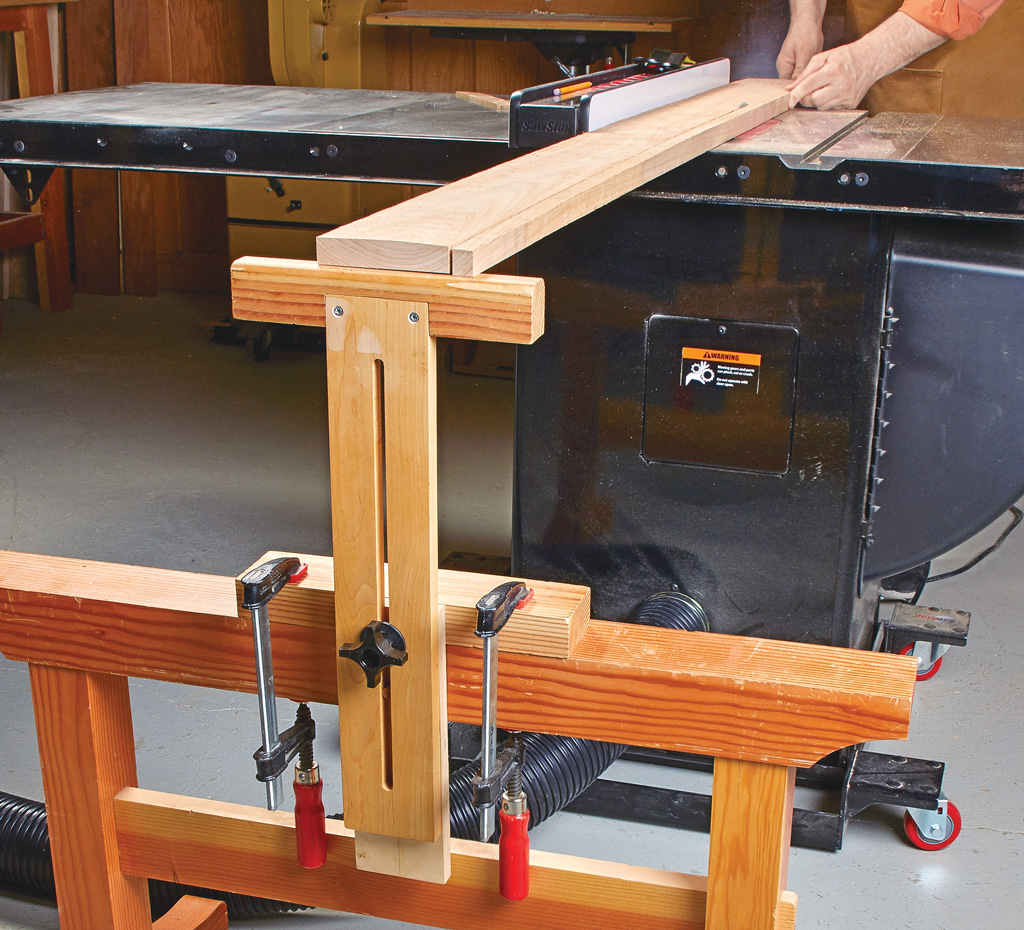
Of all the tools in the shop, the table saw is the one I turn to most often for sizing parts. Since it’s used to cut nearly every workpiece in a project, it’s one of the first tools a woodworker needs to master. And once you do, building square, accurate projects becomes a lot easier.
Fortunately, sizing parts on a table saw isn’t really all that difficult. It generally involves only two types of cuts — rip cuts and crosscuts. But beyond just knowing how to make these cuts, there are a few tips that will ensure all your parts end up straight, square, and accurately dimensioned.
GETTING STARTED. Before turning on the saw, there are a couple of things worth mentioning. First, it’s impossible to get accurate results from a table saw that’s out of adjustment. So if you haven’t done so for a while, take the time to make sure that your saw is tuned up and accurately adjusted.
This includes making sure that the blade is parallel with the miter gauge slots and the rip fence. If it’s not, dig out the manual for your saw and follow the directions for making the needed adjustments.
Second, you’ll want to make sure you have a few necessary tools on hand. You’ll need a quality, steel rule (I prefer an 18" rule), an accurate square, and a reliable tape measure, for measuring longer parts.
HAVE A PLAN. I’ve talked to many woodworkers just starting out who wait to cut each part until the project plans call for it. Or worse yet, they cut all the parts at the outset, and then try to fit them together like some sort of a giant puzzle. Neither of these is a particularly good approach.
Instead, I take the time to study the plans for the project and come up with a strategy for the best way to group and organize the cuts.
For example, if the project has several frame and panel assemblies, I’ll cut all the rails and stiles at the same time, so that like parts all end up the same size.
I also note which parts can be cut straight from the dimensions in the plans and which parts need to be “cut to fit” as the project comes together. This saves a lot of headaches during assembly.
Once you’ve formulated a game plan, you can begin cutting the first parts of your project to size. In most cases, I do this by ripping the stock to width first, and then crosscutting the pieces to length.
RIPPING
When ripping, your primary goal is to end up with a workpiece with two parallel edges that’s also the exact width you need. An accurately adjusted rip fence (see box below) will take care of the width. But in order to get the edges of the board parallel, you first need to create a straight reference edge on one side of the board to ride against the rip fence.
Usually, this is done on a jointer. But if you don’t own a jointer, you can use a “rip and flip” method instead. Set your rip fence about 1 ⁄ 2 " wider than the desired dimension of your workpiece. After ripping one edge, flip the workpiece over, reposition your rip fence to the desired width, and rip the opposite edge of the board.

SPLITTER. One other thing that I find really helpful when ripping is a splitter (see photo above). A splitter not only helps to prevent kickback, it keeps the back of the workpiece from drifting away from the fence as you make the cut. So you end up with cleaner, more accurate cuts.

CROSSCUTTING
Unlike ripping, when it comes to crosscutting, you don’t have an adjustable fence to control the finished size of the workpiece. Instead, you have to rely on careful measuring, marking, and cutting to a line. But there are a couple of ways to make this a little easier.
For starters, I like to use an auxiliary fence with my miter gauge. This makes it easier to maintain control of the workpiece and prevents tearout by backing up the workpiece. A strip of adhesivebacked sandpaper on the face of the fence prevents the workpiece from slipping as you make the cut.

STOP BLOCKS. Most of the time when crosscutting, I need to cut several parts to the same length. Rather than measure and mark each part, it’s much faster and more accurate to use a stop block. For longer parts, I attach the block to the miter gauge fence. For short pieces, I clamp a stop block to the rip fence.
PERFECTLY SIZED PARTS. By following these simple procedures, you’ll end up with accurately sized parts that fit together better. And this means that your projects will go together easily and look great once they’re completed.
Table Saw Tip: Zero-Out Your Rip Fence
Most table saws sold today are equipped with reliable rip fences. But it’s a good idea to periodically check the accuracy of the scale on your rip fence. (This is especially true if you own a left-tilt saw and change blades frequently.)
To zero-out the scale on your rip fence, start by using a rule to set the fence exactly 1" away from the blade (photo believe). Then, check the indicator on the rip fence. If the cursor line doesn’t fall right on the 1" mark of the scale, loosen the attaching screws and shift the indicator over until it does.


