How To Prep Your Wall for a Paint Job

When you’re redoing your place, all you want to do is grab your paintbrush and start painting. But while this job is both soothing and fun at the same time, you have to prepare your walls to extend the paint life. From fixing any small holes to promoting the adherence of your paint, there is a sequence of tasks you have to tackle before grabbing the brush. To help you in the process, here’s a step-by-step guide to preparing your wall for a long-lasting paint job:
Do the Patchwork
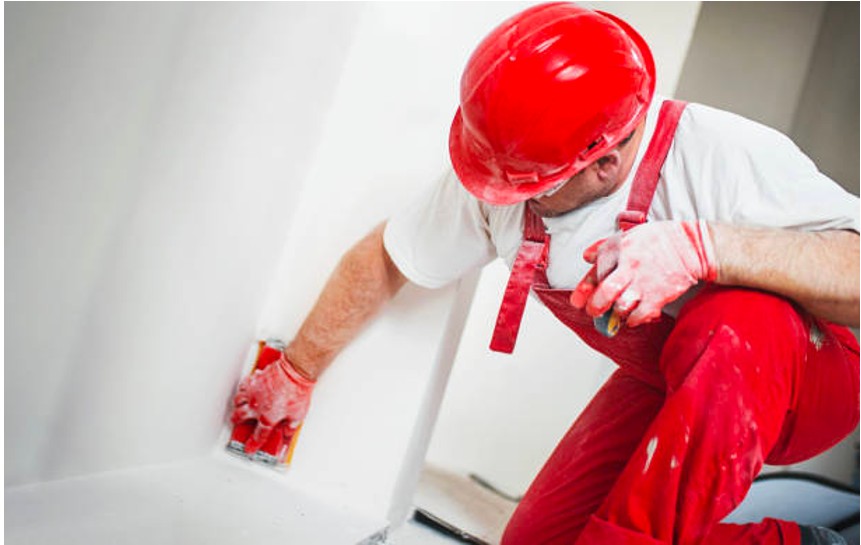
Rough walls having uneven paint are the last thing you want to deal with. To avoid such problems, fill all the tiny holes before starting the paint application. Simply make a putty mixture from the plaster of Paris and spackle it to fill all the voids. Once done, buff it with your drywall sander to make it more adherent and even. Now, when you apply new paint, it will look smooth and not patchy.
Prepare Your Room
If you’re redoing your place, chances are, you will have some furniture in there. To prevent your beloved pieces from getting destroyed by paint splatter, cover them. You can do the job by simply using a plastic sheet or even a car cover. Just make sure that you take all your essentials out of the room so that you won’t have to unwrap everything whenever you want something.
Also, put all the furniture in the middle of the room to expose all four walls. Along the way, designate a corner as your workstation so you can arrange all your tools within reach.
Dust the Walls
When you’re getting ready for a new paint job, make sure to clean your walls properly. Once you go over it with a dust cloth, you’ll realize just how surprisingly dirty they can be. Especially after sanding, you can end up with a mess. To avoid that, make sure your drywall sander is accommodated with a vacuum attachment.
After dry dusting, go over the wall one more time with a damp cloth to make sure there isn’t any leftover dirt. Of course, this process would be much easier if you use a vacuum cleaner for the job. Don’t forget to clean the corners and baseboards as that is where most dust settles down.
Tape Is Your Best Friend
Anyone who’s familiar with paint knows the struggle of getting those perfect lines. Well, you can achieve that easily with some painter’s tape. Apply your tape where you want your lines and take it off once your paint is applied and still tacky. If done correctly, you will be surprised by the results of this hack.
Tape isn’t only effective for creating seamless lines. It also works like a wonder to achieve a professional look around sockets and floors. Simply lay the tape down wherever you don’t want your paint and repeat the prior explained process. That way you’ll get the job done faster with better efficiency.
Caulking
If your walls have gaps between them or the floor, you should consider caulking to avoid such imperfections in the final job. Use a paintable caulk and apply it to fill all the spaces. Once you go over it with paint and let it dry, it’ll look like the gap never existed in the first place.
Don’t Forget the Primer
We know the significance of primer for lighter colors, but it is a crucial step for all paint jobs. No matter what color you’re applying, always start painting with primer. It evens out all the irregularities from your wall and also promotes the adherence of your paint.
Final Words
Painting a wall is not as easy as it seems. A lot of thought goes into this process as you are already living in the space. So when you’re painting your home from scratch or redoing its color, follow the above-mentioned guidelines to get durable results.
