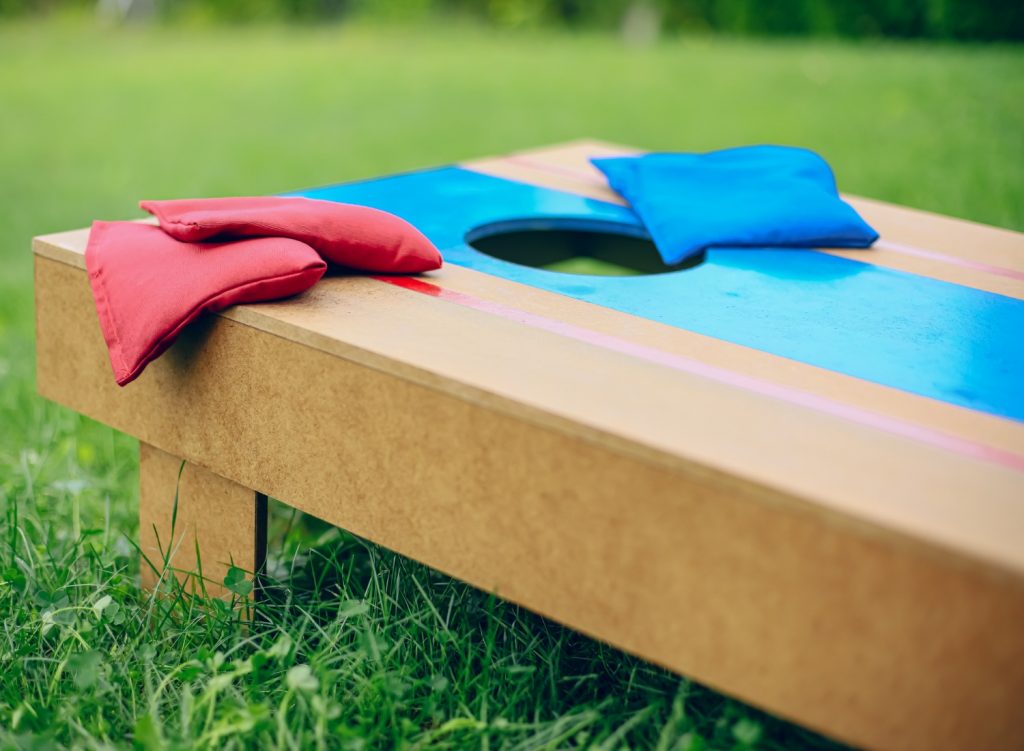
Easy DIY Cornhole Boards: Tips, Specs, and Materials

Cornhole, the classic lawn game that’s a staple of backyard gatherings, tailgates, and picnics, is the perfect addition to any outdoor event. Making your own cornhole boards is not only a fun DIY project but also a fantastic way to personalize your game setup. In this comprehensive guide, we’ll walk you through the process of creating your DIY cornhole boards, from selecting the right materials to following the proper specifications.
By crafting your cornhole boards, you can choose the design, paint scheme, and even the size that suits your preferences. No matter your skill level, these tips, specs, and material suggestions will help you build your cornhole boards with ease.
Gathering the Materials
Start by gathering the materials you’ll need. You’ll require two 2×4 plywood sheets for the playing surfaces. You’ll also need four 2×4 boards, each eight feet long for the frames. Additionally, you’ll need screws, wood glue, a saw, a drill, a jigsaw, a tape measure, and a compass or large circular object to draw the hole template.
Cutting the Plywood
To create the cornhole board playing surfaces, cut the plywood sheets to the standard size of 2 feet by 4 feet each. Measure and mark the dimensions accurately, then use a table saw and table saw fence to make the cuts. You can also use a regular saw as well. Precision in this step is crucial to ensure the playing surfaces fit perfectly within the frames.
Building the Frames
Using the four boards, construct the frames for your cornhole boards. Cut four pieces, each measuring 48 inches in length, for the sides, and four pieces, each measuring 22.5 inches in length, for the ends. Assemble the frame by attaching the sides to the ends using screws and wood glue, creating a rectangle.
Cutting the Hole
To cut the cornhole’s six-inch diameter hole in the playing surface, use a compass or a large circular object as a template. Center the hole nine inches from the top of the board and 12 inches from either side. Trace the template, then use a jigsaw to carefully cut out the hole. Sand the edges to ensure a smooth, even surface.
Attaching the Playing Surface
Secure the playing surface (plywood sheets) to the frame using screws. Place the frame face down on a flat surface, apply wood glue along the edges, and lay the plywood on top. Align the edges and corners precisely, then screw the plywood to the frame, ensuring a secure and flush fit.
Sanding and Smoothing
After attaching the playing surface, sand the entire board to create a smooth and even playing surface. Pay particular attention to the edges around the hole and any rough spots. Smoothing the boards will prevent bags from catching or bouncing unevenly during play.
Painting and Customizing
This is where your creativity shines. You can paint the cornhole boards in your favorite colors, add your own design, or even personalize them with your family name or a team logo. Consider using outdoor paint and a clear sealant to ensure your design withstands the elements.
Adding Legs
For portability and easy storage, add folding legs to the back of your cornhole boards. Use metal brackets or hinges to attach the legs securely to the frame. This feature allows you to prop the boards at the regulation height for gameplay and fold them down for storage.
Measuring for Regulation Play
For official cornhole gameplay, ensure your boards meet regulation standards. The playing surface should measure 2 feet by 4 feet, and the hole should be 6 inches in diameter. The front of the board (the playing surface side) should be slightly elevated, generally 2 to 4 inches from the ground.
Conclusion
Building your DIY cornhole boards is not only a fun and rewarding project but also a great way to personalize your outdoor game setup. By following these tips and specifications, you’ll have well-crafted boards that provide hours of entertainment at your next gathering, picnic, or tailgate party.
