Whether it’s for joinery or adding a decorative profile to the edge of a workpiece, I use my router table on just about every project. And there are few things more frustrating when using the router table than hearing the splintering sound of tearout. It’s usually a signal that I’m going to be in for a lot of sanding or that I’m going to have remake a part.
Fortunately, aside from starting with a good, sharp bit, there are several steps you can take to prevent tearout from happening. Here’s a look at five, simple strategies that I use in my shop for combating tearout on the router table.
Read the Grain

Just like the fur on the back of a cat, the grain along the edge of a board tends to run in one direction. If you feed the workpiece into the bit “against the grain,” the odds of experiencing tearout greatly increase.

So whenever I have a choice on which edge of a board I’m routing, I take a look at the workpiece to “read” the grain before feeding it into the router bit. To minimize tearout, the grain should run off the edge of the board in the same direction as the rotation of the bit, as shown in the drawing below.
Shallow Passes
You may have noticed that tearout seems to occur more often when you’re taking a heavy cut. If you try to “hog off” too much material in one pass, the bit tends to pull out large chunks from the workpiece. A good way to avoid this problem is to rout the profile in multiple, shallow passes.

Usually, I’ll set the bit to the correct height and use the fence to control the depth of cut (see drawing). I start with the fence positioned for a light cut. Then I gradually move the fence back between passes. Taking shallow passes removes less material at a time, giving you a smoother cut with minimal tearout.
Back It Up
Without a doubt, the worst situation for tearout on a router table is when you’re routing across end grain. As the bit exits the cut, it’s almost guaranteed to pull large splinters out of the trailing edge of the workpiece, as shown in the upper drawing at right.

There are a couple of ways to deal with this problem. If I’m routing across all four edges of a workpiece, the easiest solution is to simply rout the ends of the workpiece first. This way, the areas of end grain tearout on the workpiece will be cleaned up when you rout the long edges.

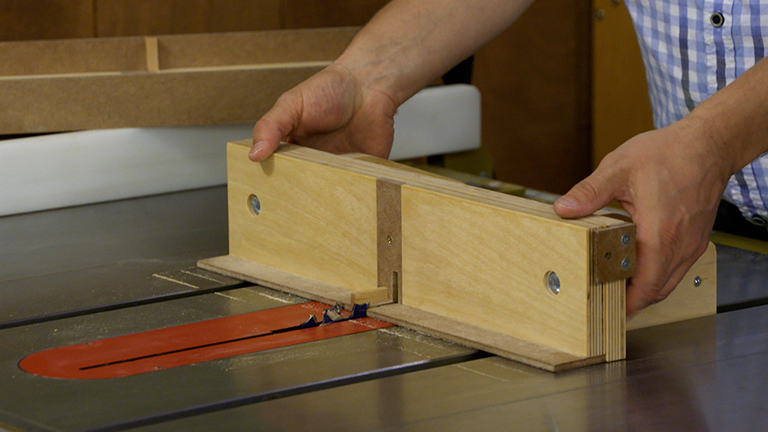
BACKER BOARD. One other method of avoiding end grain tearout is to use a backer board. This is nothing more than a scrap piece of wood that is held against the back edge of your workpiece as you push it past the bit. (I actually rout into the backer board for about an inch or so, as you can see in the lower drawing below.)
The backer board supports the wood fibers as the router bit exits the cut, preventing tearout.
Reduce the Opening
Another way to control tearout is to provide support for the workpiece as close to the edge of the bit as possible. Some router table fences have adjustable faces that allow you to adjust the size of the opening to match the bit you’re using. But for even more support, you can make a “zero-clearance” auxiliary face for your router table fence.

Simply trace the bit profile onto a piece of hardboard and cut it out with a scroll saw or jig saw. Then, attach the auxiliary face to your router fence with double-sided tape.
The reduced opening provides back-up support to the edge of the workpiece, all the way up to the router bit.
Backrouting
One task that I frequently rely on my router table for is cutting rabbets. And I find that it’s pretty common to get tearout along the upper shoulder of the rabbet. This kind of tearout has a lot to do with the direction that the workpiece is fed into the router bit.

When routing in the “normal” direction on a router table (from right to left), the cutting edges of the bit remove material from the workpiece as they exit the cut. As a result, the bit tends to chip fibers along the edge of the workpiece.
But by feeding the workpiece into the bit from the opposite direction (backrouting), the bit is cutting as it enters the workpiece. So you’ll eliminate most tearout.

The only problem with backrouting on a router table is the tendency for the bit to grab the workpiece and pull it forward, or kick it out away from the fence. This is especially true when taking a heavy cut using a large bit. However, if done safely, there are occasions when backrouting can really help to avoid tearout.
The trick to backrouting safely is to take a very light pass (about 1 ⁄ 32 " deep), as shown in the upper drawing at right. This initial pass establishes a clean, crisp upper shoulder for the rabbet. Once this is done, you can remove the rest of the waste by routing in the opposite direction, just as you see in the lower drawing at right.