A belt sander doesn't have to be complicated to be effective. A sanding belt stretched over a pair of rollers and backed by a flat platen can remove an impressive amount of material in a hurry. But that simplicity also means that a few small details can have a big effect on the results.
If your belt sander isn't performing as well as you'd like, don't assume you need a new machine. Checking the platen, dialing in the belt, making better use of the speed control, and improving dust collection can make an older sander easier to control and more effective.
Here are five areas worth looking at before you retire a belt sander that's still got plenty of life left in it.
1. Check the Platen for Flatness
One of the most important parts of a belt sander is also one of the easiest to overlook.
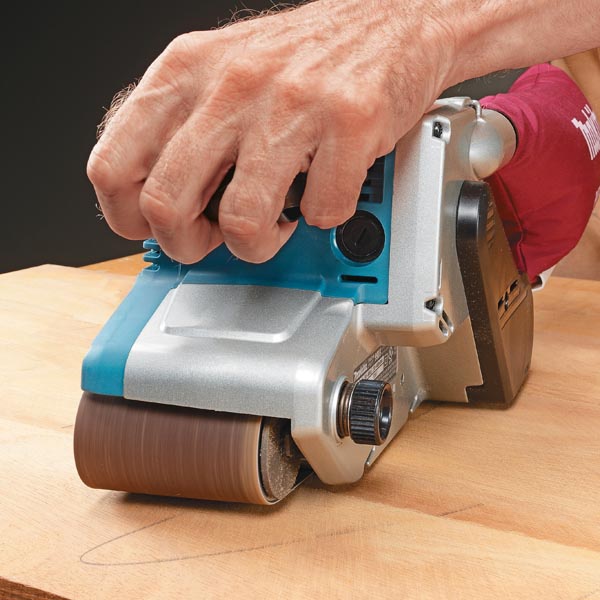
The platen is the plate underneath the sanding belt that supports the belt as it passes over the workpiece. Since a belt sander removes material aggressively, the condition of the platen can have a noticeable effect on the surface you're trying to flatten.
A platen that's warped, buckled, or damaged won't provide consistent support behind the sanding belt. Instead of producing a flat surface, the sander may follow the irregularities in the platen.
So if you're having trouble getting consistently flat results, the platen is one of the first places to look.
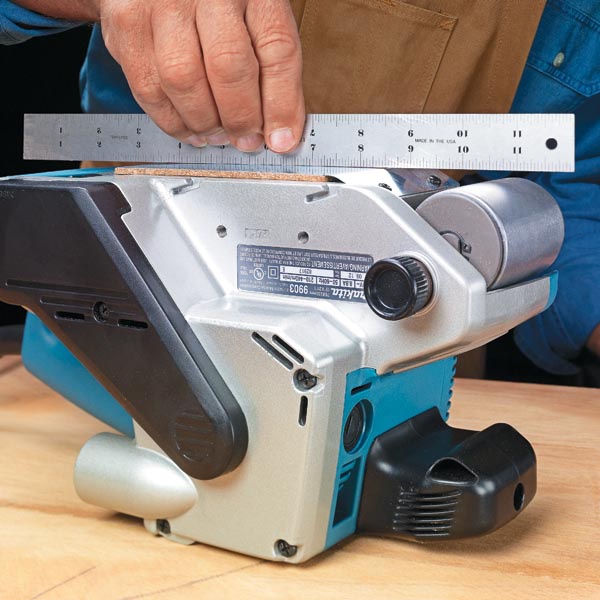
Metal platens are common, but thin metal can become distorted. If yours is no longer flat, replacing it—or upgrading the platen material—may improve the performance of the sander.
2. Upgrade to a Graphite Platen
One upgrade worth considering is a graphite platen.
Graphite provides a smooth, durable backing surface for the sanding belt and stands up well to the heat generated during sanding. It also reduces friction between the moving belt and the platen.
That can provide a couple of advantages. The flat backing helps support the sanding belt consistently, while reduced friction helps control heat buildup.

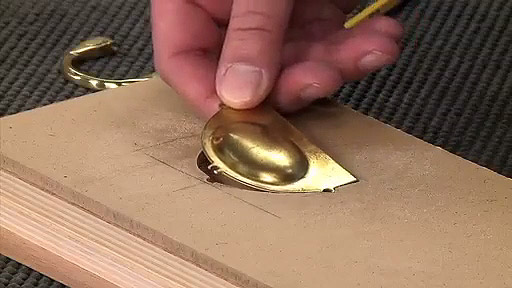
Graphite platen material is available in rolls or sheets and can be cut to fit a sander. The existing platen can serve as a pattern for sizing the material and locating any necessary mounting holes.
Installing a Graphite Platen
The exact installation will depend on your belt sander, so check the manufacturer's instructions before modifying the platen assembly.
The basic process is straightforward. Cut the graphite material to match the platen, transfer any required mounting locations, and install it so the sanding belt has a smooth, flat surface to run against.
Woodsmith Tip: Start With a Flat Foundation. A graphite platen won't compensate for every problem underneath it. Before installing an upgrade, inspect the platen assembly and make sure the supporting parts are secure and in good condition.
3. Keep the Sanding Belt Running True
For a belt sander to work properly, the sanding belt needs to remain centered as it travels around the rollers.
A belt that wanders can rub against the sander housing or move too far off the platen. Either situation can damage the belt and interfere with sanding.
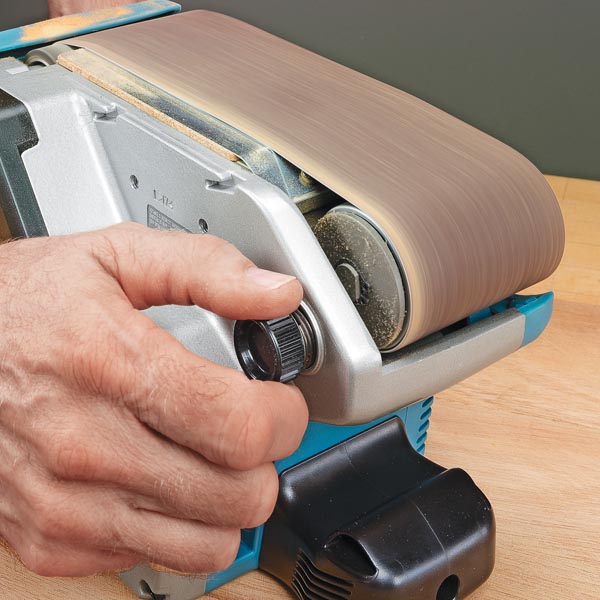
After installing a sanding belt, check its position and use the sander's tracking adjustment to keep it centered.
Make small adjustments rather than making a large correction all at once. The goal is simply to have the belt running consistently over the platen without wandering from side to side.
Woodsmith Tip: Check Every New Belt. Don't assume a replacement belt will track exactly like the one you removed. Take a moment to check the tracking whenever you install a new sanding belt.
4. Use Variable Speed for Better Control
Belt sanders excel at aggressive stock removal, but maximum speed isn't always the best choice.
If your sander has variable speed, use it to match the cutting action to the task. High belt speed is useful when you need to remove material quickly. Slowing the belt gives you more control when you don't need such an aggressive cut.
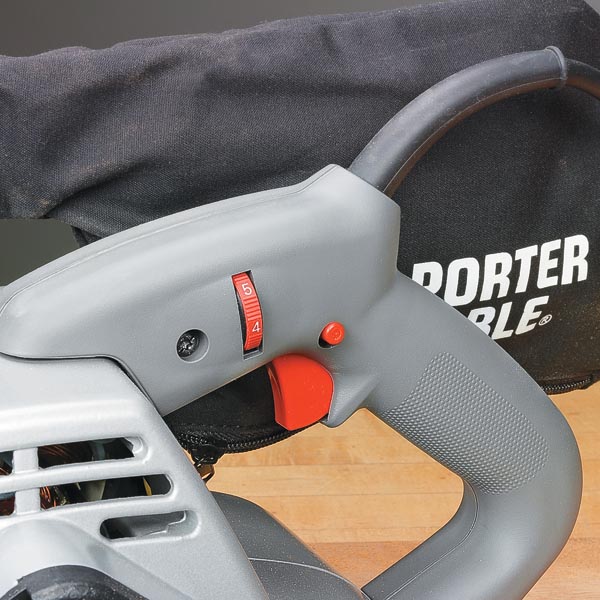
Variable speed won't turn a belt sander into a finish sander, but it can make the tool easier to manage when you want more controlled stock removal.
And regardless of the speed setting, keep the machine moving. Allowing an aggressive sanding belt to remain in one spot can quickly create a depression in the workpiece.
5. Improve the Dust Collection
Few handheld woodworking tools can produce dust as quickly as a belt sander. Good dust collection doesn't change the way the sanding belt cuts, but it can make a big difference in how pleasant the tool is to use.
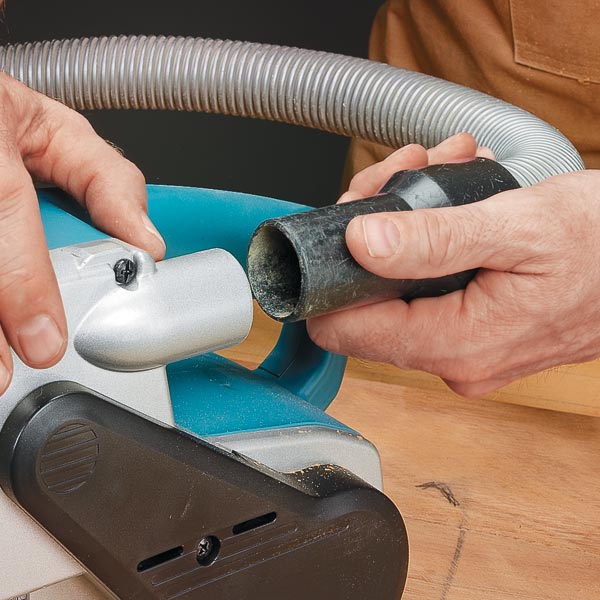
The dust bags supplied with many belt sanders capture some of the debris, but if your sander has a dust port, connecting it to a shop vacuum or dust collector can provide more effective collection.
Check the connection between the sander and hose as well. An adapter that stays securely attached and doesn't interfere with moving the sander is worth the effort.
Dust collection is particularly important with a belt sander because of the amount of fine dust the tool can create in a short period of time.
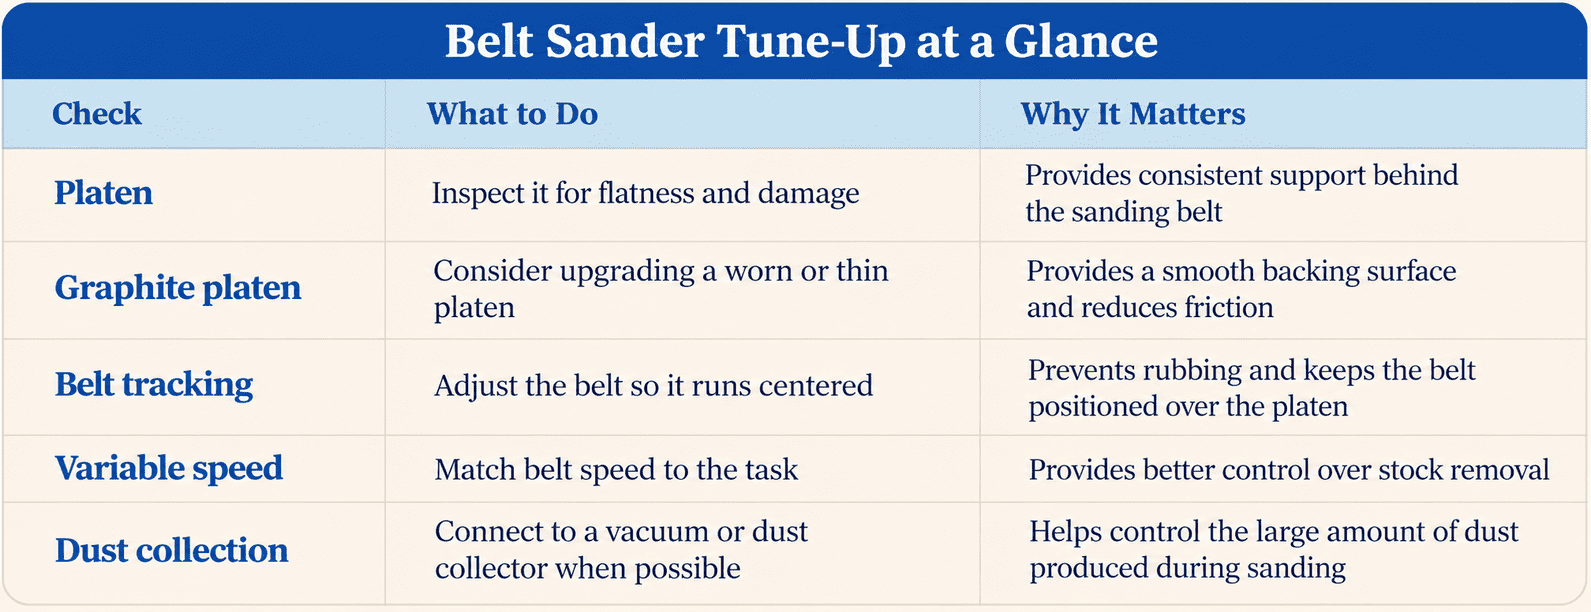
Belt Sander Tune-Up at a Glance
Don't Replace a Good Belt Sander Too Soon
Belt sanders are relatively straightforward machines, and that's one reason a good one can remain useful for years.
Before deciding an older sander isn't performing well enough, take a few minutes to inspect it. A flat platen, properly tracking belt, appropriate speed setting, and effective dust collection can make a noticeable difference.
And if the existing platen is the weak point, a graphite upgrade may be all that's needed to give the tool a new lease on life.
A little attention to setup can help your belt sander do what it does best: remove material quickly while leaving you in control of the surface.
Shopping for a New Belt Sander?
If your current sander really is ready for retirement, knowing which features matter can help you choose its replacement. Our belt sander buying guide covers belt size, platen design, tracking, variable speed, dust collection, and ergonomics so you can find the right machine for your shop.
CHOOSE THE RIGHT BELT SANDER → How to Choose a Belt Sander: 6 Features That Matter