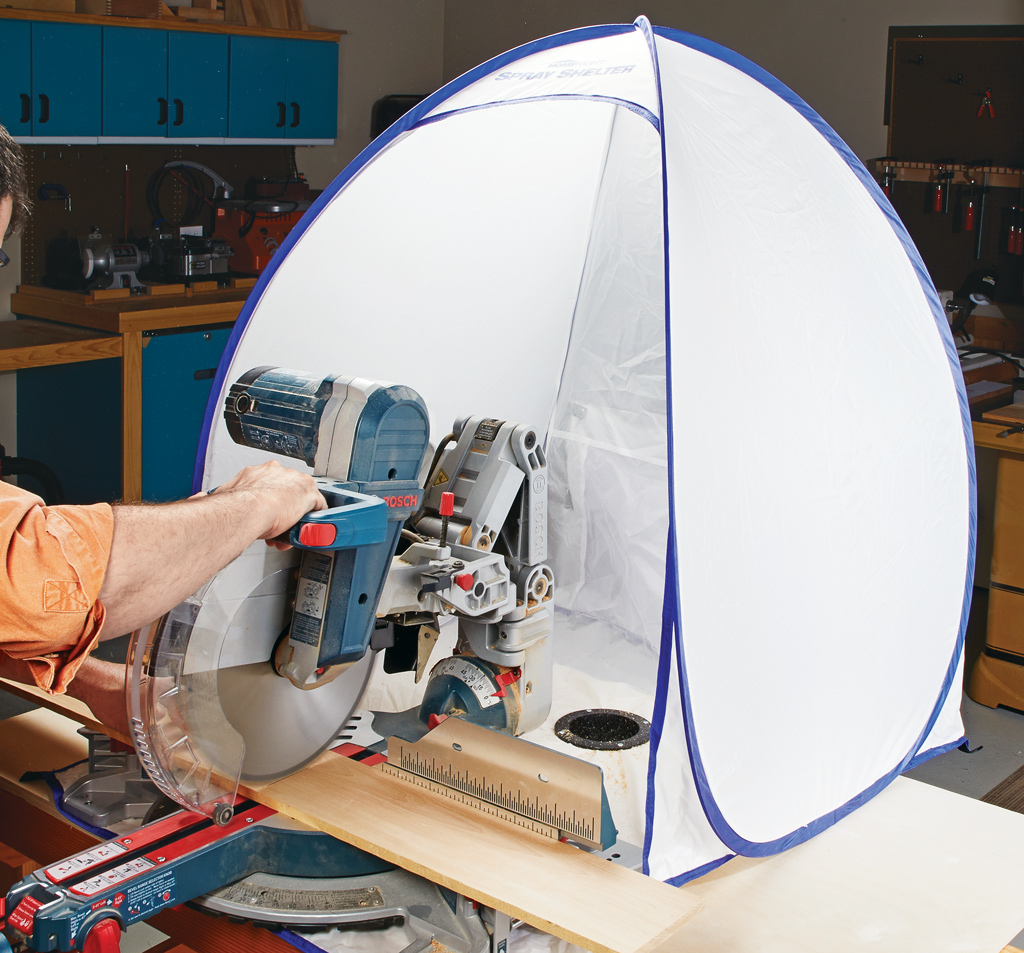
A dedicated miter saw station is convenient, but it also takes up a lot of valuable wall and floor space. In a small workshop, that can be difficult to justify for a tool you may not use every day.
This compact solution turns an existing workbench into a temporary miter saw workstation. Two removable plywood platforms support long boards on either side of the saw, while T-track allows the supports to be positioned and locked in place.
When you're finished cutting, remove the saw and support platforms and your workbench is ready for its regular duties again.
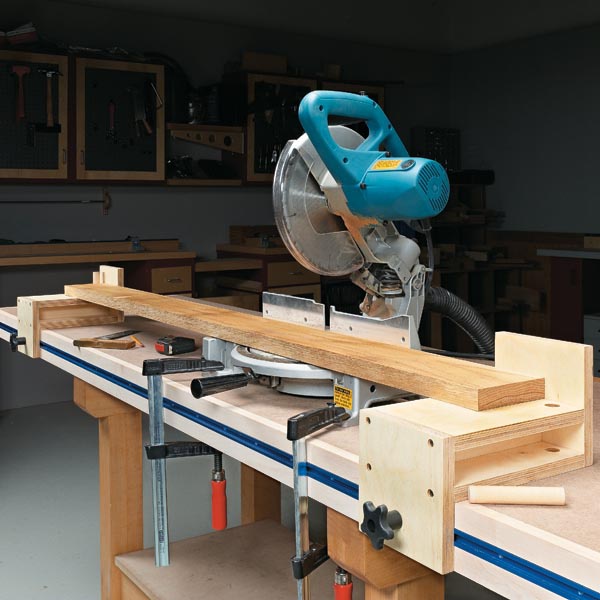
Support Long Boards at the Miter Saw
Supporting a long board can be one of the biggest challenges when using a miter saw without a dedicated station.
The small table on the saw itself simply doesn't provide enough support for long workpieces. Instead of balancing the ends on scrap or setting up temporary supports every time you make a cut, these platforms create a larger, level work surface on both sides of the saw.
The important detail is their height.
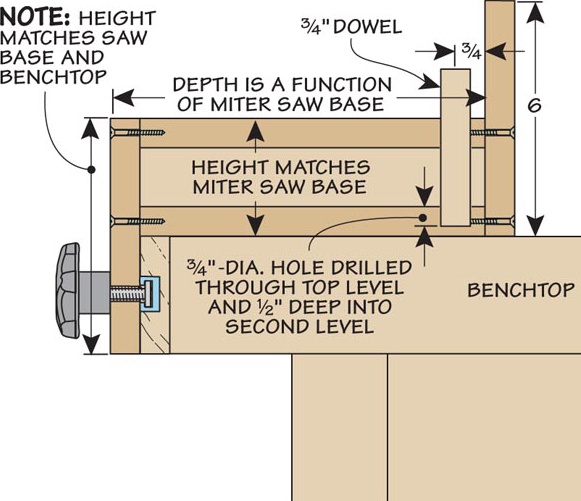
Build the platforms so their top surfaces are exactly flush with the table of your particular miter saw. Since saw dimensions vary, you'll need to adjust the platform height to match your machine.
This keeps a long workpiece flat and properly supported as it passes across the saw.
Build the Supports from Plywood
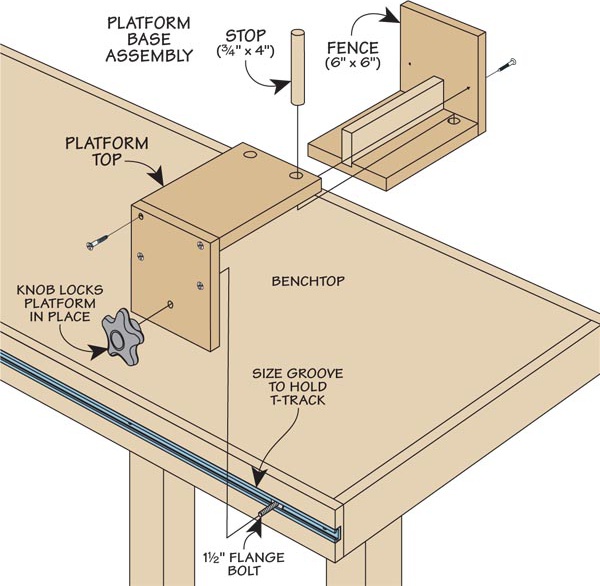
The support platforms are made from 3⁄4" Baltic birch plywood and assembled with screws and glue. Each platform also has a fence along its back edge. Once the workstation is set up, these auxiliary fences are aligned with the miter saw's fence using a straightedge.
The result is a continuous reference surface extending beyond the relatively short fence supplied with the saw.
Add T-Track for Adjustable Supports
The feature that makes this setup particularly versatile is a length of T-track installed along the front edge of the workbench.
The support platforms attach to the track with flange bolts and star knobs. Loosen the knobs and the platforms can slide along the bench. Tighten them and they're locked in position.
This makes it possible to adjust the workstation to suit the miter saw and the length of the workpiece you're cutting.
It also avoids permanently dedicating a section of your workbench to the saw.
Add Stops for Repeatable Miter Saw Cuts
The support platforms can do more than simply hold up a long board.
Two holes drilled through the top and into the base of each platform accept dowels that serve as stops for repeat cuts.
This gives you a quick reference when several project parts need to be cut to the same length.
For repetitive woodworking projects, a stop eliminates the need to measure and mark every individual part and helps produce consistently sized pieces.
Set Up the Miter Saw Workstation
Setup only takes a few steps.
Position the miter saw on the workbench, then install the two plywood platforms in the T-track. Adjust them until their fences are aligned with the miter saw fence.
A long straightedge makes this easy.
Once everything is aligned, tighten the star knobs to secure the platforms and clamp the miter saw firmly to the workbench.
Before making a cut, verify that the workpiece rests flat across the saw and support platforms without rocking or catching.
Now you have a stable setup for crosscutting longer workpieces without permanently sacrificing your workbench.
A Miter Saw Station for a Small Workshop
The best feature of this setup may be what happens when you're finished.
Loosen the knobs, remove the support platforms, unclamp the miter saw, and put everything away. Your workbench immediately returns to its normal job.
For a small workshop, that's a useful compromise between balancing boards on improvised supports and giving up valuable space for a permanent miter saw station.
If you use your miter saw frequently enough to justify a permanent setup, a full-size miter saw station provides additional support and storage. But if space is limited, these removable platforms let your existing workbench do double duty.