


If you're new to woodworking or looking for a faster way to build furniture, pocket hole joinery is one of the best techniques to learn. It's a beginner-friendly method that delivers strong, clean joints without the need for complicated tools or advanced skills. Whether you're building a table, shelf, or cabinet, this joinery technique helps you get professional results with minimal effort.
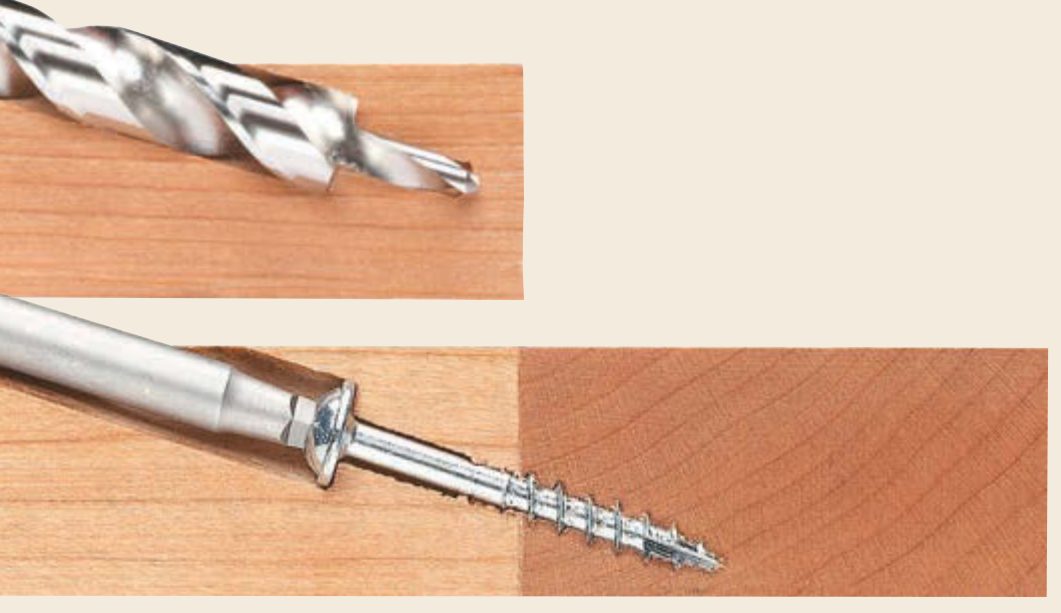
Pocket hole joinery works by drilling an angled hole into one board and connecting it to another using special self-tapping screws. The angled pocket guides the screw along the grain of the wood, which creates a secure, long-lasting joint. Because of its simplicity and strength, this method is widely used by both hobbyists and professional woodworkers.
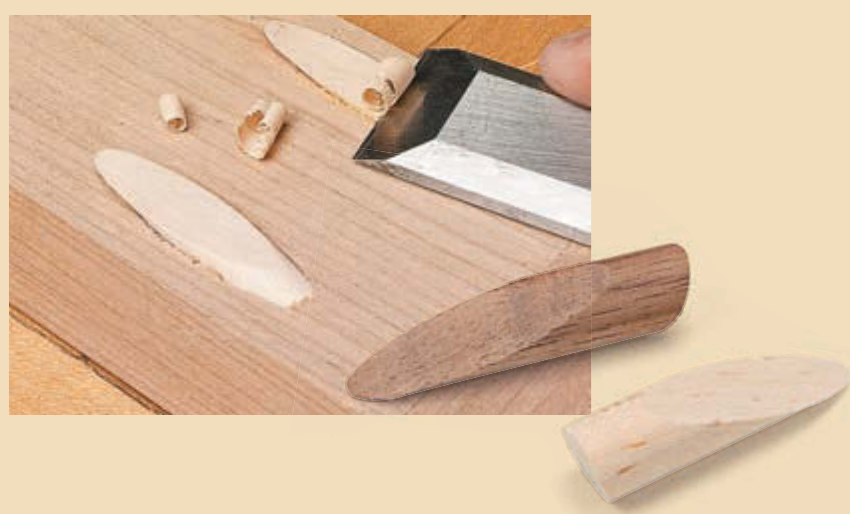
One of the main advantages of pocket holes is that they’re easy to conceal. Once the joint is secured, the holes can be plugged or filled for a seamless appearance—perfect for furniture and cabinetry where clean finishes matter. This makes pocket hole joinery ideal for interior projects, especially when you want to keep fasteners hidden from view.

To get started, you’ll need a pocket hole jig, a drill fitted with a stepped pocket hole bit, and screws designed specifically for pocket hole construction. These jigs come in a variety of sizes and price ranges, from small, portable models for occasional use to more advanced systems designed for high-volume work. With the jig adjusted to match your wood thickness, you can drill clean, accurate pocket holes in seconds.

The joint assembly process is quick. After drilling your pocket holes, align the boards and clamp them tightly together. You can use wood glue for added strength, but it’s not always necessary. Drive the screws into the angled holes, and the joint pulls itself tightly together, often without the need for additional clamping or drying time. In just minutes, you’ll have a durable joint ready for use.

Pocket holes are especially useful for building face frames, cabinet boxes, tabletops, and other furniture components. They’re also great for quick fixes and home improvement projects, offering a reliable alternative to more complex woodworking joints. While they may not be the right fit for every build—such as fine furniture or exposed, traditional joinery—pocket holes are ideal for fast, functional, and clean construction.

To get the best results, it’s important to use the correct screws. Coarse-thread screws are best suited for softwoods like pine, while fine-thread screws are ideal for hardwoods such as oak, maple, or walnut. Keeping your pieces clamped tightly during assembly ensures clean alignment, and covering any exposed holes with plugs or filler creates a polished, professional look.

Pocket hole joinery is all about building smarter—not harder. It makes woodworking more accessible and lets you complete solid, stylish projects without investing in expensive tools or mastering complex joinery techniques. From bookshelves and tables to garden benches and outdoor furniture, pocket holes help bring your ideas to life—quickly and reliably.
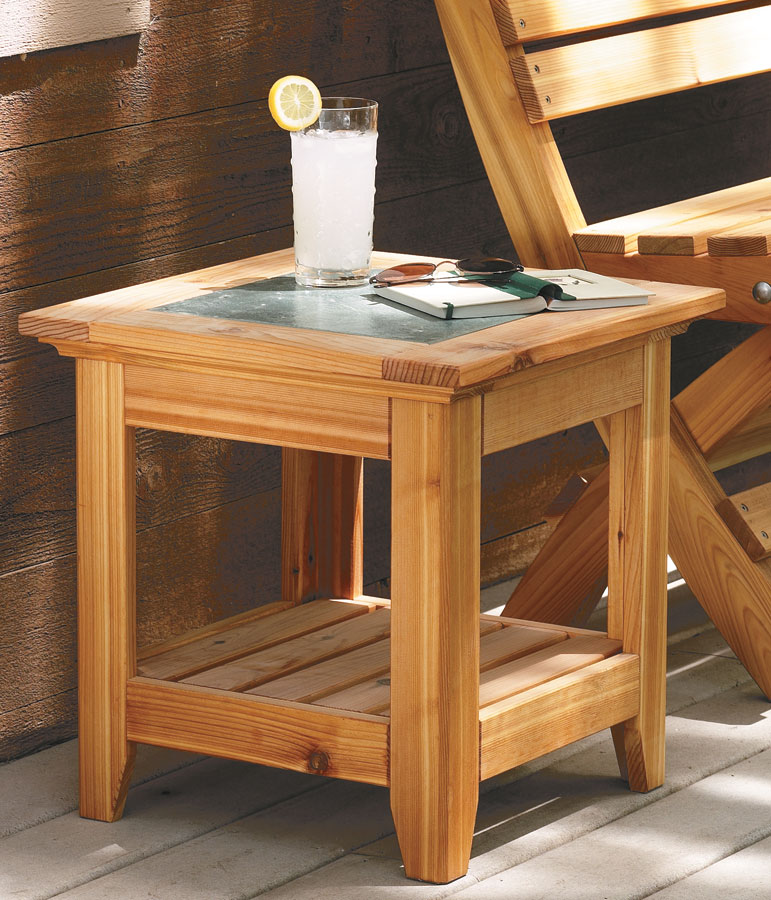
Ready to give it a try? This outdoor Tile-Top Table is great weekend project that is easy to build, and will look great on your patio when it's finished.


