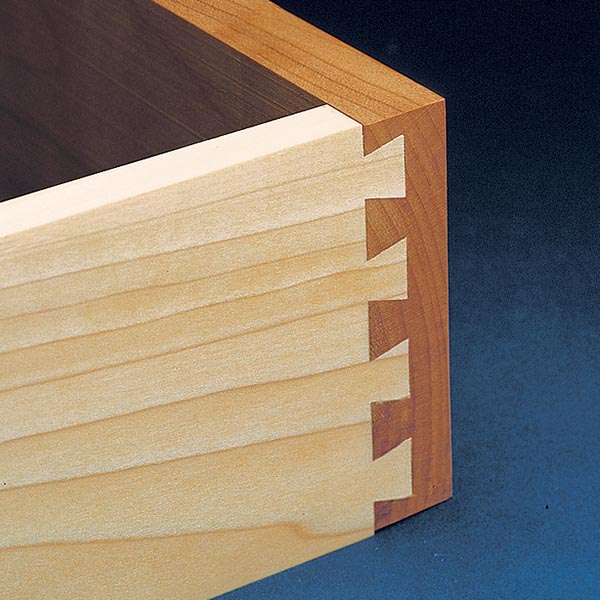
A dovetail jig and a router make building drawers with half-blind dovetail joints a sure thing — assuming everything works the way it’s supposed to. However, in the real world a dovetail jig can prove to be a bit finicky. And this sometimes makes routing dovetails an exercise in frustration. But like every woodworking operation, ensuring success is simply a matter of knowing what can go wrong and how to avoid or fix the problem. Every dovetail jig is a little bit different, but there are some universal tips, tricks, and guidelines that guarantee you’ll get the perfect-fitting dovetail joints you’re after.
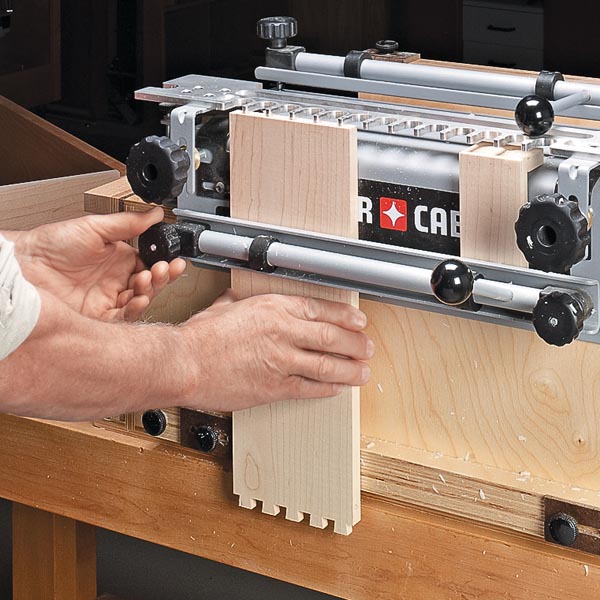
When planning your project, it’s important to think ahead and size the height of the drawer openings and drawers to match the template spacing of your jig. The two most common spacings are on 7/8" and 1" centers. The goal is to end up with a half pin (or close to it) at the top and the bottom. For example, if your jig uses a 1" spacing, the height of the drawers should be in even increments of 1".
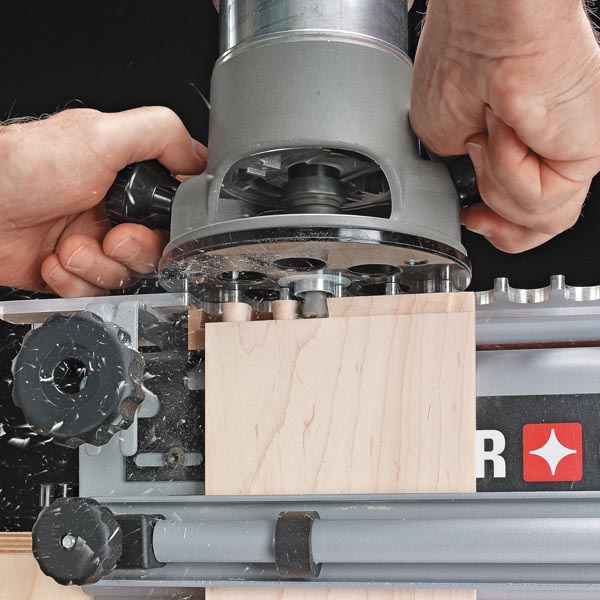
I like to position the jig at a comfortable working height and make sure it’s clamped down tightly. You’ll also find it’s advantageous to work at a height that gives you a clear view of the cut. Finally, eliminate any clutter in the work area that might snag the router’s power cord.
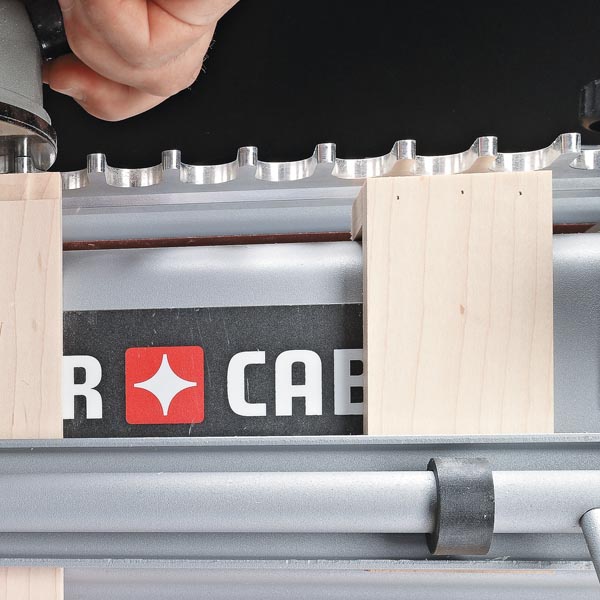
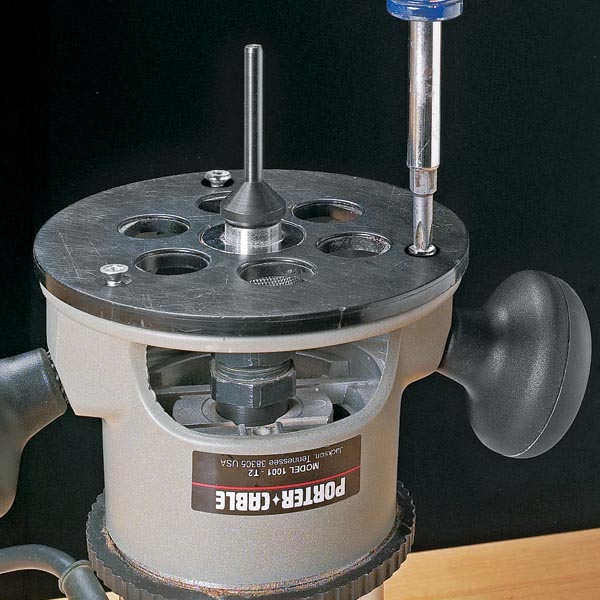
The jig’s template and the bushing in the router base work together to guide the router and bit. If the bit isn’t perfectly centered in the bushing, the cuts may not be consistent. So it’s a good idea to center the bit before getting started. Actually, since the bit is fixed in the collet, what you’re doing is centering the bushing around the bit. This can be done easily with an inexpensive centering cone.
You never want the workpieces to shift while you’re routing the joint. So it pays to make sure they’re held firmly beneath the clamping bars. If your jig doesn’t have grip tape on the clamping bars, consider adding some adhesive-backed sandpaper to create a non-skid surface. And when clamping narrow parts, I place a spacer under the clamping bars to keep them from racking.
The fit between the pins and tails is determined by the bit height in the router. This is your main adjustment when setting up to cut the dovetails. So the first thing I do is adjust the bit height with test cuts using stock identical in thickness to that of the drawer parts. I rely on a simple verse to help me remember which way to go, “Lower to loosen — heighten to tighten.”
It’s always hard to know when the fit is just right. I shoot for a joint that where the tails fit halfway into the sockets by hand. Then a few light taps with a mallet should fully seat the tails.