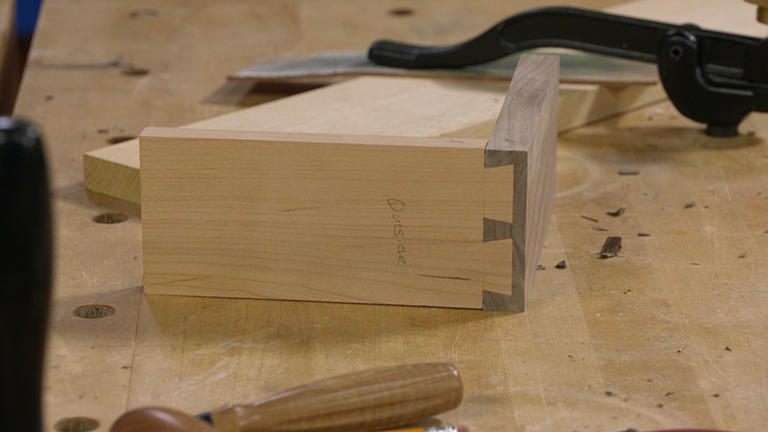
Miter joints look great on a project. But a weakness of miter joints is that they rely on end grain for gluing strength. And end grain joints are pretty weak. There are several ways to strengthen a miter joint. But a traditional method that I like to use is a mitered bridle joint.
A mitered bridle joint is similar to an open mortise and tenon joint. One piece has a through slot and the other a matching tenon. But the shoulders of both pieces are mitered. The benefit of this joint is that it offers plenty of glue surface for a strong joint (main photo).

MAKING THE JOINT
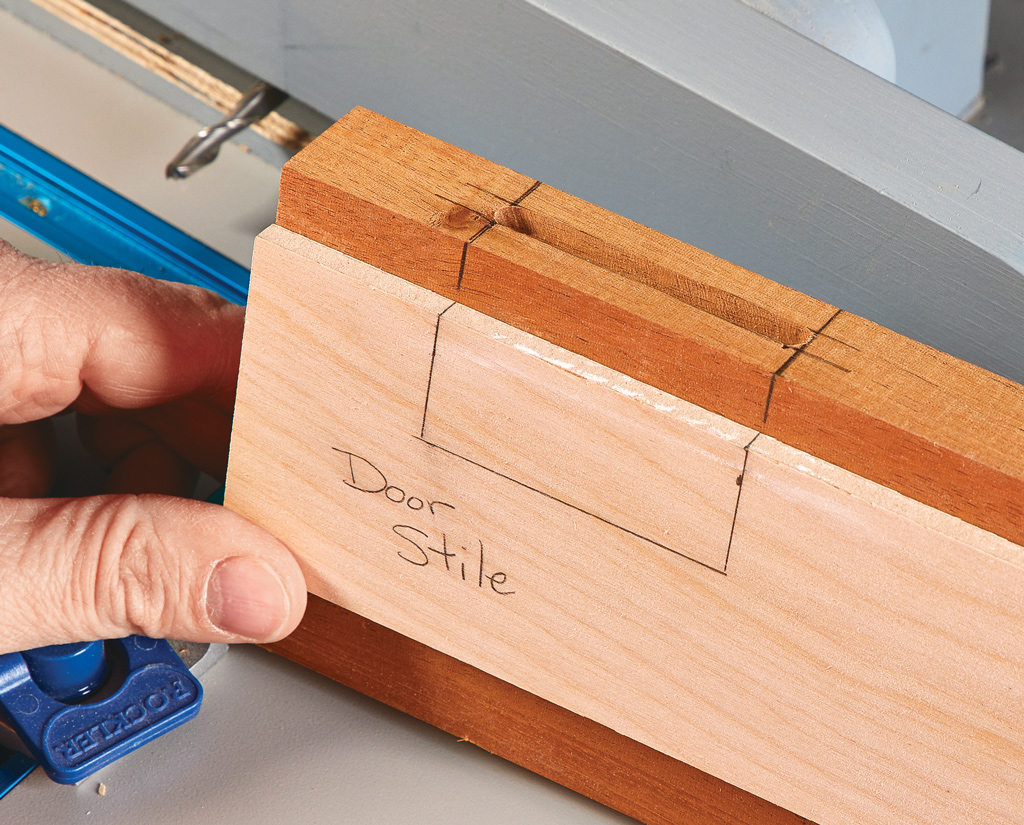
The key to a strong mitered bridle joint is getting a snug fit on the mating parts. For this reason, I like to cut the slot first and then sneak up on the thickness of the tenon. To cut the slots, you'll need a way to support the workpiece on end. You can use either a shop-made or commercial tenoning jig on the table saw (Figure 1). I use a dado blade for 1/4" or larger slots. Slots for 1/8" thick tenons can be cut with a single blade.
DETERMINING SIZE
The thickness of the slot is governed by the thickness of the workpiece. A good guide is to make it one third the thickness of the workpiece. (For example, a 1/4" slot for 3/4" stock.)
SLOT To position the workpiece correctly, I set the rip fence so that the distance between the blade and the jig is one third the thickness of the workpiece. Then you can clamp the workpiece in the tenoning jig and make the first cut. Simply flip the workpiece for the second cut. This will center the slot on the thickness of the workpiece.

MITER To mark the mitered ends, you can use a combination square. Then set your miter gauge at 45° and make the cut (Figure 2).
TENONS Once you have the slots cut, making the tenons on the mating pieces to fit is pretty simple. I've found that the easiest way to cut these is with a dado blade and a miter gauge, laying the workpiece flat on the saw table.
Using the slotted workpiece as a gauge, set the height of the dado blade so it's just below the slot opening. I like to test the blade setting on a scrap piece. This way I can sneak up on the thickness of the tenon by raising the blade a bit until it fits in the slot (Figure 3).
Once you have the blade height set, adjust the miter gauge to 45°, mark a layout line and align it with the saw blade. You can set the rip fence as a stop for the first cut. Then remove the waste with multiple passes, working toward the end until the tenon is shaped on one of the faces (Figure 4). Then flip the workpiece, adjust the miter gauge, and make the same cuts on the opposite face (Figure 5).

FITTING
Using a dado blade to cut the tenons can leave saw marks. You'll want to smooth the cheeks so the tenons will fit without gaps.
__ SMOOTHING__ A sanding block is a good tool to smooth the cheeks (Figure 6). If the tenon is a little too thick, a shoulder plane or chisel will remove more material. But be careful. It’s best to remove small amounts of material from both faces and keep checking until you have a perfect fit that's centered. Once the tenon fits in the slot, you can add the glue.
__ CLAMPING__ Although you can use bar or pipe clamps, I prefer to use a band clamp for assembling mitered joints. This way, all the corners will be pulled together at once for a good fit. Add clamping blocks and additional clamps to apply pressure to each joint.


