


How to Build a Cabinet Face Frame with Pocket Screws
A well-built face frame gives a plywood cabinet a clean, finished appearance while covering the exposed plywood edges. But getting all the rails and stiles positioned correctly can be tricky, especially when the frame needs to align with drawer openings and internal cabinet panels.
Fortunately, a simple layout technique makes the process much easier. By transferring measurements directly from the cabinet to the face frame parts, you can eliminate guesswork and ensure everything lines up properly before assembly.
Understanding Face Frame Rails and Stiles
A typical cabinet face frame consists of vertical pieces called stiles and horizontal pieces called rails.
For this project, the face frame includes two stiles and three rails. Since the frame will be assembled using pocket screw joinery, all the parts can be cut to their finished length and width before assembly.
The key is positioning each rail correctly so the completed frame matches the cabinet openings.
Position the Face Frame Stiles and Top Rail
Start by placing the two stiles flush with the outside edges of the cabinet.
The top rail is straightforward, too. It fits flush with the upper ends of the stiles, creating a clean, even edge across the top of the cabinet.
The remaining rails require a little more attention because they need to align with the cabinet's internal panels.
Transfer Rail Locations Directly from the Cabinet
Rather than relying on measurements alone, use the cabinet itself as a reference for positioning the remaining rails.
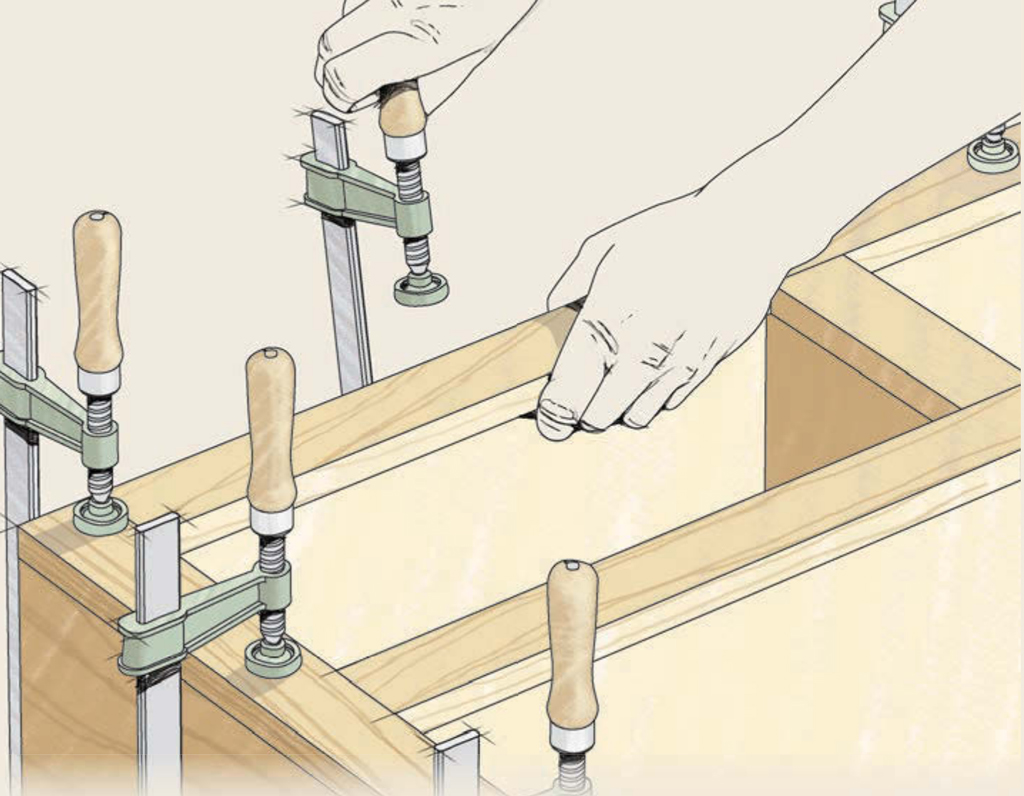
Place a ruler against the drawer opening panel and transfer its location onto one stile. Repeat the process on the opposite stile.
Next, use the same technique to mark the position of the lower rail. Align the ruler with the bottom cabinet panel and transfer that location to both stiles.
These marks establish the rail positions and help ensure the face frame openings align with the cabinet.
Assemble the Face Frame with Pocket Screws
Once the rail locations are marked, you're ready to assemble the face frame.
Pocket screw joinery makes this process quick and straightforward. Drill the pocket holes in the ends of the rails, then position each rail between the stiles according to your layout marks.
Clamp the parts securely and drive the pocket screws to complete the joints.
With the frame assembled, check its fit against the cabinet before attaching it.
The same layout and assembly technique can also be used to build a matching face frame for the back of the cabinet.
A Simple Trick for Better Cabinet Face Frames
Accurate face frame construction doesn't have to involve complicated measurements or elaborate jigs.
By using the cabinet itself to establish the rail locations, you can position the parts accurately and avoid alignment problems during assembly.
Combine this simple layout method with pocket screw joinery, and you'll have a fast, reliable way to build professional-looking face frames for your next cabinet project.
More Cabinetmaking Tips: How to Build a Cabinet Face Frame
A well-designed face frame does more than cover exposed plywood edges. It defines the openings for doors and drawers while adding strength and a finished appearance to your cabinet. Learn essential tips for designing, assembling, and installing face frames, including choosing the right joinery, sizing rails and stiles, and getting everything aligned for a professional-looking result.


