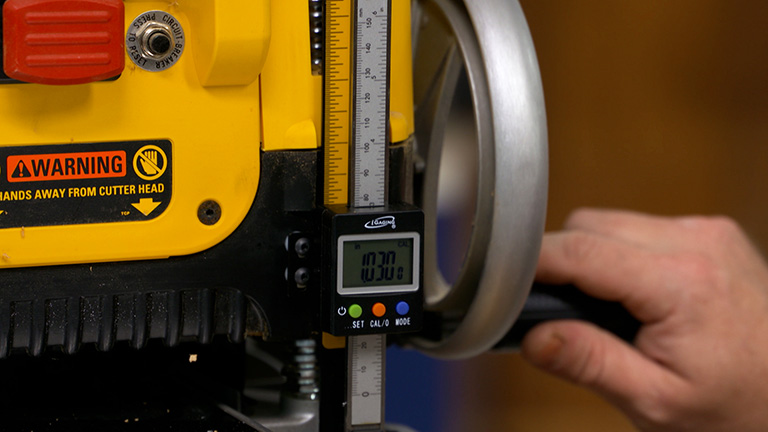
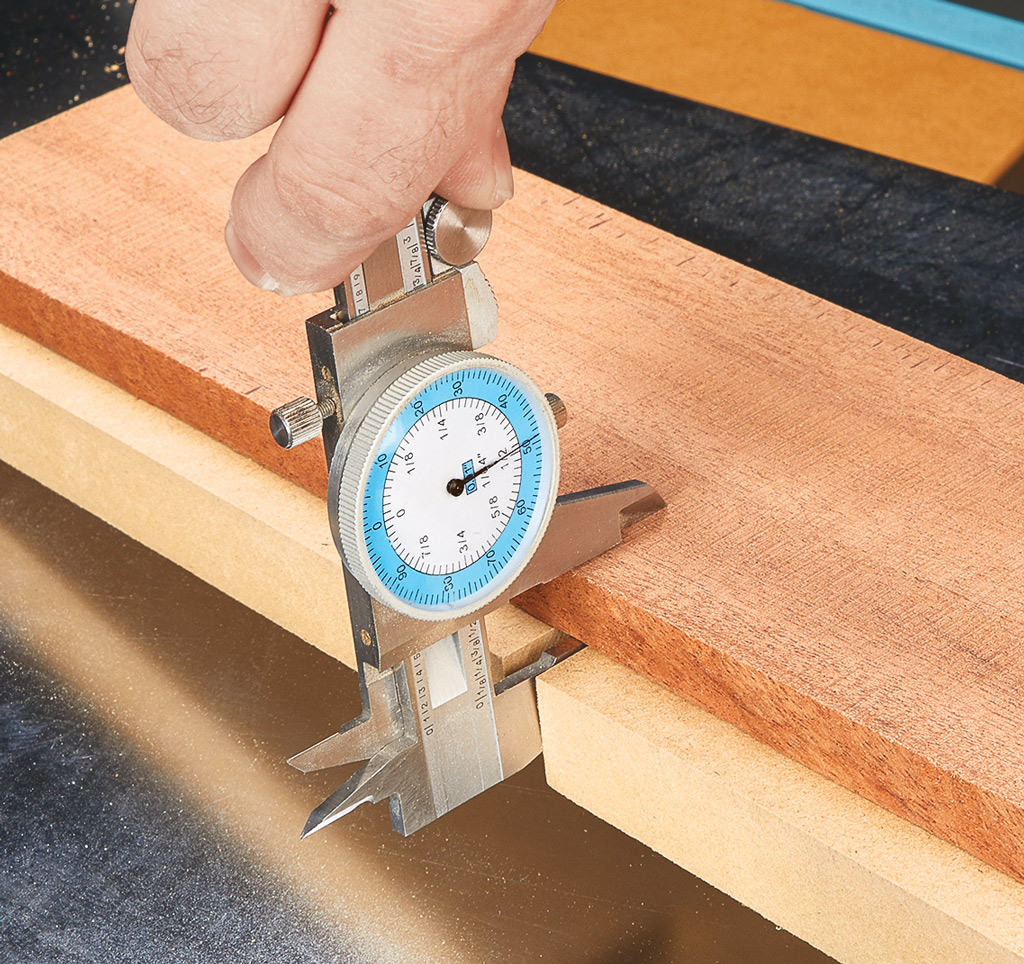
A portable planer has one basic task — planing a workpiece to a specific thickness with the two faces parallel to each other and perfectly smooth. It’s such a simple task that it’s easy to take your portable planer for granted. And if you do that, it won’t take long for your planer to look a bit rough and ragged, like my 15-year-old planer. The nice thing is, bringing your planer back to peak performance isn’t difficult. All you’ll need are a few simple tools and an afternoon. The tune-up process starts with cleaning and lubricating the important parts. Follow that up with some basic adjustments and you’ll be well on your way to a planer that looks and, more importantly, runs like the day you bought it. it’s a good idea to refer to your owner’s manual before you get started and any time you have questions.

Safety Note: Unplug your planer before starting any work.
To get into all the nooks and crannies of the planer, I find it easiest to remove the side panels and the dust chute/guard assembly. And for many planers, removing the top cover will provide better access to the cutterhead and the rest of the planer interior. Once you have easy access to the planer, you’re ready to start cleaning. The first thing I like to do is vacuum up as much of the dust and chips as I can. After that, a couple shots from an air hose takes care of the hard-to-reach areas.
I like to take care of any caked on pitch and resin with a mild, spray-on blade and bit cleaner. Simply spray it on and give it time to cut through the grease and grime, then wipe away the mess.

At this point, things are starting to look pretty clean. So the next step in the process is to make sure it stays this way for as long as possible. To do this, I like to use paraffin wax on the spindles and guide posts used to adjust the cutterhead. Just rub a “bead” along the threads and then crank the cutterhead all the way up and down a few times to work the wax in. To avoid attracting dust, be sure to wipe away any excess.

Next, I turn my attention to the drive system that provides power to spin the cutterhead and drive the feed rollers. These parts are connected to the motor via chains and a belt. For the drive belt area, all I do is blow out any dust or debris. After cleaning dust and chips out of the drive chain area, a spray-on lubricant is all it takes to keep the gears and drive chains running reliably.

With the outside of the planer cleaned up and the drive system lubricated, you’re ready to turn your attention to the “inside” and check out the feed system, cutterhead, and knives.
After removing the knives, a brass brush and cleaner make quick work of removing pitch and resin.
The next thing to focus on is the feed roller system. To improve the feed performance, clean dust and pitch off the rollers with a rag soaked in some cleaner. Note: To get to the entire roller, you’ll have to manually rotate the cutterhead belt to turn the rollers.
The last step I like to do before using my planer again is buff in a little paste wax on the infeed and outfeed wings, as well as, the bed of the planer. This will help my workpieces to glide through the planer with less resistance.


