3 Handy Woodworking Tapes and How to Use Them
A roll of tape might not be the first thing that comes to mind when you think about woodworking tools. But in my shop, tape is one of those simple accessories I reach for almost every day.
Whether I'm securing a routing template, protecting a finished surface, preventing tearout, or attaching veneer, there's usually a tape designed for the job.
And choosing the right tape can make a surprising difference.
Some tapes provide a temporary hold without leaving residue. Others create a strong, permanent bond. Still others protect delicate wood surfaces during cutting and assembly.
Here are three types of woodworking tape I like to keep on hand, along with a few practical ways to use them around the shop.
1. Double-Sided Woodworking Tape for Templates and Jigs
Double-sided tape has been a woodworking shop staple for years.
Many woodworkers rely on carpet tape to temporarily attach templates, jigs, and small workpieces. But not all double-sided tapes perform the same way.
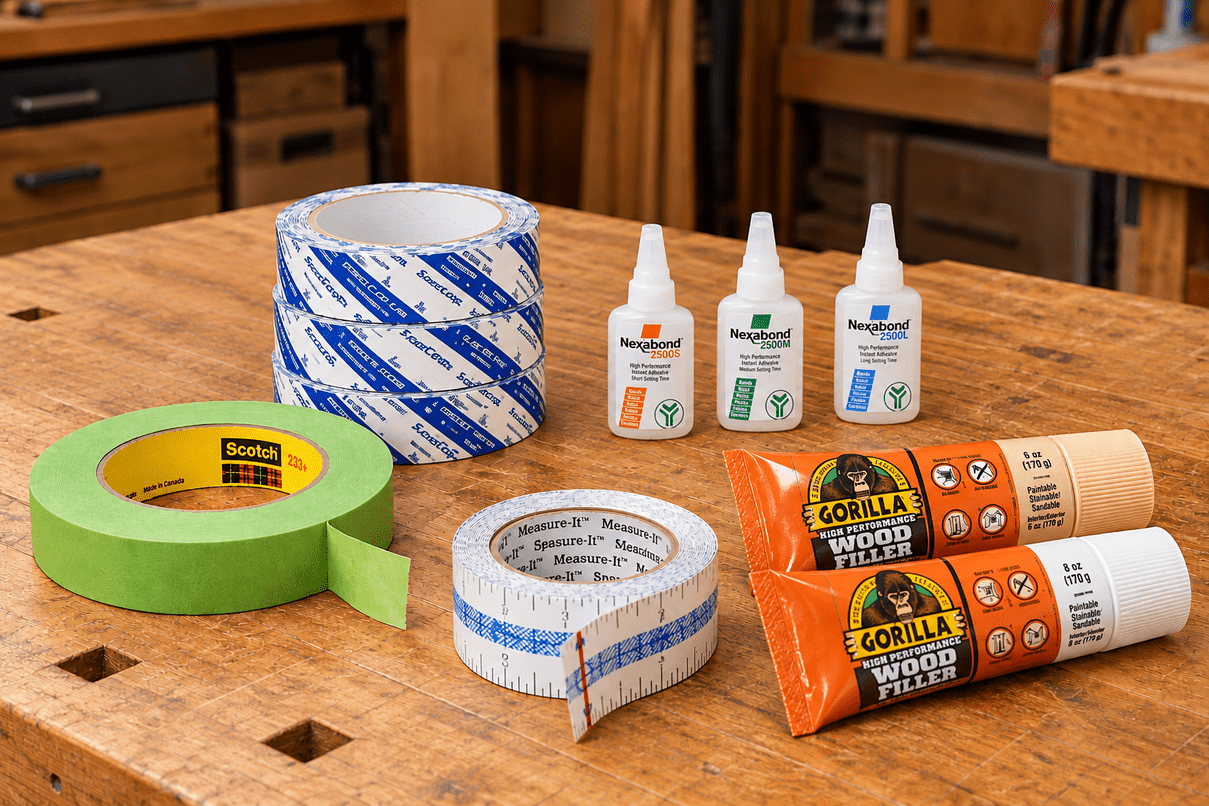
One product I've found particularly useful is the double-sided woodworking tape made by Avery Dennison.
Unlike conventional carpet tape, this specialty tape uses different adhesives on its two sides.

Secure Routing Templates Without Slipping
One side of the tape has a stronger adhesive designed to attach to the template.
The opposite side has a less aggressive adhesive that holds the template against the workpiece.
This combination provides a secure connection that resists sideways movement while still allowing the template to be repositioned or removed.
It's especially useful when working with router templates, where keeping the template from shifting is essential for accurate results.
Apply the stronger adhesive side to the template first. Then position the template on the workpiece and press it into place.
The tape helps hold everything securely without requiring clamps that might interfere with the router.
Shop Tip: Make sure the tape provides enough holding strength for the operation. For routing, a template must remain securely attached throughout the cut. Use additional mechanical securing methods when necessary.
Easy Removal Without Sticky Residue
Another advantage of this woodworking tape is that it tears easily by hand.
There's no need to reach for scissors or a utility knife every time you need a short strip.
It also removes cleanly under normal conditions, without the gummy residue that some carpet tapes leave behind.
This is especially helpful when working with finished surfaces or materials that would be difficult to clean.
For temporary template work, a good double-sided woodworking tape can save time and frustration.
2. Painter's Tape for Woodworking and Plywood Cutting
Painter's tape is another workshop essential that does much more than mask surfaces before applying a finish.
Compared with traditional masking tape, many modern painter's tapes offer more predictable adhesion and cleaner removal.
This makes them useful for protecting delicate wood surfaces during cutting, gluing, and assembly.
Prevent Tearout When Cutting Plywood
One of my favorite uses for painter's tape is reducing tearout when cutting cabinet-grade plywood.
Hardwood plywood often has a thin face veneer that can chip or splinter along a cut.
Applying low-tack painter's tape over the cutting area helps support the veneer fibers as the blade passes through.

For this task, I prefer a delicate-surface tape, such as the FrogTape shown here.
Its low-tack adhesive provides enough hold for the operation while making removal easier.
Here's the process:
- Apply a strip of painter's tape over the area where you'll make the cut.
- Mark the cutting line directly on the tape.
- Make the cut using a sharp, appropriate saw blade.
- Carefully peel away the tape after cutting.

The tape helps minimize splintering and can produce a cleaner edge.
For the best results, combine this technique with a sharp blade designed for plywood and proper workpiece support.
Keep Glue Squeeze-Out Off Finished Surfaces
Painter's tape is also useful during glueups.
Before assembling a project, apply tape along areas where excess glue might squeeze out.
The tape helps prevent glue from spreading onto adjacent surfaces.
Once the glue reaches the appropriate stage for cleanup, remove the tape according to the adhesive and finish requirements.
This can save time scraping or sanding dried glue from difficult areas.
It's particularly helpful around inside corners and other spots that are hard to reach after assembly.
Use Painter's Tape as a Temporary Clamp
For small woodworking projects, painter's tape can even serve as a lightweight clamp.
When assembling small boxes or delicate parts, strips of tape can hold pieces in alignment while the glue sets.
This works particularly well for lightweight assemblies that don't require significant clamping pressure.
Painter's tape won't replace traditional clamps for every project, but it's a handy alternative when working with small parts.
3. SpeedTape for Veneers, Laminates, and Edge Banding
Sometimes you need more than a temporary hold.
For applications that require a strong bond without the mess of contact cement or spray adhesive, double-sided acrylic adhesive tape can be an excellent option.
One product I've used is SpeedTape by FastCap.
SpeedTape is designed for bonding materials such as laminates, veneers, and edge banding to a work surface.
Unlike temporary template tape, this product is intended to create a lasting bond.
A Cleaner Alternative to Contact Cement
Traditional contact cement works well for many laminate applications, but it can be messy and requires careful handling.
SpeedTape provides another option.
The tape has a strong adhesive that bonds materials together when pressure is applied.
It provides an immediate hold and develops its maximum bond strength over approximately 24 hours, according to the product information described here.

This makes it useful for projects where you want to avoid liquid adhesives.
Applying SpeedTape to Woodworking Projects
Using SpeedTape is straightforward.
First, make sure the surfaces are clean, dry, and properly prepared.
Apply the tape to one of the mating surfaces, positioning the strips where they're needed.
Then remove the paper release liner to expose the adhesive.
Carefully position the veneer, laminate, or edge banding and press it into place.
Because the tape grips quickly, accurate placement is important.
Finally, use a J-roller to apply firm, even pressure across the bonded surface.
This helps ensure consistent contact between the tape and the material.
Where SpeedTape Works Best
SpeedTape is useful for several woodworking applications, including:
- Attaching decorative laminates to suitable substrates
- Securing compatible wood veneers
- Applying certain types of edge banding
- Cabinet refacing and similar surface applications
Always check the adhesive manufacturer's recommendations for material compatibility and surface preparation, especially when using natural wood veneers or materials that may move with humidity changes.
Which Woodworking Tape Should You Use?
Each of these tapes has a specific purpose.
Choosing the right one depends on whether you need a temporary hold, surface protection, or a permanent bond.
Double-Sided Woodworking Tape: Secure temporary hold. Great for routing templates, jigs, and temporary workpiece positioning, Painter's Tape: Surface protection and clean removal. Great for plywood cutting, glueups, finishing, and light-duty clamping SpeedTape: Strong adhesive bond. Great for laminates, veneers, edge banding, and cabinet refacing.
I like to keep all three available because they solve different problems.
Double-sided woodworking tape is ideal when I need to secure a template without using clamps.
Painter's tape helps protect surfaces and makes cutting and assembly easier.
And SpeedTape provides a convenient adhesive solution for compatible laminating and veneering applications.
More Specialty Tapes for Your Woodworking Shop
These three tapes cover a lot of common workshop tasks, but they're only the beginning.
There are other specialty tapes designed to reduce friction, protect tools, and improve your grip.
For example, UHMW slick tape can help drawers and jigs slide more smoothly, while high-friction guard tape is useful for wrapping tool handles and providing light protection during carving.
We'll explore both of these products in the second part of our series.
RELATED ARTICLE: UHMW Tape & Grip Tape: 2 Handy Woodworking Shop Tips
The next time you're stocking up on workshop supplies, take a closer look at the tape aisle.
A few carefully chosen rolls can solve problems, improve your results, and make everyday woodworking tasks a little easier.