When you get ready to build the drawers for a project, the first thing that comes to mind is the type of joinery you’ll use. You have options as varied as classic, hand-cut dovetails to much simpler tongue and dado construction. But no matter what type of joinery you use to build the drawers, there are a lot of other factors that are just as important to achieving top-quality results.
I’ve put together a few guidelines that apply to all drawer construction — just common sense points I always keep in mind.
START WITH A PLAN. Whether you’ve designed your own project or you’re working from a published plan, it’s always a good idea to keep a list of parts at hand. For drawer building, that list should include how many sides, fronts, and backs you’ll need and the final sizes of all pieces. Since the sides are often made from thinner stock than the front and back, make sure to list the pieces by thickness as well. This makes selecting stock easier.

SELECT YOUR STOCK. You can make the building process a lot easier by taking your time at the lumberyard. With your parts list or plan in hand, pick through the stacks to find enough straight, flat stock to fill the bill. One simple tip that I can offer is to always pick up 15-20% extra stock for tool setups and to save the day in case of a mistake.
Obviously, if you’re planning to use plywood, this is less of a concern. However, if you do choose plywood, it’s a good idea to stick to Baltic birch or similarly stable plywood free of voids.
MILL FLAT, SQUARE STOCK. You’ll never get a good fit with out-of-square or twisted parts. Since a drawer needs to be not only square but also flat to slide properly, one bad piece can ruin the whole drawer. Don’t fool yourself into thinking a piece will straighten out when it’s clamped up. Taking the time to joint the workpieces flat on one face and then planing them to a uniform thickness is the first step in successful drawer construction (left drawing).

RIP TO WIDTH. Another good habit to get into is to rip all pieces of the same width with the same setup. In other words, set the rip fence of your table saw and use your parts list to rip enough stock to get all the pieces of that width at one time. You’d be surprised how much variation you can get if you have to go back later to cut more stock to size.
ACCURATE LENGTH. No matter how careful you’ve been up to this point, if your sides aren’t exactly the same length, you won’t get a square drawer. The same is true for the fronts and backs. The best way to ensure this is to use a stop block when cutting the pieces to length (left drawing above). A scrap clamped to an auxiliary miter gauge fence is all you need.

MATCH & MARK STOCK. With the workpieces milled and sized, the next step is to lay out the pieces for each individual drawer. One important consideration is to get a nice look for the drawer fronts since they’re often the highlight of the project. Whether the fronts are real or false, they should have a consistent grain pattern and good color match. This is less of a concern with the sides and the backs. But again, try to shoot for the best possible look.
Once you have the parts laid out and matched up, always label them clearly to avoid any chance of confusion when cutting the joinery. The Shop Tip below offers a quick, foolproof method of marking drawer parts.
DRAWER BOTTOMS. And when cutting the grooves for drawer bottoms in the parts, once again, make all the cuts using the same table saw setup. This makes it easier to size the grooves for a consistently snug fit to the bottom (right drawing above). However, it shouldn’t be too tight. Then, to ensure a trouble-free assembly, size the drawer bottoms to allow for a small gap 1⁄32 at the bottom of the groove.

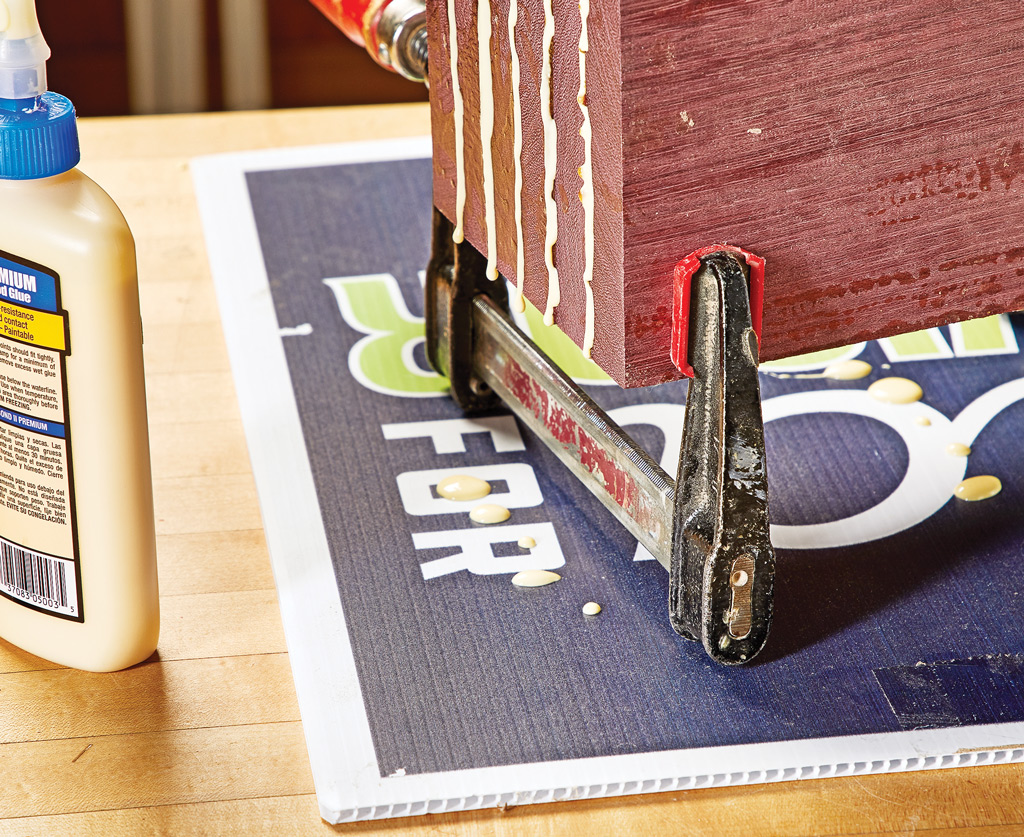
ASSEMBLY. After clamping, set the drawer on a perfectly flat surface (the table saw or a flat piece of MDF on the benchtop) to make sure there’s no twist in the glueup. It should sit flat without rocking. Finally, remember to check each drawer for square.
If you get in the habit of always following these simple tips when building drawers, you’re sure to get top-notch results. And nothing highlights the quality of a project like attractive, smoothworking drawers.
Shop Tip: Triangle Method

I’ve used this simple method for marking drawer parts for many years. It relies on triangles marked across the paired sides and front and back to tell you everything you need to know (photo at right).
The two sides are placed side-by-side and then a triangle is drawn across the top edge pointing forward. This tells you that the marked edge is the top, the open side of the marking on each piece is the inside, and the angled leg points to the front. The front and back are paired and similarly marked with the triangle also pointing forward.


