



Build a Small Parts Miter Shooting Board
Cutting accurate miter joints on small workpieces can be tricky. Even with a good miter box or miter saw, getting two pieces to fit together perfectly often requires a little fine-tuning.
When I'm cutting miters by hand, my miter box gets me close to the final length. But it doesn't always give me the tight-fitting joints I'm looking for.
To solve that problem, I built this small parts miter shooting board.
This simple woodworking jig holds a workpiece at a precise 45° angle while a block plane shaves the end to a clean, accurate fit.
It's quick to build, requires only a few pieces of hardboard and hardwood, and makes fitting small miter joints much easier.
How a Miter Shooting Board Works
A shooting board is a woodworking jig that guides a hand plane along a fixed path while supporting the workpiece.
This version is designed specifically for trimming 45° miters on small parts.
The jig uses a hardwood fence to hold the workpiece at the correct angle. A two-layer hardboard base provides a smooth surface for guiding the block plane.
As you slide the plane along the base, it removes thin shavings from the mitered end of the workpiece.
The result is a clean, accurately trimmed miter that fits tightly against its matching piece.
This is particularly useful for small picture frames, decorative boxes, molding, and other projects where even a slight gap at the corner is noticeable.
Building the Small Parts Miter Shooting Board
The construction is straightforward.
The jig consists of three main components: a two-piece hardboard base, a hardwood fence, and a cleat that holds the assembly against the edge of your workbench.

Step 1: Make the Two-Layer Hardboard Base
Start by cutting two pieces of hardboard to form the base.
The upper layer serves as a guide for the block plane, keeping it aligned as you trim the workpiece.
The lower layer includes grooves that provide clearance for chips and shavings.
These grooves help prevent debris from collecting in the path of the plane and interfering with the cut.
Glue the two pieces together to form the base.
Step 2: Build the Hardwood Miter Fence
The fence is made from two pieces of 3/4"-thick hardwood.
Both ends of the fence are cut at 45°, creating a 90° fence assembly that supports workpieces for trimming.
The most important part of building this jig is positioning the fence accurately.
Each side of the fence must sit at a precise 45° angle to the plane's travel.
A combination square is a handy tool for checking the fence position during assembly.
It's also important that the ends of the fence are flush with the edge of the upper base.
Taking a little extra time to get these details right will make a big difference in the accuracy of the finished jig.
Step 3: Add the Bench Cleat
The final component is a cleat made from 3/4"-thick hardwood.
The cleat fits against the edge of your workbench and helps hold the shooting board in place during use.
This simple arrangement allows you to position the jig quickly without permanently attaching it to your bench.
Glue the cleat to the underside of the base.
Step 4: Add Sandpaper to the Fence
After assembling the jig, attach a strip of sandpaper to the fence.
The sandpaper provides extra grip, helping prevent small workpieces from slipping while you're trimming their ends.
This is especially useful when working with narrow or short parts that can be difficult to hold securely.
How to Trim Miters with a Block Plane
Using the shooting board is simple.
Start by cutting the miter on your workpiece with a miter box or saw, leaving a little extra material for final trimming.
Position the shooting board against the edge of your workbench.
Place the workpiece against the 45° fence with its mitered end extending slightly into the plane's path.
Hold the workpiece securely against the fence.
Then use a sharp block plane to take light shavings from the end.

Take Light Cuts for the Best Fit
The goal isn't to remove a lot of material.
Instead, you're refining the angle and length of the miter.
Set the block plane for a fine cut and take a few light passes.
Check the fit against the mating piece frequently.
If the joint needs additional adjustment, take another shaving or two.
By removing material gradually, you can sneak up on a tight-fitting joint without accidentally making the part too short.
Shop Tip: A sharp, finely set block plane makes a big difference when trimming end grain. Take light cuts and keep the workpiece firmly against the fence for consistent results.
A Simple Jig for Better Miter Joints
A small gap in a miter joint can stand out, especially on a carefully made woodworking project.
This small parts shooting board provides an easy way to fine-tune miters without complicated equipment.
The hardboard base guides the block plane, the hardwood fence establishes the 45° angle, and the bench cleat keeps the jig in position.
With a few light passes of a sharp block plane, you can turn a close-fitting miter into a clean, accurate joint.
It's a simple addition to your collection of woodworking jigs that can make a noticeable difference in the quality of your projects.
How to Sharpen a Hand Plane Blade
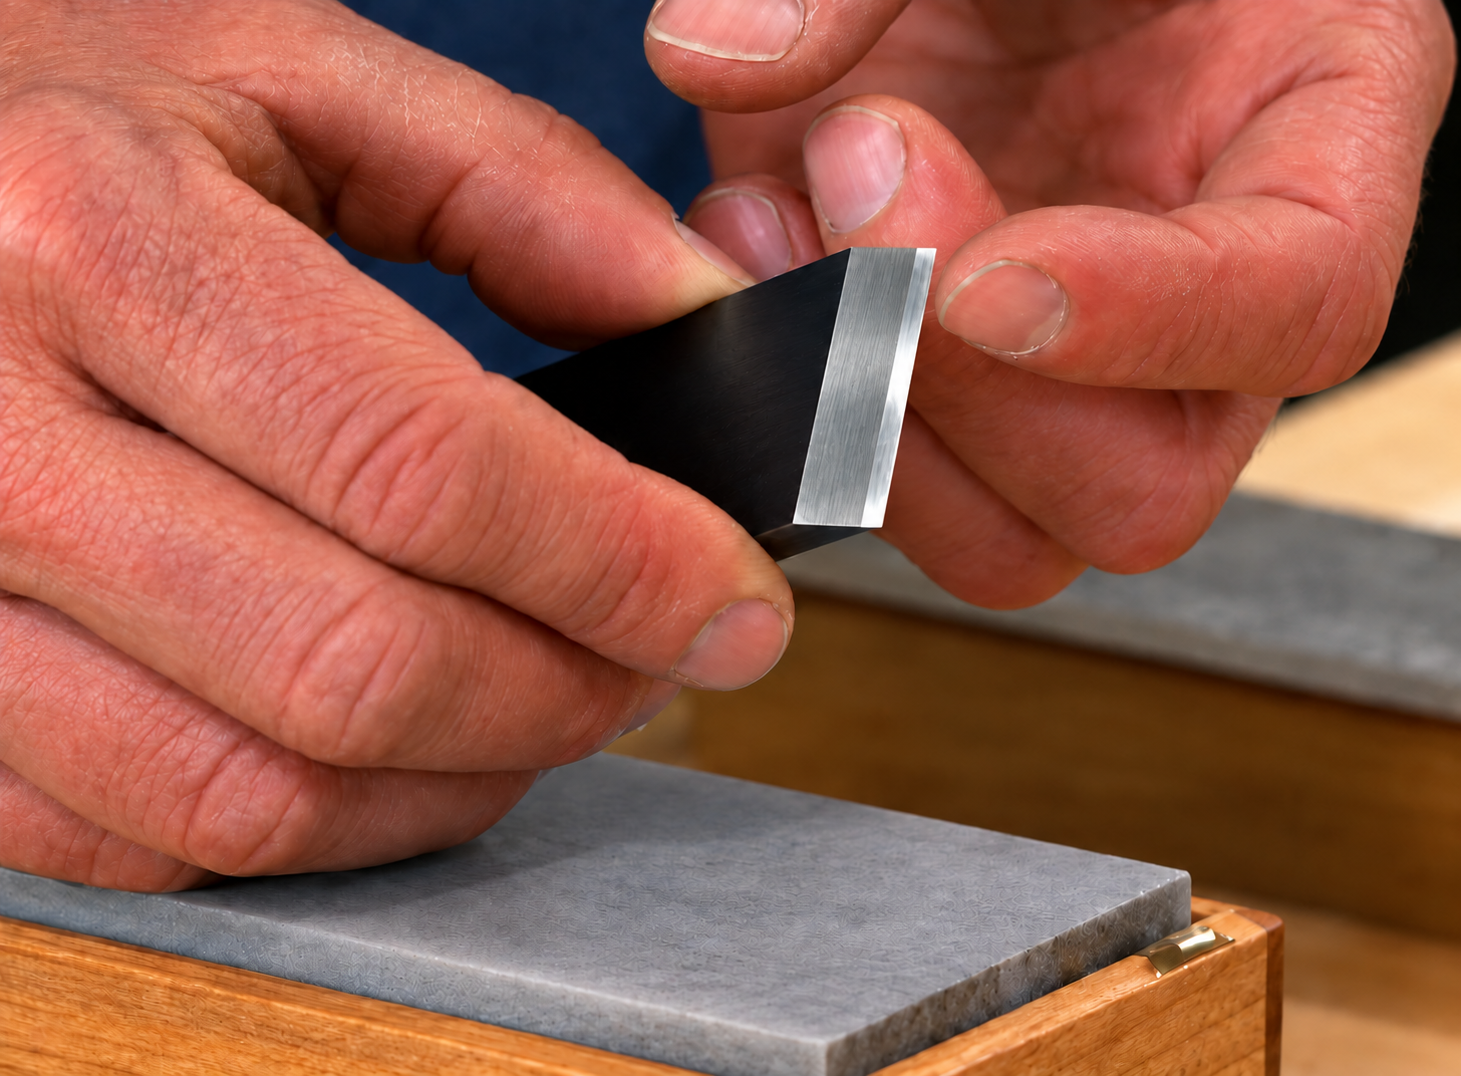
A sharp blade makes all the difference when trimming end grain and fitting tight joints. Learn how to hone a hand plane blade, polish the cutting edge, and remove the wire edge for cleaner, more controlled cuts.
LEARN TO SHARPEN YOUR PLANE → Get Better Results from Your Hand Planes


