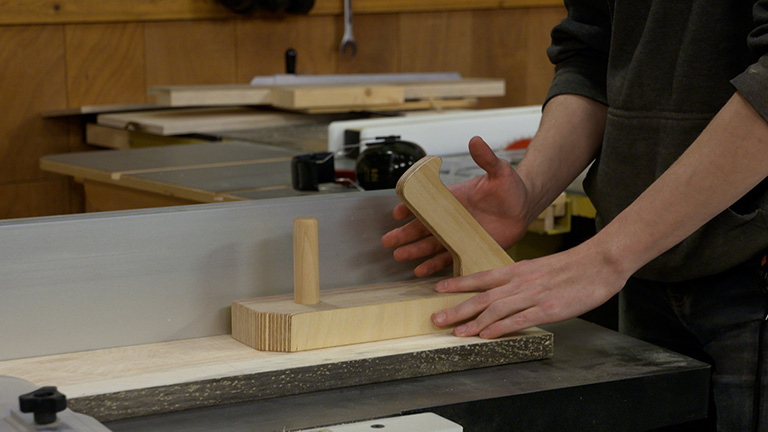
Tapering the legs of a project can really add to its looks. One quick method to get the job done is to use a jointer. The jointer produces a clean, crisp cut that needs just a touch of sanding. And it doesn’t require a lot of layout work.
There is one thing you may want to consider before you begin tapering a set of legs. And that’s any joinery that needs to be cut on the legs. Depending on the length of the taper, there may only be a small fl at spot at the top of the leg where it joins to the project. For this reason, you may want to lay out and complete any joinery before you start.

The basic technique here is simple. The top of the leg is lowered onto the cutterhead. The key is knowing where to start the cut. To do this, I make a pair of reference lines. One marks the start of the taper on the workpiece. Since the leg is coming down at an angle, it’s possible to create a dished cut at the beginning of the taper. To prevent this from happening, I wrap a couple layers of masking tape around the leg just above the reference line. This raises the leg just enough above the cutterhead to produce a smooth cut.
The other reference line indicates the front edge of the outfeed table on the jointer.

The next thing to do is set the depth of cut. I get better results by making several shallow passes. For example, to produce a 1⁄4" taper, set the jointer for a 1⁄8"- deep cut and make two separate passes. I’ve always found it best to allow for a clean-up pass, though. So I adjust the infeed table for a final cut that’s a hair less (1⁄64").
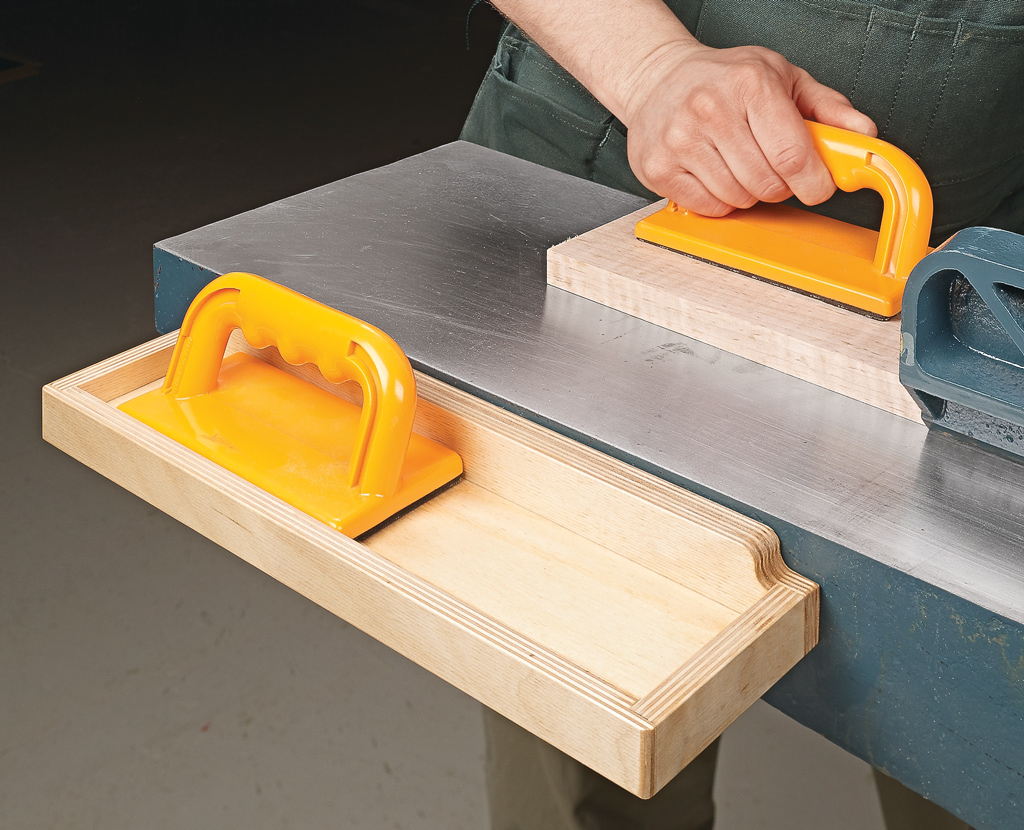
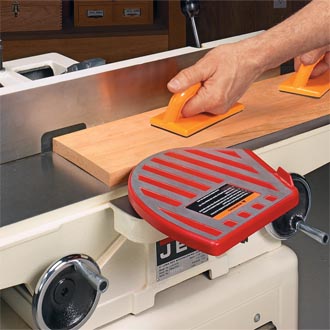
At this point, cutting the taper is just a matter of nudging the guard open with the end of the leg and then sliding it forward until the reference marks align. Once the back edge of the tape aligns with the mark, you can lower the leg onto the cutterhead. Safety Note: Be aware of your hand position at all times as you lower the leg onto the cutterhead and make each pass. Next, hook a push block over the end of the leg to complete the cut. Provide gentle pressure against the leg as it moves onto the outfeed table of the jointer.

Now, depending on the size of the taper, you may need to repeat the process. Just keep track of how many passes you make on each face. (I make a mark on the masking tape after each pass.) All that’s left now is to make a clean-up pass. The goal here is to take as light a cut as possible, yet still cut the taper right up to the layout line. To do this, remove the tape on the leg and raise the infeed table until the knives just graze the layout line at the start of the taper. Finally, instead of lowering the leg onto the cutterhead like you did before, make a full-length pass with the leg riding on the tapered side. The end result speaks for itself, as you can see on the opposite page. The process creates tapers that are smooth and straight.