



How to Make a Roller Featherboard for a Router Table
Routing tall workpieces can be challenging, especially when using a vertical raised-panel bit at the router table. Because the panel stands on edge, keeping it firmly against the fence throughout the cut is essential for producing a smooth, consistent profile.
A conventional featherboard can help, but it typically applies pressure near the bottom of the workpiece. That leaves much of a tall panel unsupported, making it harder to maintain steady contact with the fence.
This shop-made router table roller featherboard solves the problem with a pair of spring-loaded casters. The rollers apply pressure at two points along the height of the panel, helping keep it against the router table fence while allowing it to move smoothly past the bit.
Best of all, the accessory is easy to build from a few pieces of MDF and inexpensive hardware.
How the Router Table Roller Featherboard Works
The design consists of an L-shaped support made from 3⁄4"-thick MDF. Two small appliance casters are mounted to the upright portion of the support.
Unlike a traditional featherboard, which uses flexible wooden or plastic fingers, this design uses spring-loaded rollers to apply pressure against the workpiece.
As the panel moves past the router bit, the casters roll along its surface. Springs behind the casters allow them to move slightly in and out, maintaining contact with the workpiece.
The result is more consistent support across the height of a tall panel.
This is particularly useful when routing raised-panel profiles with a vertical raised-panel bit.
Build the L-Shaped MDF Support
The base and upright support are made from 3⁄4" MDF.
The base provides a stable surface for securing the accessory to the router table, while the upright holds the spring-loaded casters in position.
Start by cutting the MDF pieces to suit your router table and the height of the panels you'll be routing.
The upright needs to be tall enough to position the rollers at useful locations along the workpiece.
The base should provide enough room to clamp the assembly securely to the router table.

Drill Oversized Holes for the Casters
The casters are mounted through holes in the upright MDF support.
Rather than drilling holes that fit the caster studs tightly, make the holes slightly oversized.
This provides clearance for the studs to move as the springs compress and expand.
Without this clearance, the casters could bind instead of maintaining smooth pressure against the workpiece.
Counterbore for the Caster Studs
The threaded studs on appliance casters are often relatively short.
To accommodate them, counterbore the mounting holes as shown in the drawing.
The counterbores provide the necessary clearance for the mounting hardware and spring arrangement.
Check that both casters move freely before completing the assembly.
Install the Springs and Rollers
The springs are positioned behind the casters to push the rollers toward the workpiece.
As the panel passes through the router table, the rollers can move slightly to accommodate minor variations while maintaining contact.
Choose springs that provide enough pressure to keep the panel against the fence without making it difficult to feed the workpiece.
Woodsmith Tip: Install the springs and casters before assembling the MDF base and upright. Access to the mounting hardware is much easier while the pieces are separate.
Once the rollers are installed and working smoothly, join the MDF pieces with glue and screws to create the L-shaped support.

Using the Roller Featherboard at the Router Table
To use the accessory, position it on the router table so the rollers contact the workpiece and press it toward the fence.
Clamp the base securely to the table.
The rollers should provide gentle, consistent pressure without forcing the panel out of position or making it difficult to feed.
Before switching on the router, slide the workpiece through the setup to verify that both casters roll smoothly and that the panel remains against the fence.
Make sure the support, casters, clamps, and mounting hardware are clear of the router bit and its cutting path.
Important Safety Note: Position the roller support on the infeed side of the router bit. Don't use it to apply sideways pressure directly opposite or beyond the cutter, where it could pinch the workpiece against the bit. Use appropriate guards, push devices, and a suitable feed direction. The roller guide supplements these precautions; it doesn't replace them.
For large raised panels, additional infeed and outfeed support may also be necessary.
A Practical Router Table Upgrade
This simple roller featherboard makes routing tall workpieces easier by providing support where an ordinary featherboard may fall short.
The spring-loaded casters maintain contact with the panel while allowing it to move smoothly along the router table fence.
With just a few pieces of MDF, two appliance casters, and some springs, you can build a useful router table accessory that helps produce more consistent results when routing raised panels and other tall workpieces.
Build Your Own Router Table
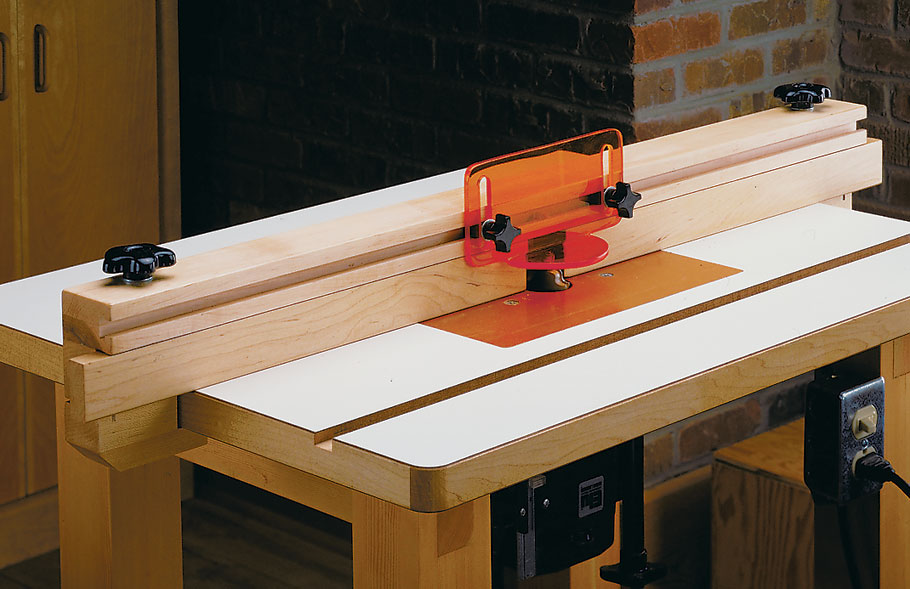
A dedicated router table makes it easier to tackle everything from decorative profiles to precision joinery. Build your own router table and expand its capabilities with shop-made accessories like this spring-loaded roller featherboard.
GET THE ROUTER TABLE PLANS → Upgrade Your Shop with a Versatile Routing Station


