


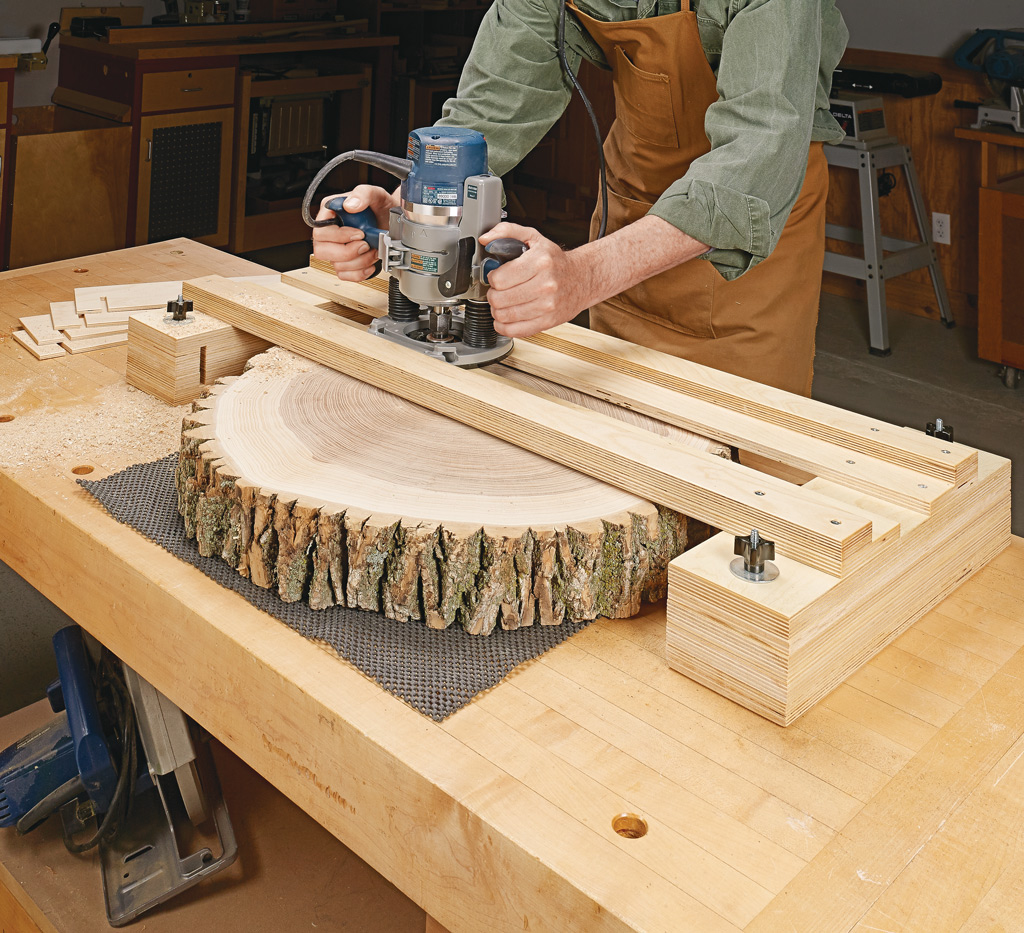
Quick Tip: Flatten Wood Slabs with a Router Leveling Jig
I work with a lot of rough-sawn lumber and live-edge tree slices. The problem is that many of these pieces are too wide for my thickness planer, and planing end grain can lead to serious tearout.
My solution is a simple router leveling jig made from plywood. It allows me to flatten large, twisted, or irregular workpieces using a handheld router and a large bowl-and-tray bit.
The jig is easy to adjust for different thicknesses, and you can size it to accommodate the largest slabs you typically work with.
Build the Adjustable Router Leveling Jig
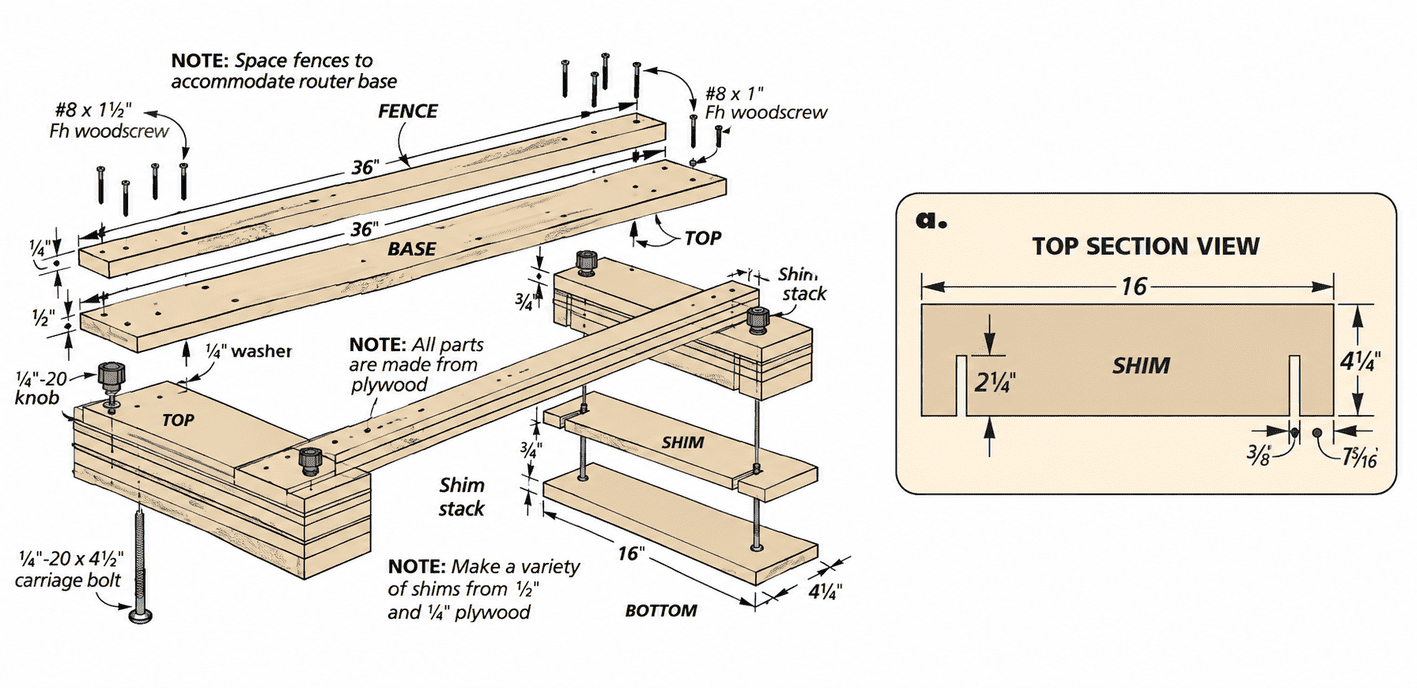
The jig consists of two plywood router guides, each made with a base and a fence. The guides are supported at their ends by adjustable stacks of shims.
The shim stacks have solid top and bottom pieces. The middle shims are slotted so they can be added or removed without completely disassembling the jig.
Four knobs secure the guides and shim stacks once the height is adjusted.
Set the Jig Height
Place the workpiece and leveling jig on a flat, stable surface. My workbench works well for this.
Make sure the slab can't rock or shift. For lighter workpieces, a non-slip pad may help, but the stock needs to be held securely before routing.
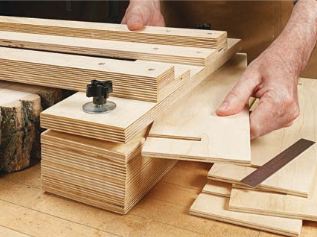
Add an equal number of shims to each stack until the router guides clear the highest point of the workpiece.
Then tighten the four knobs to lock the guides in position.
Flatten the Surface with a Router
Install a large bowl-and-tray bit suitable for flattening and make a light pass along the guide.
After each pass, reposition the shim stacks and guides by slightly less than the diameter of the router bit. This creates overlapping cuts and prevents ridges between passes.
Continue working across the slab until you've covered the entire surface.
For particularly uneven pieces, you may need to lower the bit and make several shallow passes to remove the high spots.
Keep the router firmly supported on the guides, follow the bit manufacturer's speed recommendations, and wait for the bit to stop completely before making adjustments.
Once the first face is flat, you can turn the workpiece over, support it securely on the flattened face, and repeat the process on the opposite side.
This simple jig gives you a practical way to flatten oversized lumber without needing a large thickness planer.
Get More from Your Router with Three Shop-Made Accessories
Why limit your router to cutting edges and profiles? With these three shop-made router bases, you can tackle everything from flattening rough lumber and wide slabs to cutting accurate mortises and working with smaller pieces.
This step-by-step woodworking plan includes a router sled (bridge base) for flattening oversized stock, an adjustable mortising jig for precise joinery, and a versatile acrylic router base that can be outfitted with hardwood feet and optional dust collection.
These inexpensive accessories expand your router's capabilities without investing in specialized machinery. The downloadable plans include detailed drawings and instructions for building all three.
GET THE 3 AUXILIARY ROUTER BASES PLANS → Step-by-Step Plans from WoodsmithPlans.com.


