


Layman's Marking Gauge: Make Your Own in Minutes
A marking gauge is one of those simple woodworking layout tools that's always handy to have around. Whether you're marking a consistent offset from an edge or laying out a line for a cut, it helps make your measurements repeatable.
There are plenty of commercial marking gauges available, but what if you need one in a pinch?
Roger Akron of Bardstown, Kentucky, came up with a simple solution using just a wooden dowel and a screw. It's an inexpensive DIY marking gauge you can make in only a few minutes.
Start with a Wooden Dowel
The body of the gauge is nothing more than a short length of dowel.
Roger used a 1"-dia. dowel, although anything larger than 3/4" in diameter should work.
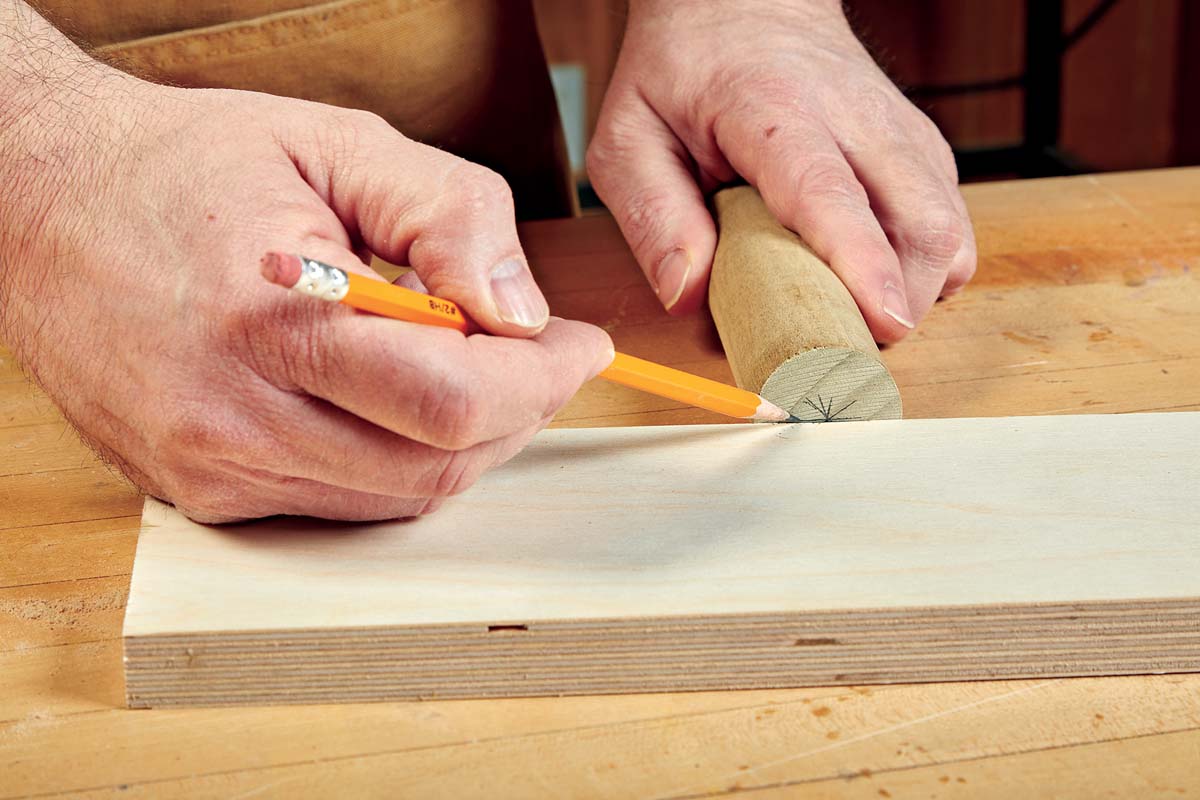
The first step is to locate the center of one end of the dowel.
An easy way to do this is to use a small piece of wood that's about half the thickness of the dowel as a straightedge. Draw a line across the end, rotate the dowel, and repeat.
After making several lines, you'll have an asterisk-shaped pattern that helps identify the centerpoint.
Drill a Pilot Hole for the Screw
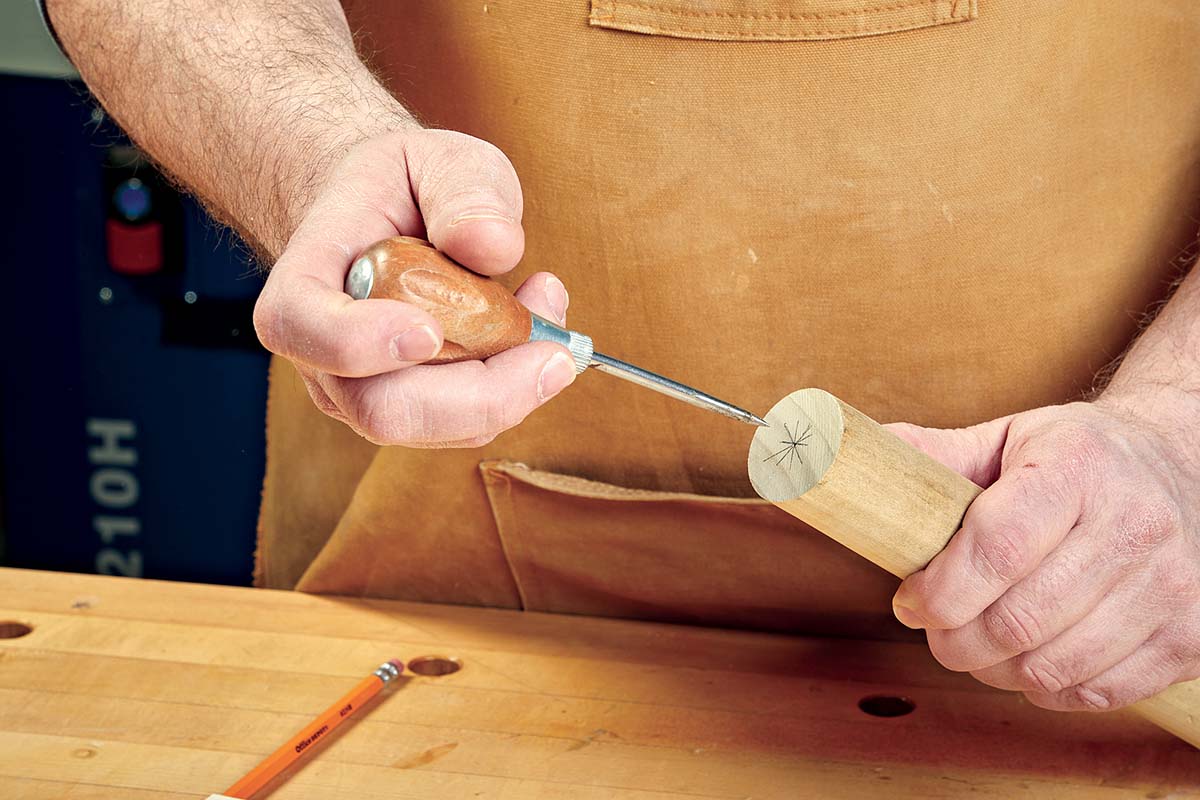
Once you've located the center, use an awl to make a small starting dimple.
This keeps the drill bit from wandering when you drill the pilot hole.
The pilot hole should be sized to accept the screw you'll use as the marking cutter.
Add an Adjustable Marking Screw
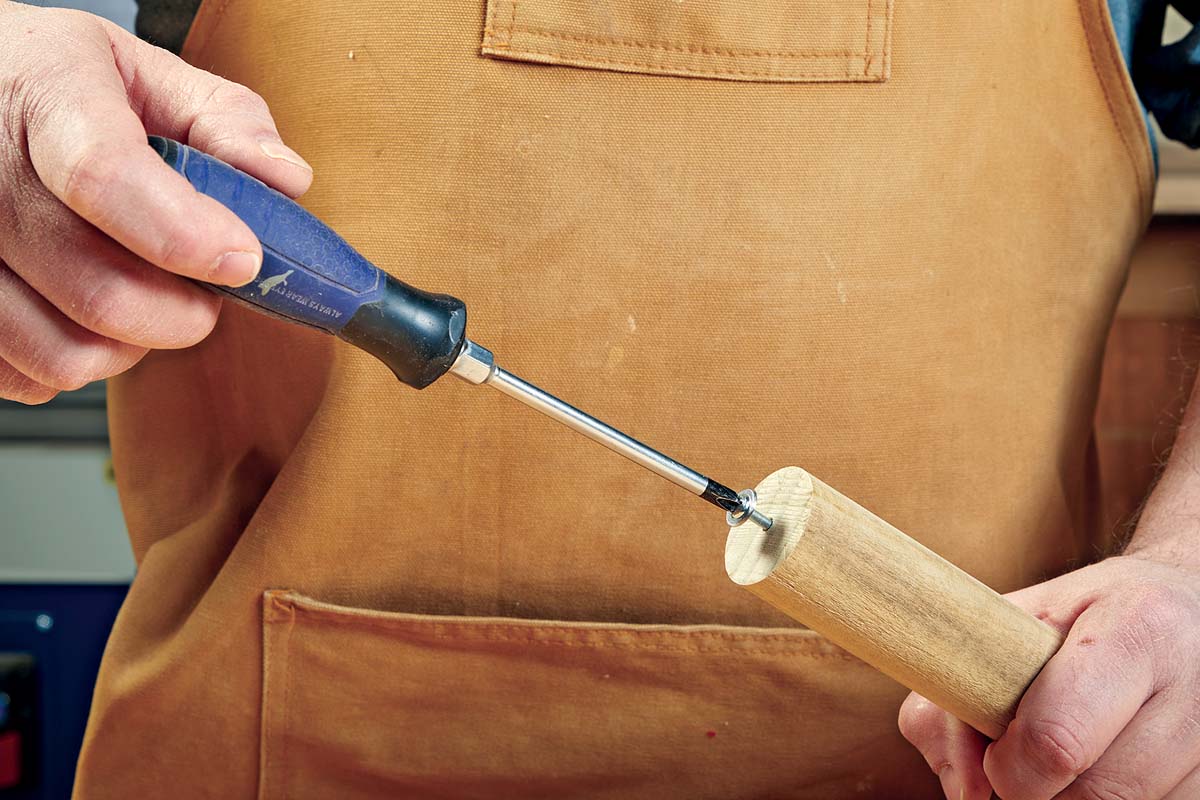
Instead of using a traditional marking pin or wheel, this gauge uses a screw to score the layout line.
Roger prefers a washer-head screw because its broad, thin head provides a marking edge.
He also recommends a fine-thread screw, such as a #8-32 machine screw.
The advantage of 32 threads per inch is that one complete turn changes the screw's position by 1/32". That makes it easy to adjust how far the screw projects from the end of the dowel.
For a machine screw, drill and tap the hole to match the threads so the screw can be adjusted smoothly and held securely.
Put Your Shop-Made Marking Gauge to Work
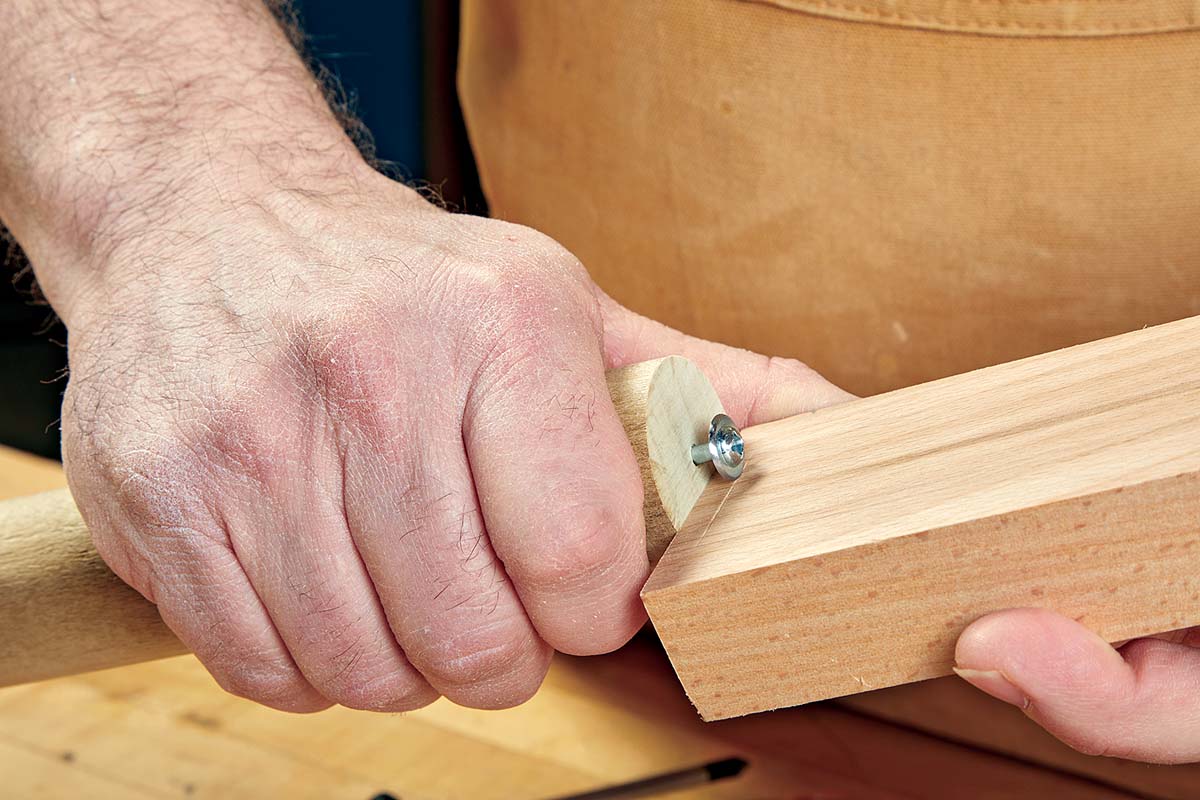
To use the gauge, adjust the screw until its head projects the desired distance from the end of the dowel.
Then place the end of the dowel against the edge of your workpiece and slide it along the edge, allowing the screw head to score a line on the wood.
The dowel acts as the fence, while the adjustable screw determines the offset of the line.
It's a simple way to make consistent layout marks without a dedicated marking gauge.
This homemade version won't replace every feature of a precision marking gauge, but for a quick shop-made solution, it's hard to beat.
And with just a dowel and a screw, you may already have everything you need to make one.
More Woodworking Tips & Techniques
Sometimes the simplest woodworking tools are the most useful. From homemade layout gauges and handy shop-made jigs to clever joinery methods, sharpening tricks, and finishing techniques, there's always another way to make your time in the shop more productive.
Explore our Tips & Techniques collection for practical, reader-submitted ideas that help you work smarter and get better results from your woodworking projects.
EXPLORE MORE TIPS & TECHNIQUES → Discover More Clever Shop-Made Solutions


