All the careful setup and test cuts you’ve gone through to create tight-fitting box joints will finally pay off when it’s time for assembly. You can see the effect in this project. But you’ll need to work quickly once you apply the glue. You can use a slow-setting glue like liquid hide glue or Tightbond III to give you a little more open time during the glueup.

The advantage of box joints is the large amount of gluing surface the interlocking pins and slots create. So it only takes a small amount of glue to create a solid joint. In fact, you don’t need to put glue on every surface. I like to use a brush to apply a small amount of glue to the top of each pin. As you assemble the joint, the glue will spread to the other surfaces. One more thing: I apply masking tape next to the pins to trap any squeezeout on the inside corners where it’s tough to remove.

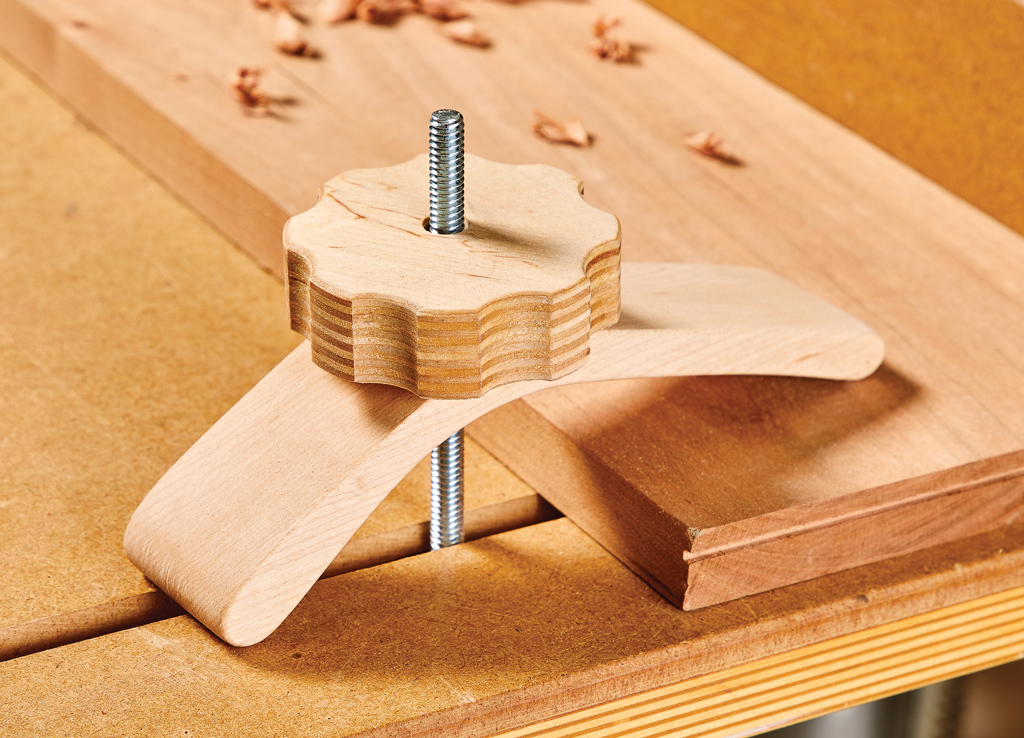
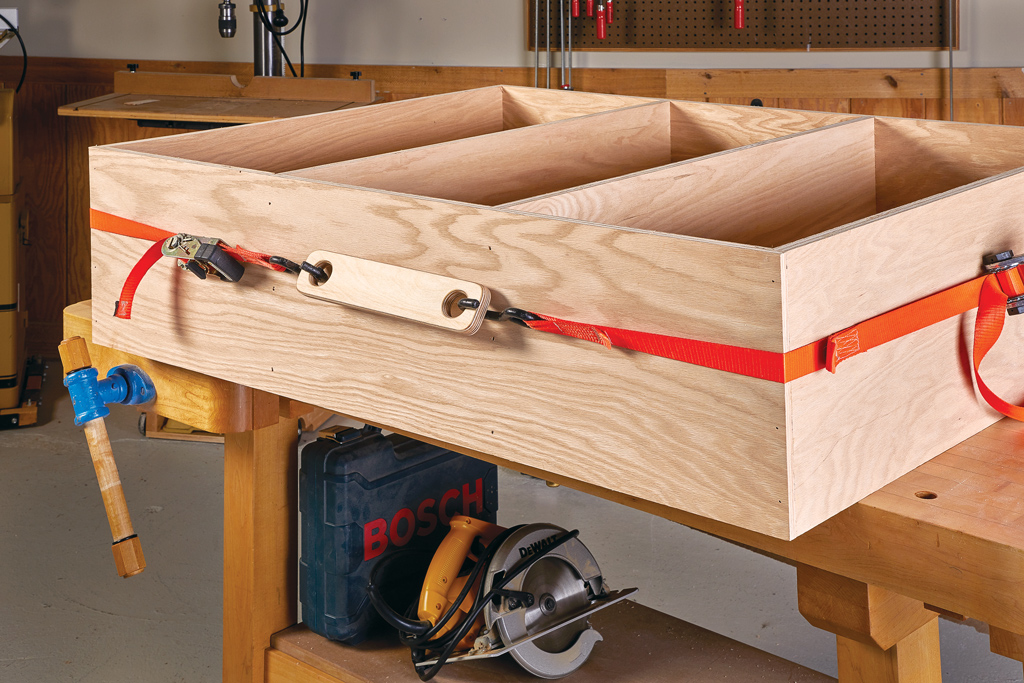
I usually cut the joints so the pins are slightly long. This means I won’t be able to apply clamps directly to the corners. So when you’re ready to apply the clamps, you’ll find clamping blocks come in handy. You can see that the blocks give you the ability to apply pressure to close the joint in both directions without interfering with the pins.

When the glue has skinned over, pull the tape off and the glue will come with it. The result is a clean, tight joint that doesn't require any cleanup.


