METALS. The metals that you will want to try are Aluminum, Brass, Copper, Bronze and Nickel Silver. Each has its own distinct look and provides a nice palate to work with. Sheet metal is often sold in gauge thickness, and gauges can be a little confusing because the thickness implied by a certain gauge is dependent upon the type of metal, by its weight. In the case of Copper, a 20 ga. sheet measures .035” thick, a 22 ga. Sheet measures .028” thick, and a 24 ga. sheet measures .022” thick. Any of these thicknesses will work, although I prefer 22 ga. for it ease of handling.

All of these metals are easily purchased on-line. Two sources I have used are: RioGrande.com and Thunderbird-Jewelry.com. When ordering choose a “dead soft” temper for easier machining.
PREPPING THE METAL. One of the challenges of cutting thin sheet metal with a CNC router is how to hold the material securely and yet still be able to remove the metal without bending or damaging it. The technique that works flawlessly for me is to secure the sheet metal to a sacrificial backer board using liquid hide glue. I find ¾” MDF works the best for the backer board. It’s smooth, flat and soaks up water like a sponge – which you will find out is important. The back of the metal should be lightly “toothed” with an abrasive pad or fine sandpaper before a thin coating of glue is applied. Clamp the metal to the backer board using a clamping caul and the appropriate number of clamps to distribute the pressure evenly. Give the glue a full 24 hours to set.
ROUTER BITS. Cutting metal, even thin sheet metal, requires the right bit and techniques. For cutting Brass, Bronze, Copper and Nickel silver a 1/16” diameter, 1/4” length of cut”, 1/4” shank diameter two flute bit works well. The small diameter allows for the cutting of intricate designs. The short length of cut is very important to the durability of the bit, longer cutting lengths are vulnerable to breaking due to lateral cutting forces. When cutting Aluminum, select a single flute bit. Aluminum is a “gummy and sticky” metal to mill and requires one single wide-open flute to clear the chips. Always purchase 1/4” shank bits, as opposed to 1/8” shank bits, for their stability. Finally, this is a good time to spend a few extra bucks on ceramic coated bits to extend their life.
CUTTING THE METAL. With the sheet metal and backer package secured to the bed of your CNC router and router bit in place, we need to choose the right feed, speed and depth of cut for the toolpath. A speed of 25-30 IPM works well for 1/16” and 1/8” bits in metal. Small bits are often run at a faster RPM than larger bits due to the reduced surface speeds at the cutters edges, however due to concerns over-heat build-up I find an RPM of 18,000 yields good results. The depth of cut should be light at .02”. Even with a shallow cut it won’t take more than two passes for your router to cut through the thin metal. Finally, as with any metal cutting operation, use a lubricant and watch out for chips clogging the kerf.
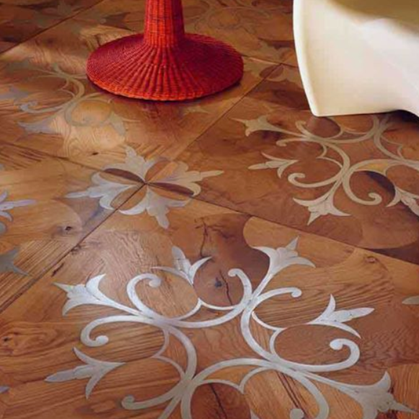
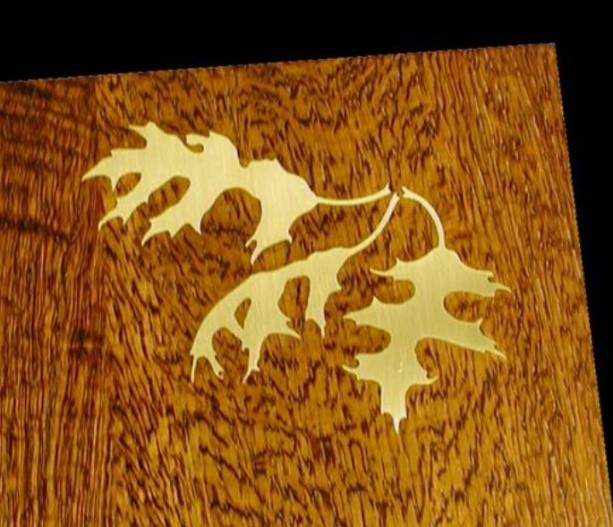
PUTTING IT ALL TOGETHER. With the cutting operation done, take the sheet metal and backer board and place it in warm water for 24 hours. The bond of the hide glue will break down and the metal inlay will separate from the backer. Make sure to remove any burrs or rough edges on the inlay that will keep it from going into the relief cut.
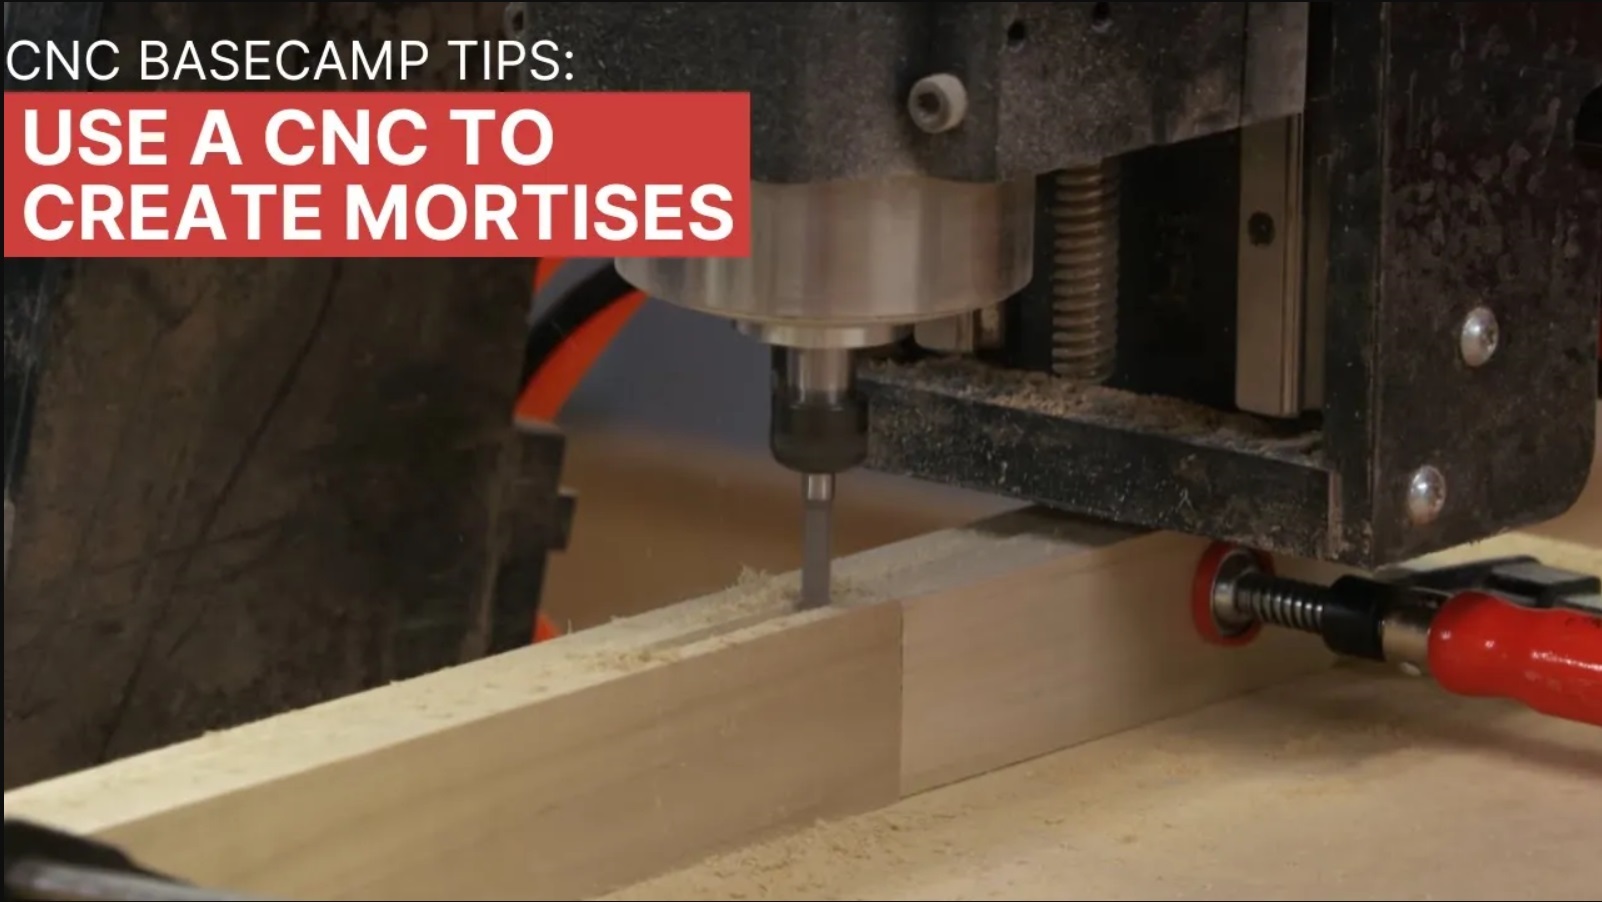
Cutting the negative relief for the inlay is an easy pocket cut. You may have to use a knife to cut into tight corners that the router bit can’t get into. Another option is to use a super-small router bit such as a 1/32” diameter bit. Given the shallow depth of the relief cut super small bits will do a great job of getting into tight corners and clearing the area.
With the relief cut made and the inlay ready, it’s time for the glue-up. I like to use hide glue because of the easy clean up but slow set CA glue or epoxy work great as well. Keep in mind, you don’t want to use very much glue here because the tight, precise fit doesn’t leave any extra room. Use a block of wood and a hammer to gently seat the inlay and then use a clamping caul and clamps to hold things snugly as the glue sets. A bit of final clean-up is all that’s required to complete a beautiful accent for your woodwork.