


One of the most important features of any woodworking chisel is its cutting edge. A sharp chisel is easier to control, produces cleaner cuts, and makes fitting joinery much easier.
We talk a lot about keeping woodworking tools sharp, but the sharpening tools themselves don't always get the same attention.
There are dozens of ways to sharpen a chisel, but three traditional tools remain especially useful: oilstones, waterstones, and leather strops. Each serves a slightly different purpose, and understanding those differences makes it easier to choose the right sharpening method for the condition of your chisel.

Sharpening can improve the performance of almost any chisel. The quality of the steel still matters, however. Better steel generally retains a good cutting edge longer before it needs attention.
Start with a Honing Guide
One of the biggest challenges when sharpening a chisel is maintaining a consistent bevel angle.
That's where a honing guide helps.


The guide holds the chisel or plane iron at a consistent angle as you move the blade over the sharpening stone. This takes much of the guesswork out of establishing and maintaining the bevel.
As your sharpening skills develop, you may choose to sharpen some tools freehand. But a honing guide provides a reliable way to produce repeatable results.
Choosing a Sharpening Stone for Chisels
Two traditional choices for sharpening chisels are oilstones and waterstones.
Their names describe the lubricant each uses, but that's not the only difference. The stones also vary in how quickly they cut, how quickly they wear, and the amount of maintenance they require.
Neither system is automatically the “best.” What's more important is matching the sharpening method to the edge you're trying to create or maintain.
Sharpening Chisels with Oilstones
Oilstones use oil as a lubricant during sharpening.

Mineral oil or a dedicated honing oil helps carry away the tiny metal particles created during sharpening and keeps them from loading the surface of the stone.
Oilstones are available in both synthetic and natural varieties.
Synthetic Oilstones
Two common synthetic options are Crystolon and India stones.
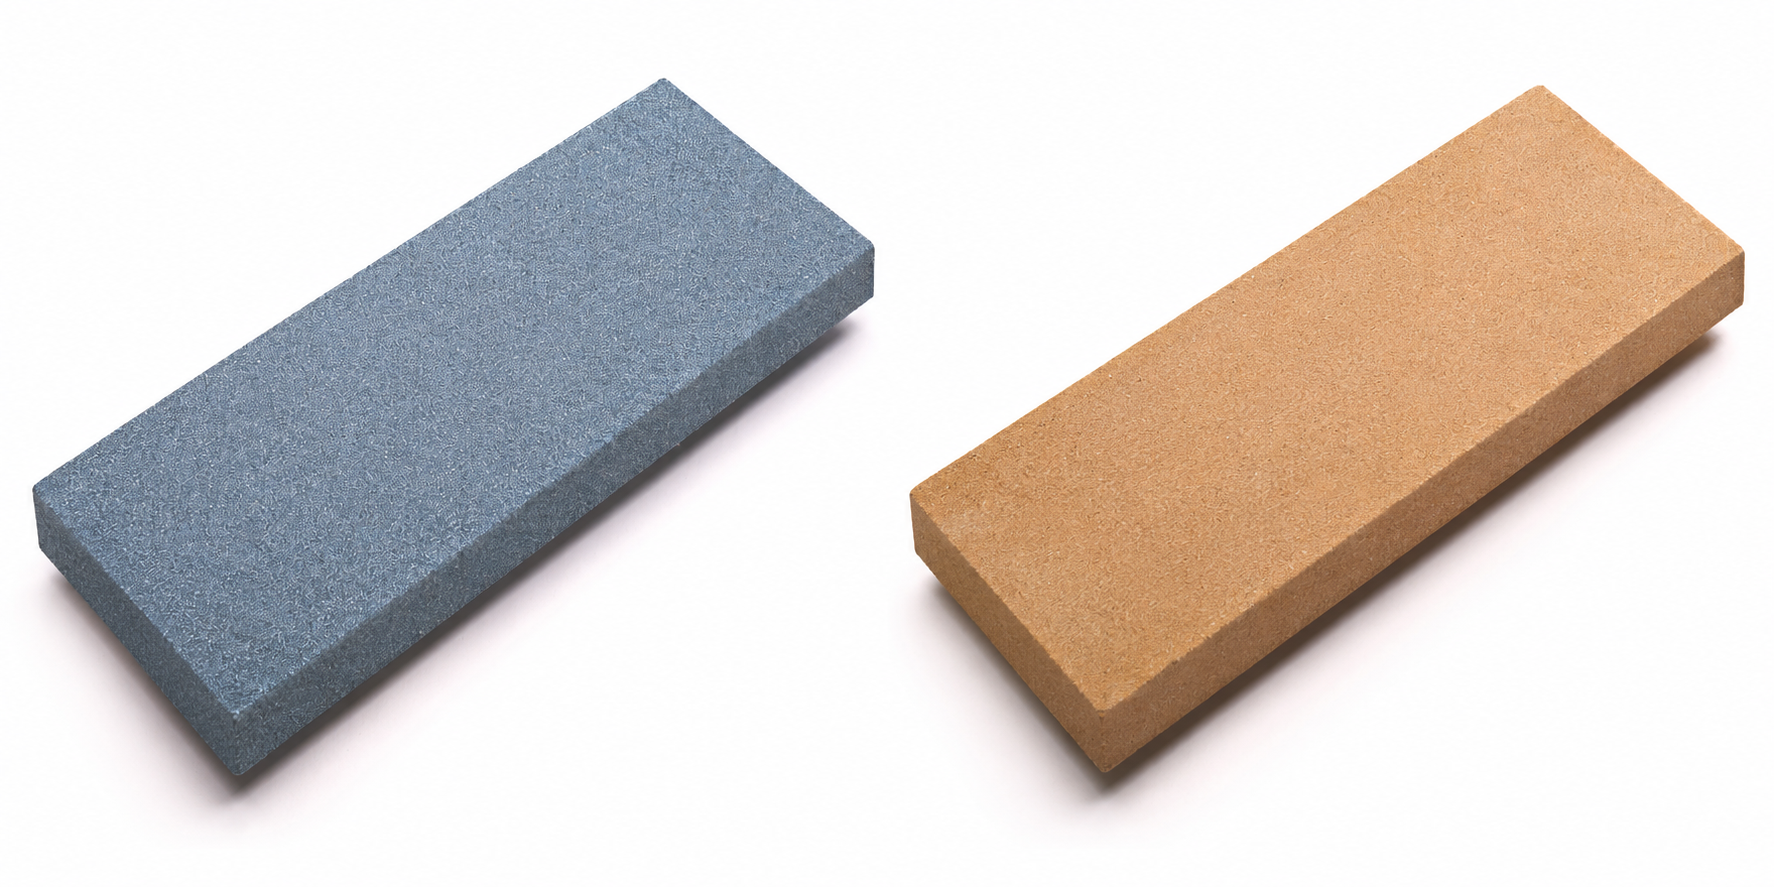
These bonded-abrasive stones provide practical sharpening options without the cost of premium natural stones. The source notes that they're generally found in the coarser range compared with the fine natural stones discussed below.
Arkansas Oilstones
Natural Arkansas stones provide another option.
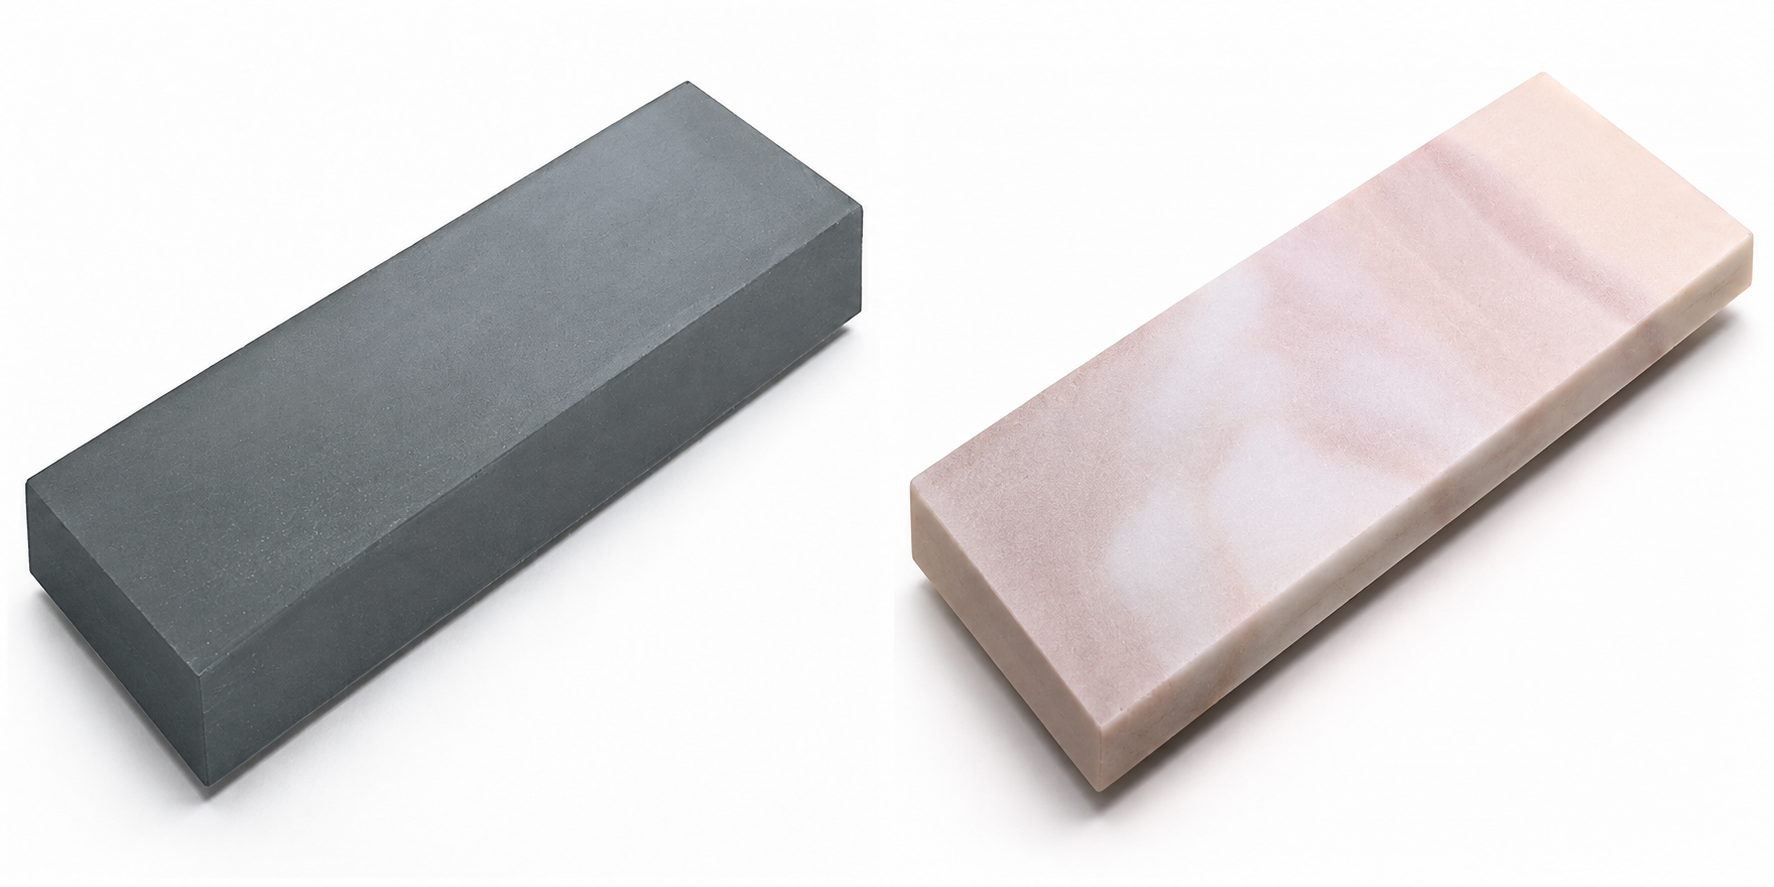
Hard black and translucent Arkansas stones are very hard, fine sharpening stones. Because they remove material relatively slowly, they're especially useful for maintaining and refining an already-good edge rather than doing major work on a very dull chisel.
That's an important part of developing an efficient sharpening routine: Don't ask a very fine stone to do a coarse stone's job.
Sharpening Chisels with Waterstones
If a chisel needs more substantial sharpening, a waterstone offers another approach.

Traditional soaking waterstones need to absorb water before sharpening. In the source method, the stone is submerged until it stops releasing bubbles, indicating that it has become saturated.
The water acts as the sharpening lubricant.
Waterstones tend to cut quickly because the abrasive surface continually renews itself as the stone wears. That can make them particularly useful for restoring older chisels or working on an edge that needs more than a light touch-up.
Combination Waterstones

Synthetic combination waterstones offer two sharpening surfaces in one stone — typically a coarser side for faster material removal and a finer side for refining the edge.
This lets you progress from a coarser abrasive to a finer one without needing a separate stone for every step.
Natural Waterstones

Natural waterstones are another traditional option, although synthetic stones make it easy to assemble a predictable sharpening system.
Regardless of the type, there's one important maintenance consideration with waterstones:
They need to stay flat.
Why You Need to Flatten Waterstones
The same characteristic that allows a waterstone to expose fresh abrasive also causes it to wear.
Over time, repeated sharpening can create a dish or trough in the center of the stone. A dished stone makes it harder to maintain a flat chisel back or a consistent bevel.
Regular flattening restores a true sharpening surface.
This is an ideal place for an internal link to our existing How to Flatten a Waterstone article/video.
Is your sharpening stone dished? Learn how to flatten a waterstone using a flat surface, abrasive paper, and a simple pencil-marking technique.
That's exactly the kind of supporting content cluster we want.
Oilstone vs. Waterstone: Which Should You Use?
Rather than thinking of one as universally better, think about what you need the stone to accomplish.
For a dull or neglected chisel, a faster-cutting waterstone can make sense.
For maintaining and refining an already-sharp edge, a fine oilstone can be an excellent option.
And there's nothing requiring a woodworker to own every possible sharpening stone. A simple progression that reliably gives you the edge you need is more useful than a large collection of abrasives you rarely use.
Finish the Edge with a Leather Strop
Sharpening doesn't necessarily need to end with the stones.
A leather strop can be used to refine and maintain an already-sharp cutting edge.

Light stropping after using a chisel or plane iron can help maintain its edge, potentially extending the time between more involved sharpening sessions.
That's an important distinction:
Sharpening stones restore and refine the edge. A strop is particularly useful for maintaining and polishing an edge that's already sharp.
What Is a Leather Strop?
A woodworking strop doesn't need to be complicated.
The version shown here consists of two pieces of leather attached to a wood block, with smooth leather on one side and suede on the other.

The leather can be used alone or charged with a fine abrasive honing compound to increase its polishing action.
Choosing a Stropping Compound
Honing compounds are available in several forms and abrasive types.
The source describes compounds ranging from aluminum oxide and chromium-based green compound to very fine diamond abrasives.
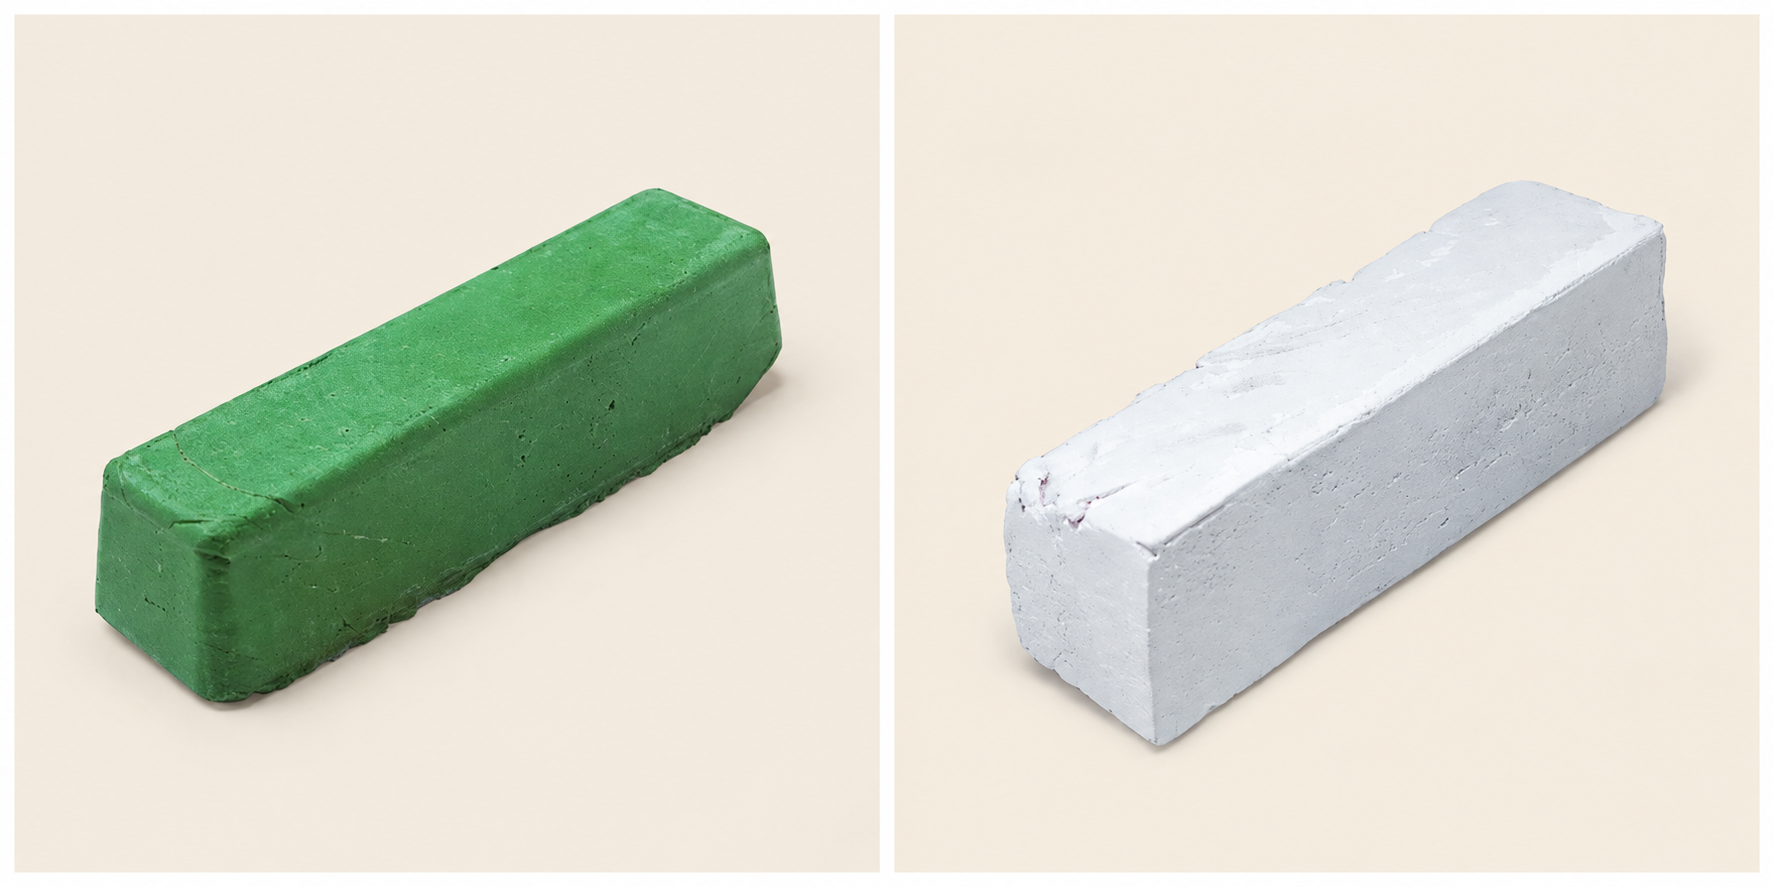
For everyday edge maintenance, an inexpensive compound may be all you need. Extremely fine compounds make more sense when you're trying to produce a highly refined edge on tools such as a paring chisel or smoothing-plane iron.
There's a point of diminishing returns. The finest and most expensive abrasive isn't automatically necessary for every woodworking tool.
How to Strop a Chisel
Stropping itself is straightforward, but maintaining the proper angle takes a little practice.
Step 1: Charge the Strop

Apply the honing compound evenly to the leather. Compounds are available in different abrasive grades for different levels of refinement.
Step 2: Find the Chisel Bevel

Set the chisel on the strop with the cutting edge slightly raised. Then lower the edge until you feel the full bevel make contact with the leather.
This establishes the angle you want to maintain throughout the stroke.
Step 3: Pull the Chisel Across the Strop

Now pull the chisel backward, trailing the cutting edge across the leather.
Don't push the cutting edge forward into the strop. The edge should trail as you make each stroke.
With practice, finding and maintaining the bevel becomes much more natural. The source suggests that roughly 10 to 15 consistent passes can be sufficient during this honing process.
When Should You Strop a Chisel?
This may be the most useful part of the entire routine.
Don't wait until a chisel is completely dull.
A strop has relatively little effect on a truly blunt cutting edge, but it's useful for maintaining an edge that's already sharp. Regular light stropping can reduce how often you need to return to the sharpening stones.
So instead of thinking of stropping only as the final stage of a major sharpening session, consider it routine edge maintenance.
A minute spent maintaining an edge can be preferable to waiting until the tool needs considerably more work.
Match the Sharpening Method to the Chisel
Not every chisel needs the same degree of sharpening and polishing.
The quality of the steel influences both the edge you can produce and how long that edge will last. The source makes the useful point that there's little benefit in spending excessive time creating an extremely refined edge if the steel can't retain it.
For general-purpose chisels, a practical sharpening and honing routine may be all that's needed.
For a fine paring chisel or smoothing-plane iron, taking the edge farther with a fine stone and strop may be worth the additional effort.
The goal isn't to produce the highest theoretical level of polish.
It's to create an edge that's sharp enough for the work you're doing and easy enough to maintain that you'll actually keep it sharp.
A Simple Chisel Sharpening Routine
You don't need a complicated collection of sharpening equipment to keep your chisels working well.
Use a honing guide when you need help maintaining a consistent bevel. Choose an oilstone or waterstone based on how much work the edge needs. Keep your sharpening stones flat and in good condition. Then use a leather strop when you want to refine or maintain an already-sharp edge.
Once you establish a sharpening routine, keeping a chisel sharp becomes much easier than rescuing one after it's completely dull.
And that's ultimately the goal: spend less time sharpening and more time woodworking with tools that cut the way they're supposed to.


