For most woodworking projects, a bottle of yellow PVA wood glue is hard to beat. It’s strong, inexpensive, easy to use, and ideal for everything from edge joints and dovetails to mortise-and-tenon joinery. There’s a reason it’s usually the first glue we reach for in the shop.
But yellow glue can’t do everything.
Some projects need an adhesive that stands up better to moisture. Others call for a longer working time, an almost instant bond, or the ability to join wood to metal and other materials. And for certain repairs and specialized glue-ups, the characteristics of ordinary PVA glue simply aren’t the best match.
Fortunately, you don’t need a shelf full of adhesives to handle these situations. A few alternatives can cover most of the jobs where yellow glue comes up short.
So rather than looking for one glue that does everything, it helps to understand what each type does best. Here are four useful alternatives to yellow wood glue — polyurethane glue, liquid hide glue, cyanoacrylate (CA) glue, and epoxy — and where each one earns its place in the woodshop.
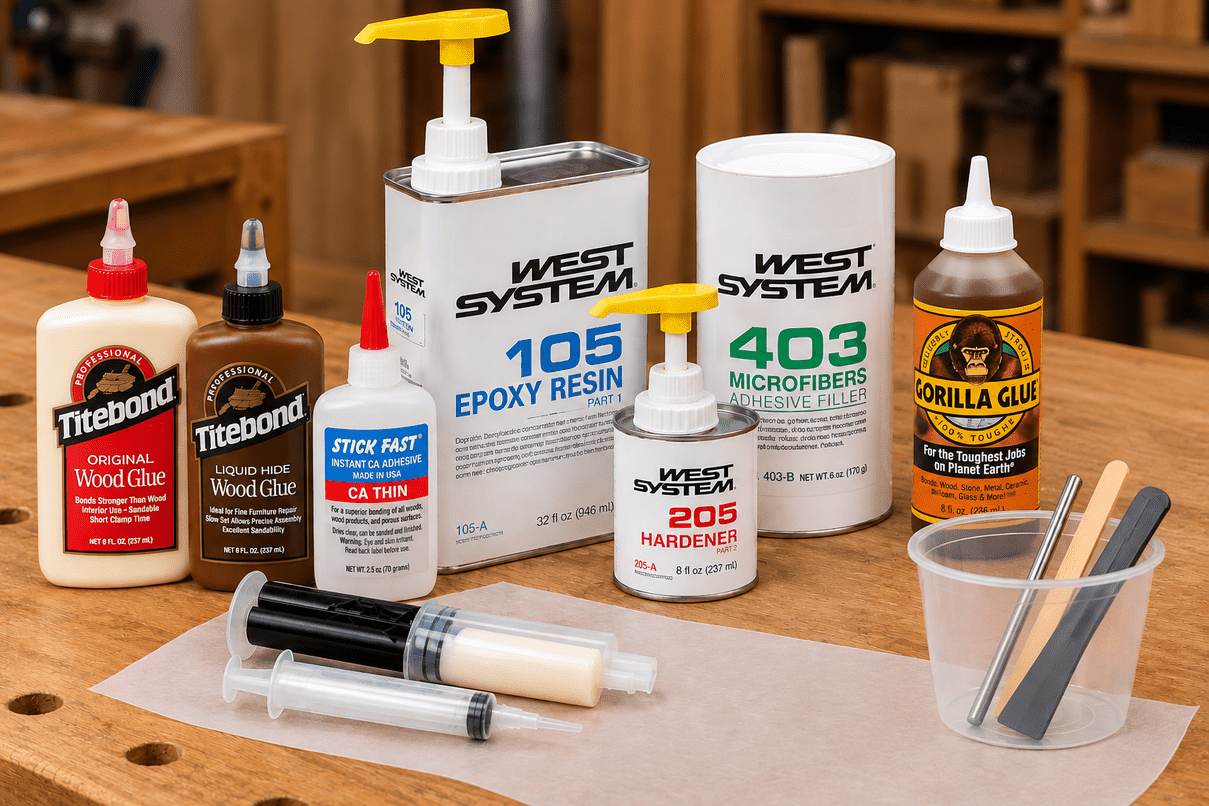
When Regular Wood Glue Isn't the Answer
The goal isn't to replace PVA glue. For everyday furniture and cabinet construction, it's still an excellent choice. Instead, think of these other adhesives as problem-solving tools.
Each offers a characteristic that can make a particular woodworking job easier or provide a better solution than ordinary yellow glue.
PVA Wood Glue
PVA is the familiar yellow woodworking glue used for most furniture and cabinet construction.

It's economical, widely available, and available in formulations with different working times and levels of water resistance.
For ordinary, well-fitted wood-to-wood joinery, it's usually the logical starting point.
Polyurethane Glue
Polyurethane adhesive is moisture-cured and is commonly recognized by the foam that appears around the glue line as it cures.

Depending on the product, the manufacturer's directions may call for lightly dampening one of the mating surfaces before assembly.
Once the exposed foam has cured, it's generally easier to scrape away than it is to wipe up while wet.
Liquid Hide Glue
Hide glue has a long history in furniture making, but you don't necessarily need a glue pot to use it.

Liquid hide glue provides a relatively long open time, cleans up easily, and cures to a hard glue line. Another useful characteristic is reversibility: heat and moisture can soften the glue, which can be valuable when repairing or restoring furniture.
CA Glue
Cyanoacrylate — CA glue or super glue — solves a completely different problem: speed.

A small amount can create a bond very quickly. That makes CA especially handy for shop jigs, small repairs, positioning parts, and certain applications involving different materials.
It's available in thin, medium, and thick viscosities, and an accelerator can make the bond form even faster.
RELATED ARTICLE: Woodworking Adhesives: How to Choose the Right Wood Glue____text in bold
If you want a complete comparison of these adhesives and when to choose each one, the broader woodworking adhesives guide is the better resource.
But for the rest of this article, we're going to concentrate on one of the most versatile options: epoxy.
Why Use Epoxy for Woodworking?
Epoxy is different from the ready-to-use adhesives in your glue cabinet.
It's typically supplied as two components: resin and hardener.

When they're combined in the manufacturer's specified ratio, a chemical reaction begins that eventually turns the liquid mixture into a hard adhesive.
That two-part system requires a little more preparation, but it also gives epoxy some useful characteristics.
Depending on the epoxy system and formulation, you may be able to choose products with different working times or modify the consistency to suit a particular job.
Epoxy is also useful for bonding certain dissimilar materials, such as wood and metal.
LEARN HOW TO USE EPOXY → How to Use Epoxy for Woodworking
Choose the Working Time You Need
A complicated glue-up involving many parts can become stressful when the adhesive starts setting before everything is assembled.
Some epoxy systems allow you to select hardeners with different cure speeds.
A slower-curing option can give you more time to position parts, make adjustments, and complete the assembly before the epoxy begins to set.
For a simpler repair, a faster-curing formulation may make more sense.
The important measurement is the epoxy's working or open time, not simply how long it takes to reach its final cure.
Adjust Epoxy Consistency for the Job
Another advantage of some epoxy systems is the ability to alter their consistency with compatible fillers.
A relatively fluid epoxy can flow readily across a horizontal surface or into small spaces.
For vertical or sloped surfaces, a thicker mixture can be easier to control because it won't drip or run as readily.
Use only fillers and additives that are compatible with the epoxy system you're using and follow the manufacturer's recommendations.
Measure Resin and Hardener Accurately
Successful epoxy work starts with getting the proportions right.
The required ratio varies by epoxy system, so don't assume that resin and hardener should always be mixed in equal amounts.
Read the manufacturer's instructions and measure accordingly.
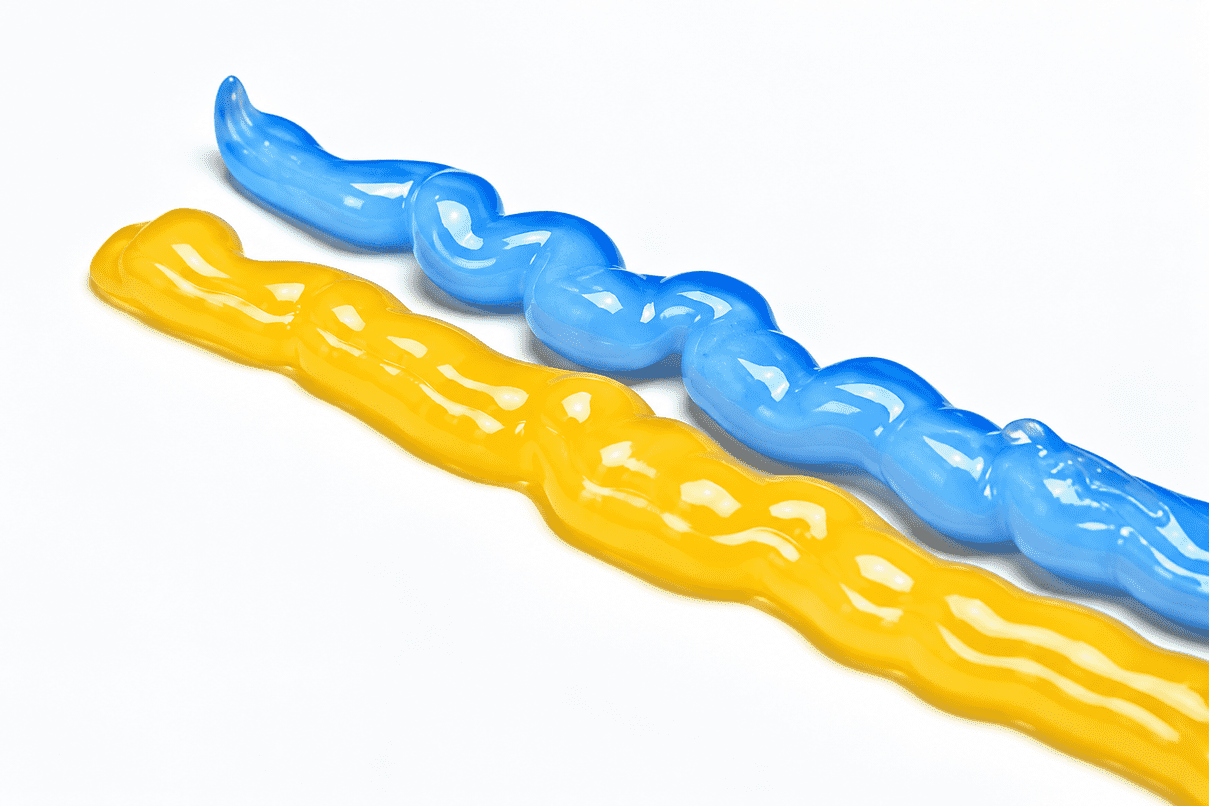
Once the components are combined, the curing reaction begins. Mix only as much epoxy as you expect to use within its working time.
Disposable mixing containers make the process easier.
Avoid improvised containers that aren't suitable for epoxy. The curing reaction can generate heat, particularly with larger quantities, so use mixing containers recommended for the product.
Mix Epoxy Thoroughly
Correct proportions are only part of a successful batch.
The resin and hardener also need to be thoroughly combined.
A square-tipped mixing stick or spatula works well because it allows you to scrape and fold the material rather than simply swirling it around.
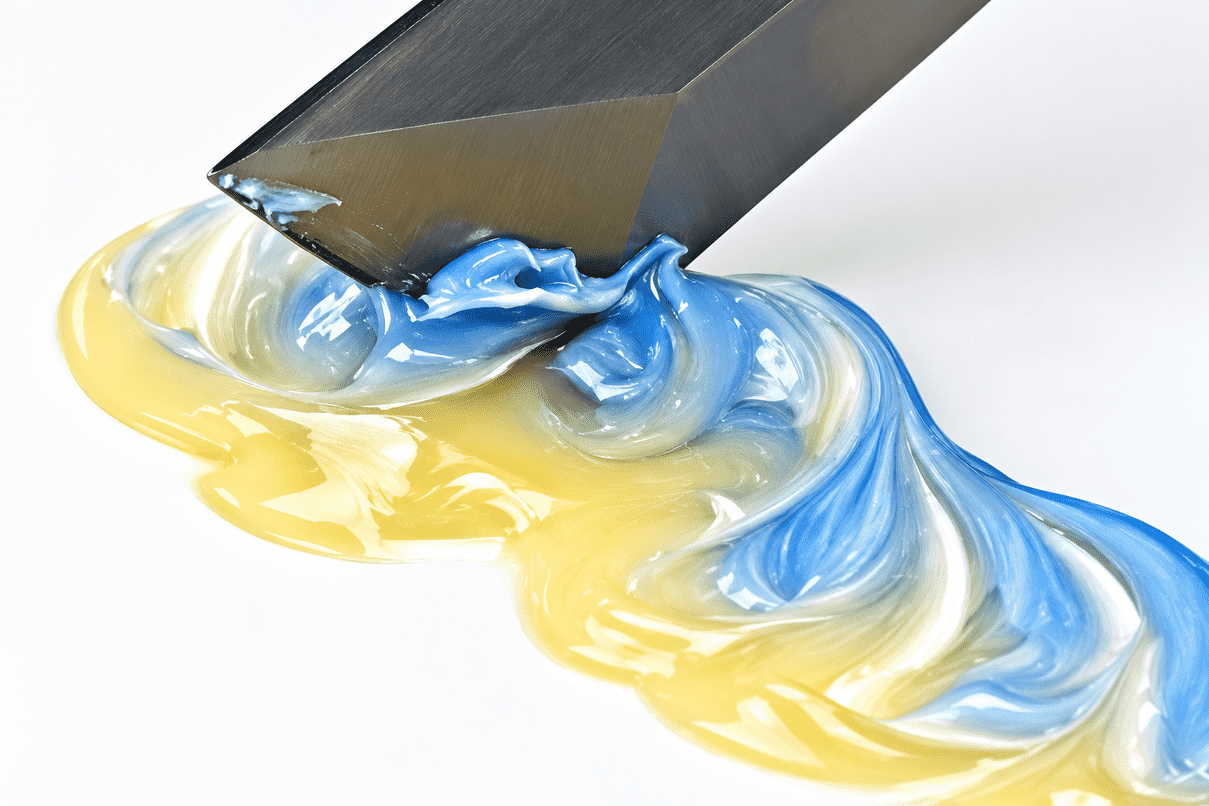
Begin by working the two components together.
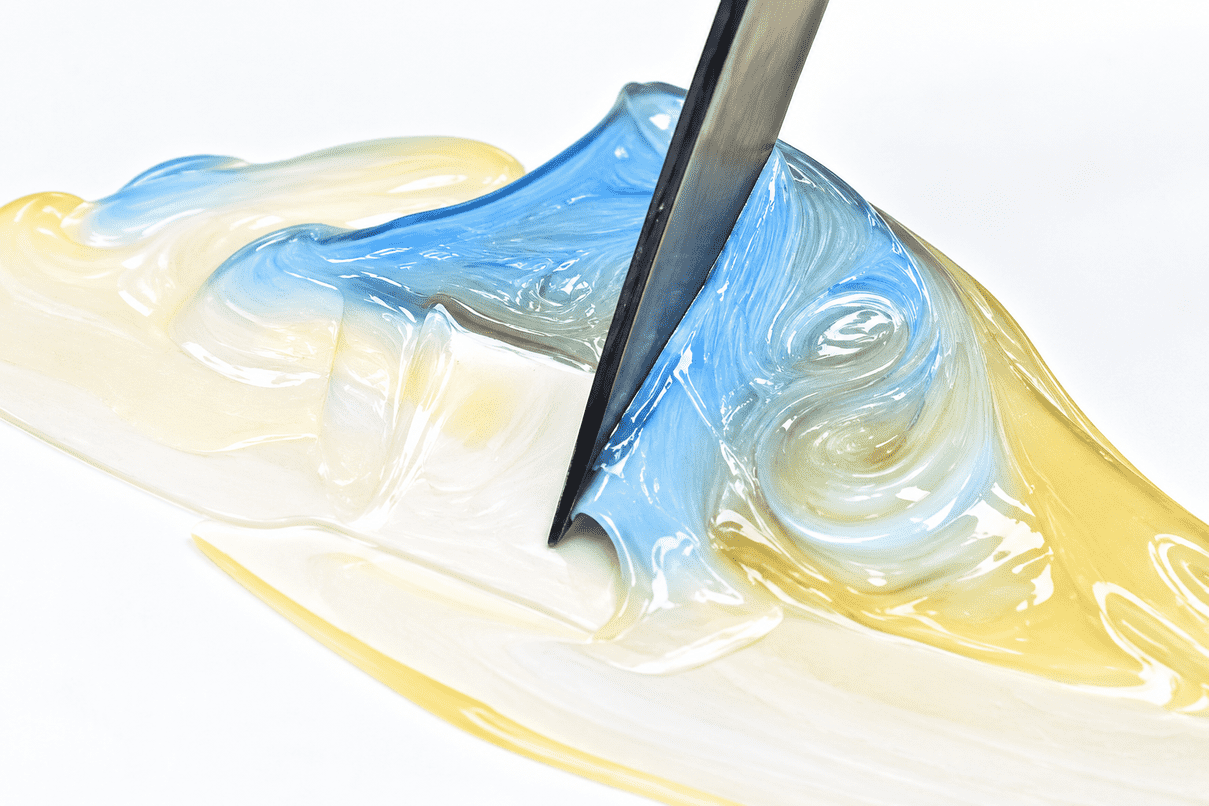
Continue scraping, smoothing, and folding the mixture back onto itself. Pay attention to the material along the bottom and edges of the mixing surface or container so unmixed material isn't left behind.
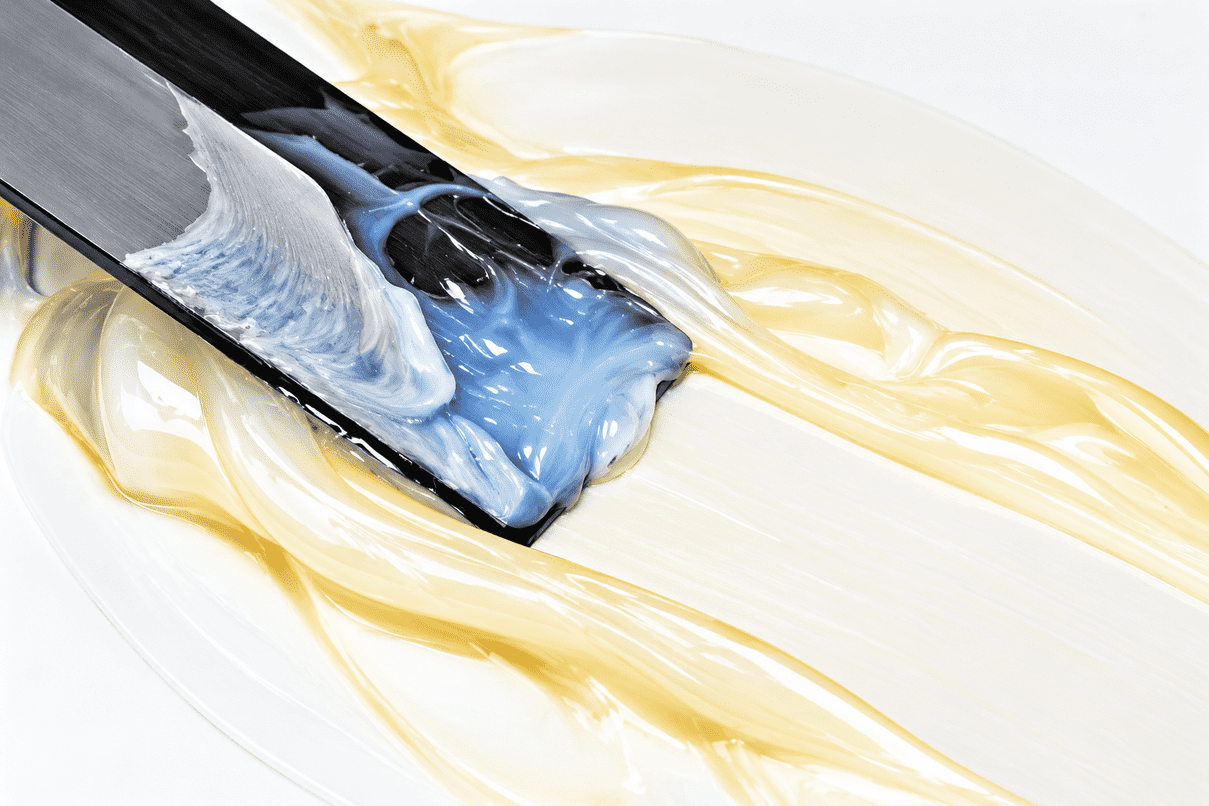
Continue until the mixture is uniform according to the epoxy manufacturer's instructions.
Woodsmith Tip: Don't Rush the Mixing. Accurate measuring doesn't help if pockets of resin or hardener remain unmixed. Take the time to scrape the mixing surface or container and thoroughly combine the entire batch.
Prepare the Joint
Before applying epoxy, make sure the surfaces are properly prepared for the particular epoxy and materials you're bonding.
They should generally be clean and free of contaminants that could interfere with adhesion. Once everything is prepared and you've confirmed the fit, mix the epoxy.
That sequence matters. The moment the resin and hardener are combined, your working time begins.
Apply Epoxy to the Joint
Spread the mixed epoxy over the mating surfaces with a disposable glue brush or other suitable applicator.
You want enough epoxy to wet the surfaces and maintain an adequate glue line when the parts come together.
Then position the components and hold them securely while the epoxy cures.
Don't Over-Clamp an Epoxy Joint
Clamping epoxy can be different from a typical PVA glue-up.
The objective is to hold the parts in position and maintain contact, not necessarily to squeeze the joint as tightly as possible.
Excessive clamping pressure can force too much epoxy out of the joint.
Depending on the assembly, conventional clamps may be appropriate, while lighter work may only require tape or rubber bands to maintain alignment.
Follow the recommendations for the epoxy system and joint you're using.
Clean Up Before Epoxy Cures
Once epoxy has cured, removing unwanted squeeze-out becomes considerably more difficult.
Clean excess adhesive while it's still manageable using the cleanup method specified by the epoxy manufacturer.
Also pay attention to leftover mixed epoxy. Curing epoxy generates heat, and larger masses can become considerably hotter than a thin film spread across a joint.
Allow leftover material to cure in a safe manner according to the manufacturer's disposal instructions.
Epoxy Safety
When working with epoxy, follow the product's current safety instructions. Use appropriate gloves and eye protection and provide the ventilation recommended by the manufacturer.
Avoid getting uncured resin or hardener on your skin.
Where Epoxy Fits in the Woodshop
Epoxy isn't a replacement for ordinary wood glue.
You probably don't need to mix a batch of resin and hardener every time you assemble a mortise-and-tenon joint.
Its value is in the jobs where ordinary woodworking glue isn't the best fit:
- Bonding compatible dissimilar materials
- Filling gaps or voids
- Complicated assemblies where a suitable longer-working epoxy is helpful
- Repairs requiring an adhesive with epoxy's characteristics
- Applications where the consistency needs to be adjusted
Once you're comfortable measuring and mixing it, epoxy becomes less intimidating and starts looking like another useful problem-solving tool in the shop.
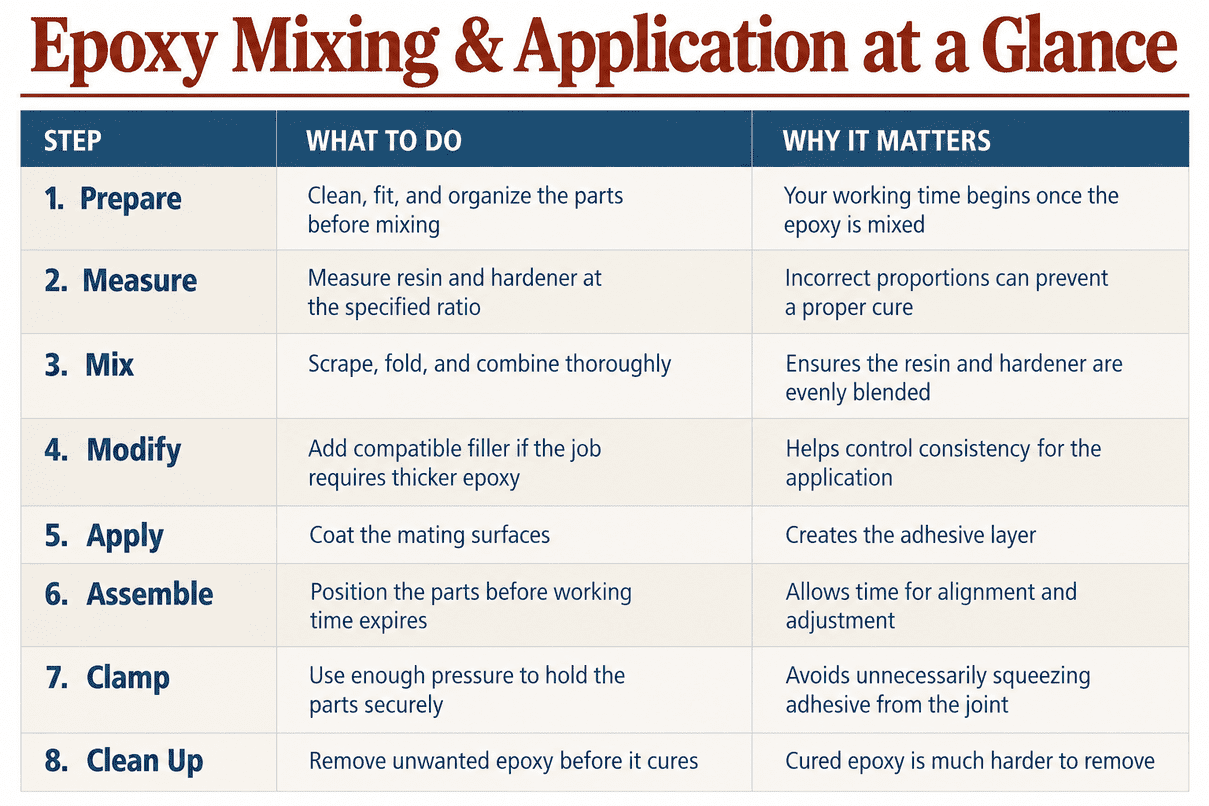
Epoxy Mixing & Application at a Glance
Build a Better Glue Arsenal
Yellow PVA glue will probably remain the workhorse adhesive in your shop. But knowing when to reach for something different can make tricky glue-ups a lot easier.
Polyurethane glue, liquid hide glue, CA glue, and epoxy each bring something different to the workbench. You may not use them on every project, but when you need better moisture resistance, a reversible glue line, an almost instant bond, or an adhesive suited to specialized applications, it pays to know your options.
The key isn't having every glue on the shelf. It's matching the adhesive to the job.
Which Wood Glue Should You Use?
Not sure which adhesive is right for your next project? Our complete woodworking glue guide compares PVA, CA glue, polyurethane, epoxy, and specialty adhesives to help you choose the best option for the job.
COMPARE WOODWORKING ADHESIVES → Woodworking Adhesives: How to Choose the Right Wood Glue