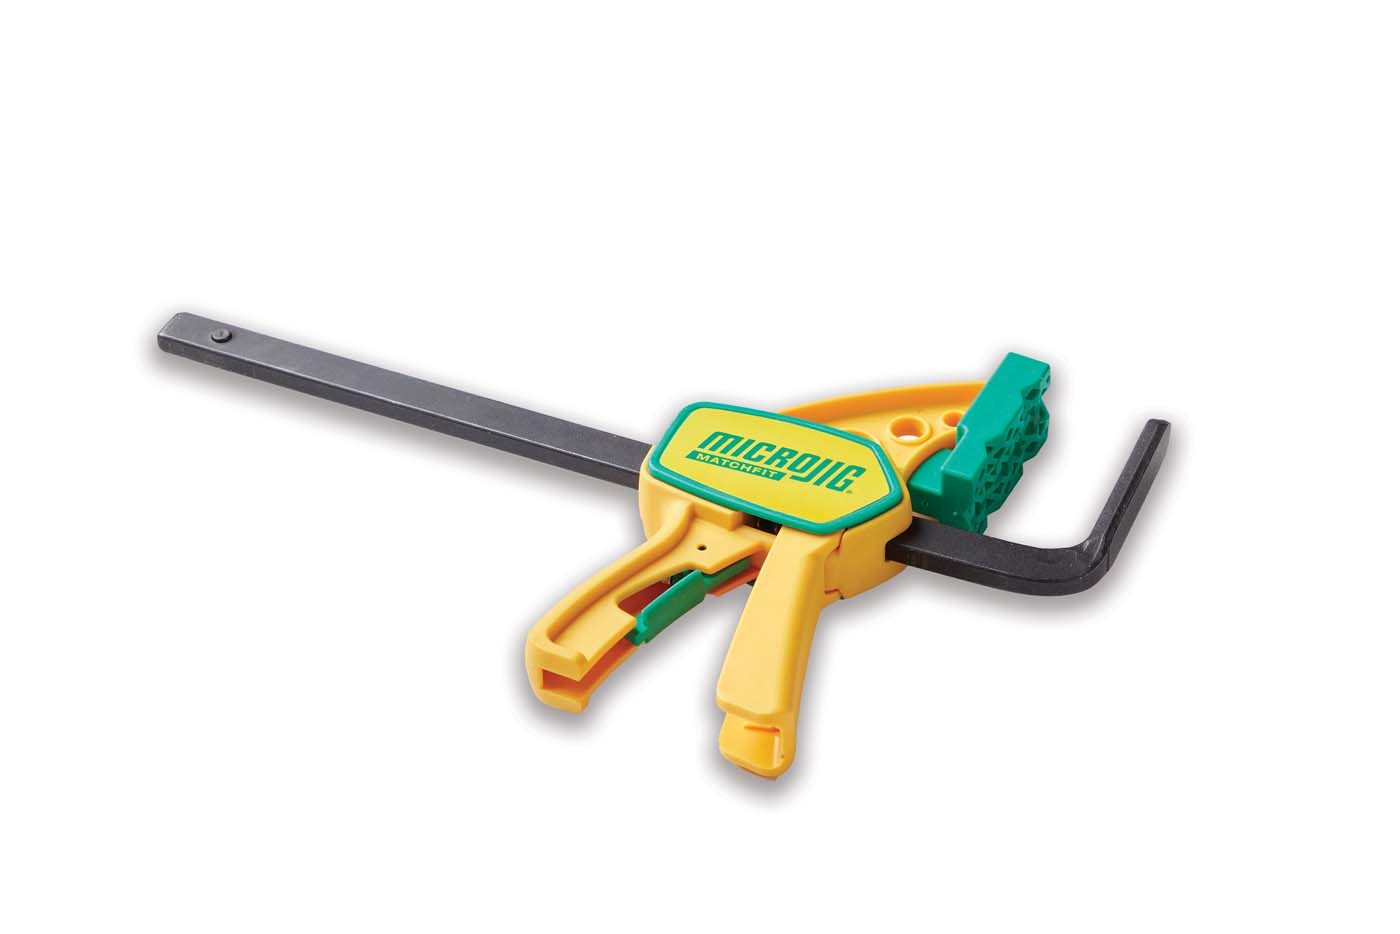
For most woodworking projects, ordinary yellow wood glue is my adhesive of choice. It's easy to use, strong, and well suited to everyday wood-to-wood joinery.
But there are times when yellow glue simply isn't the best solution.
Maybe you need to bond wood to metal. Perhaps there's a gap that needs to be filled. You might need extra working time for a complicated assembly, or an adhesive that can be thickened so it won't run out of a repair.
That's when I reach for two-part epoxy.
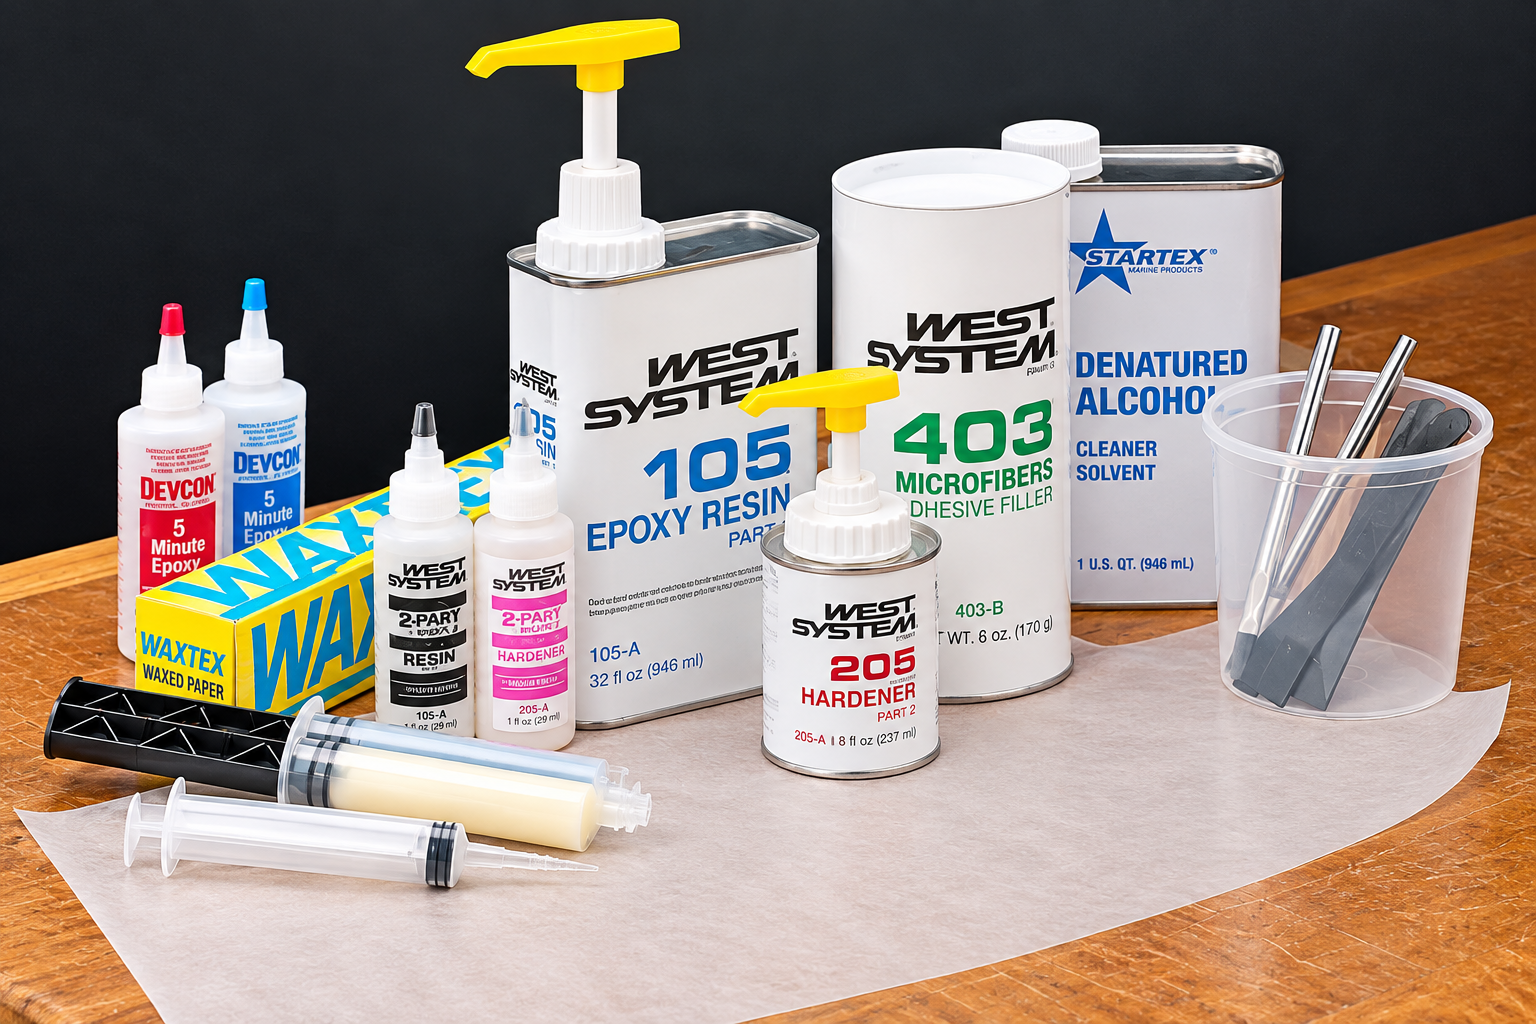
Epoxy can seem intimidating at first because you can't simply squeeze it from a bottle and start gluing. You need to measure resin and hardener, mix the two components thoroughly, and complete the glue-up within the epoxy's working time.
Once you understand that process, however, epoxy becomes one of the most useful problem-solving materials in the woodworking shop.
What Is Two-Part Epoxy?
An epoxy adhesive consists of two primary components: resin and hardener, sometimes called the curing agent.
When the two are combined in the correct proportions, a chemical reaction begins that causes the mixture to cure.
Unlike ordinary PVA wood glue, epoxy doesn't rely on evaporation to harden. The resin and hardener react chemically with one another.
This is why accurate measuring and thorough mixing are so important.
It's also what gives epoxy some characteristics that make it particularly useful to woodworkers.
Depending on the particular epoxy system, you can choose different working times, alter the consistency with fillers, bond compatible dissimilar materials, and use it in applications where an ordinary wood glue may not be appropriate.
Choose an Epoxy with the Right Working Time
One of the useful things about an epoxy system is that you may be able to tailor it to the job.
Some systems offer fast, medium, and slow hardeners. Changing the hardener changes how much working time you have before the epoxy begins to set.
For a quick repair, a fast hardener may be convenient.
For a complicated project with a lot of parts, a slower hardener gives you more time to spread the adhesive, position everything, and complete the assembly.
Some epoxy systems can range from a fast hardener that cures in roughly 10 minutes to a slow hardener that provides up to about an hour of assembly time.
Those times aren't universal, however. Use the working and curing times specified for the epoxy system you're using.
Woodsmith Tip: Plan the Glue-Up First. Have the parts fitted, clamps or other holding devices ready, and your work area organized before you mix the epoxy. Once the resin and hardener are combined, your working-time clock has started.
Three Basic Steps to Working with Epoxy
Almost every epoxy glue-up comes down to three fundamental steps: Measure. Mix. Apply.
Getting the first two right is especially important. A perfectly fitted joint won't help much if the epoxy hasn't been proportioned or mixed correctly.
Step 1: Measure the Epoxy Accurately
A successful epoxy mix starts with getting the resin-to-hardener ratio right. But that doesn't always mean measuring it the same way.
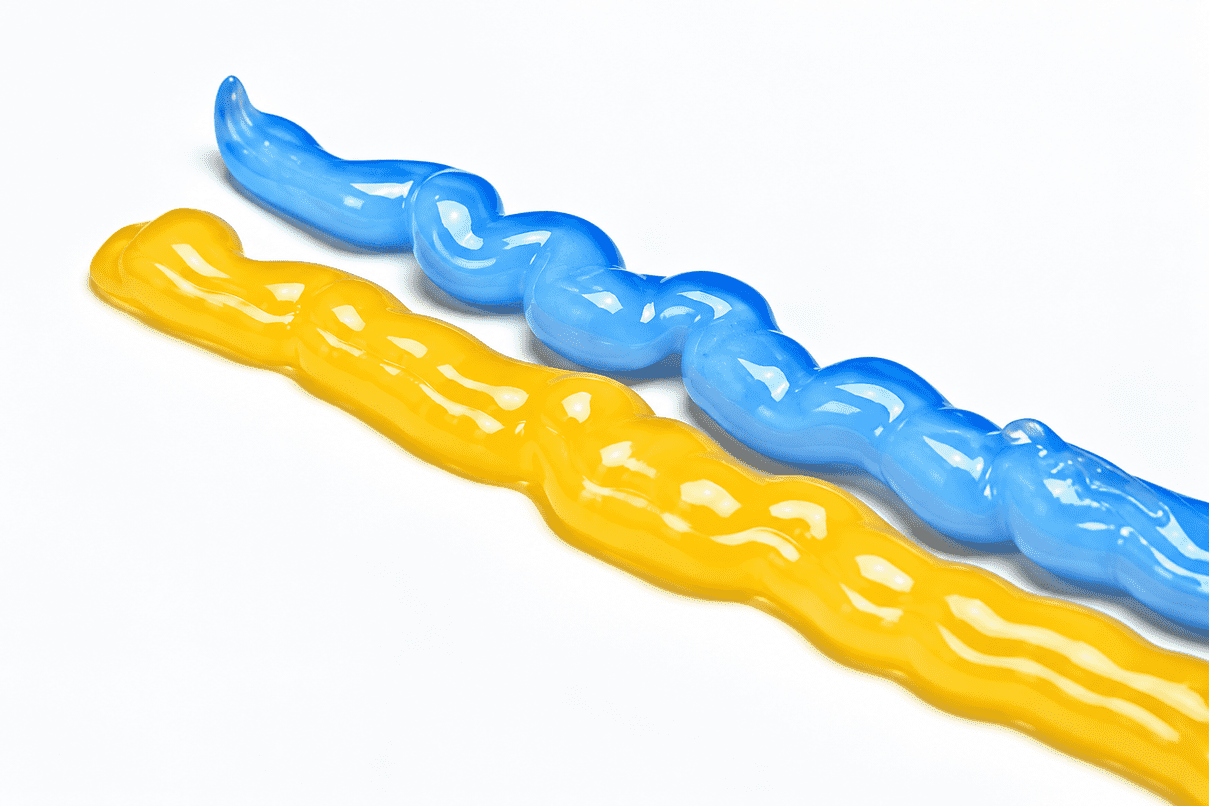
Some two-part epoxies are simple to portion out. If the product calls for equal parts by volume, you can often dispense matching amounts of resin and hardener side by side. Comparing the two portions visually makes it easy to get reasonably equal amounts before mixing.
Other epoxy systems — and especially small batches where even a slight measuring error can throw off the proportions — call for more precision. In those cases, I like to use a small digital scale and measure the components by weight.
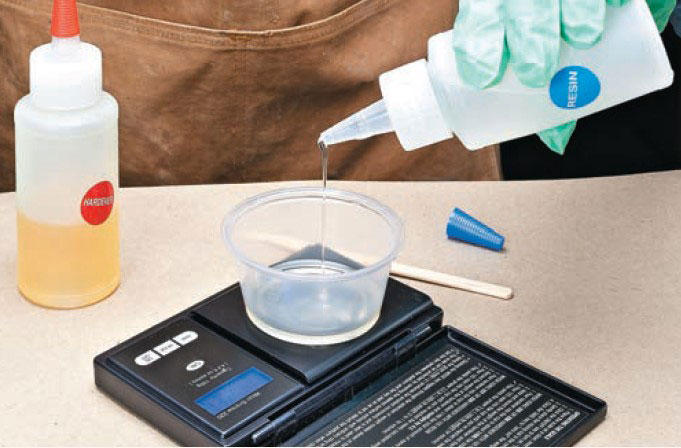
A scale also comes in handy when you only need a small amount of epoxy. Instead of trying to judge tiny quantities by eye, you can weigh each component and know you've maintained the proper ratio.
The important thing is to follow the mixing instructions for the epoxy you're using. Some systems specify a ratio by volume, others can be measured by weight, and those ratios aren't necessarily interchangeable. Don't assume every epoxy is a 1:1 mixture.
Once you've measured the resin and hardener, you're ready for the step that's just as important — mixing them thoroughly.
Use an Appropriate Mixing Container
For small batches, a disposable container makes mixing and cleanup easier.
The curing reaction generates heat, particularly when epoxy is concentrated in a container. Use a mixing container suitable for the epoxy system rather than grabbing whatever disposable cup happens to be nearby.
The older shop method shown here specifically cautions against foam cups because the heat generated during curing can damage them.
Step 2: Mix the Resin and Hardener Thoroughly
Measuring the right proportions doesn't guarantee success. The two components also need to be completely mixed.
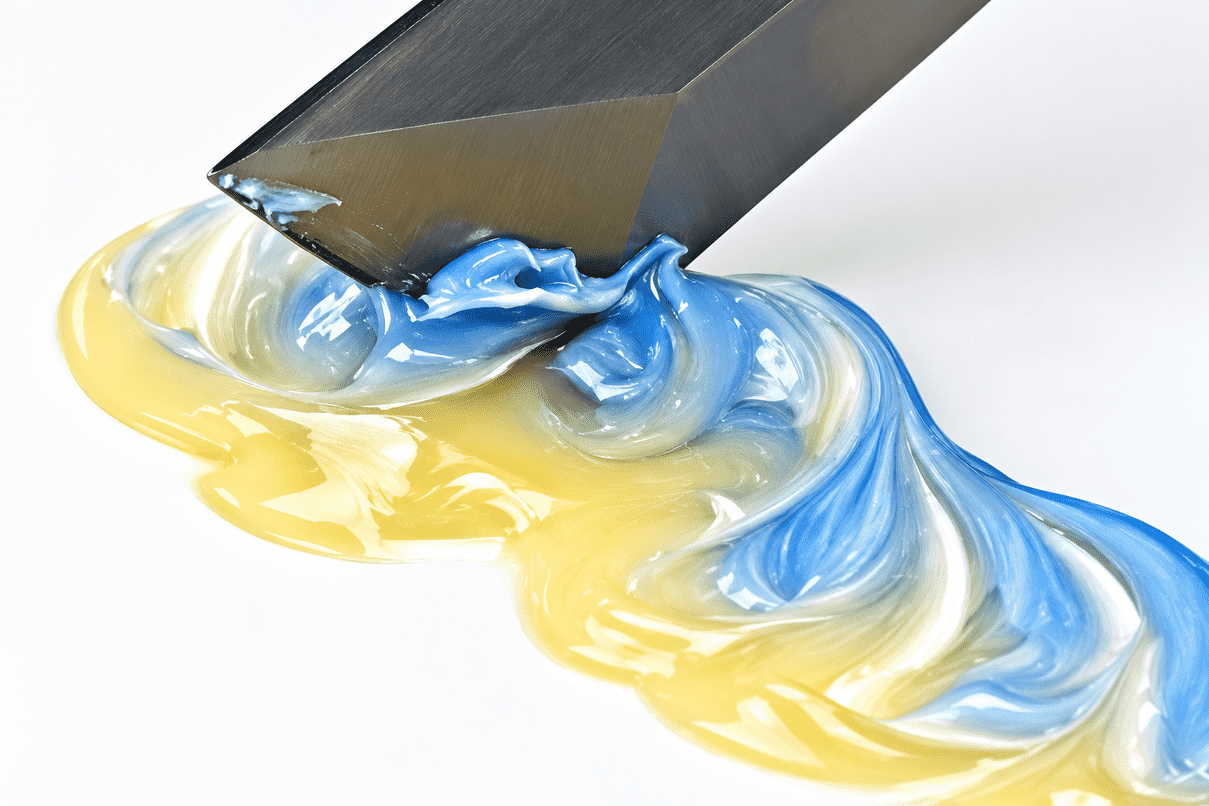
A square-tipped mixing stick or spatula works well because you can scrape the bottom and sides of the container as you work.
Don't just stir the center.
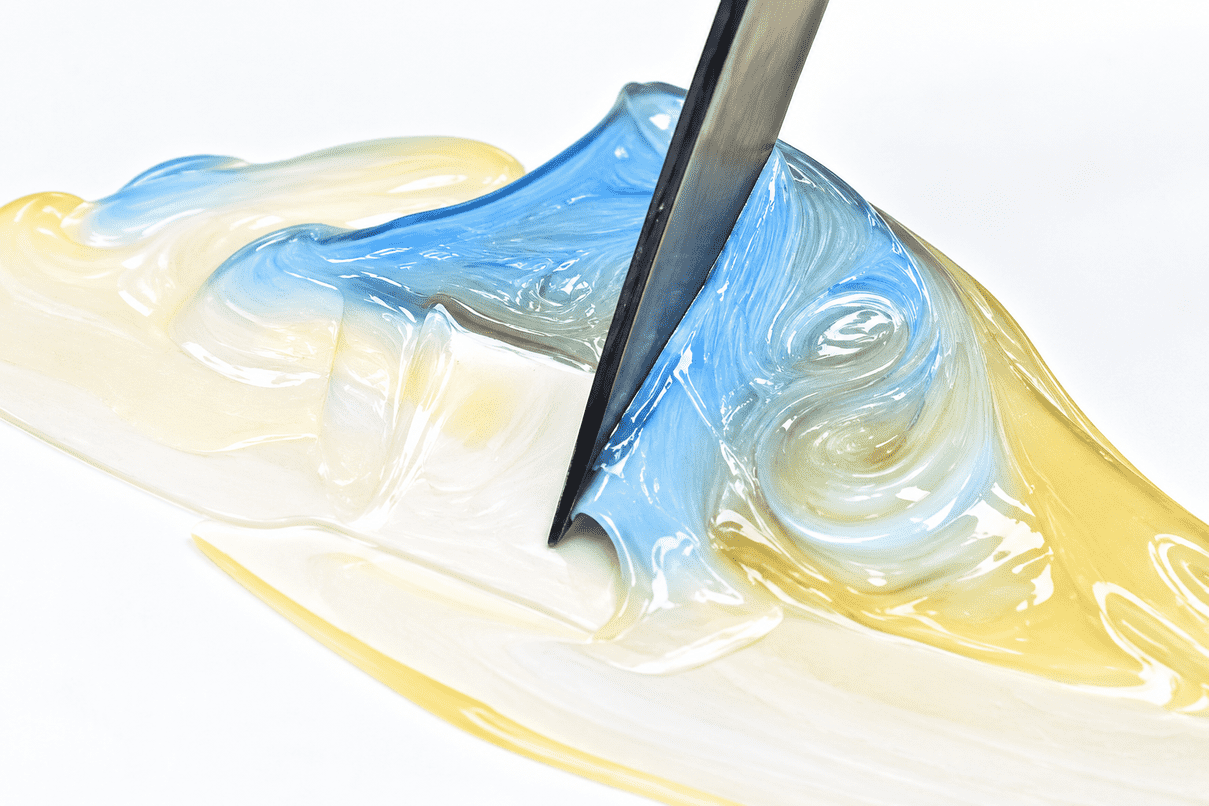
Scrape, fold, and smooth the mixture repeatedly, making sure material isn't left unmixed along the sides or bottom.
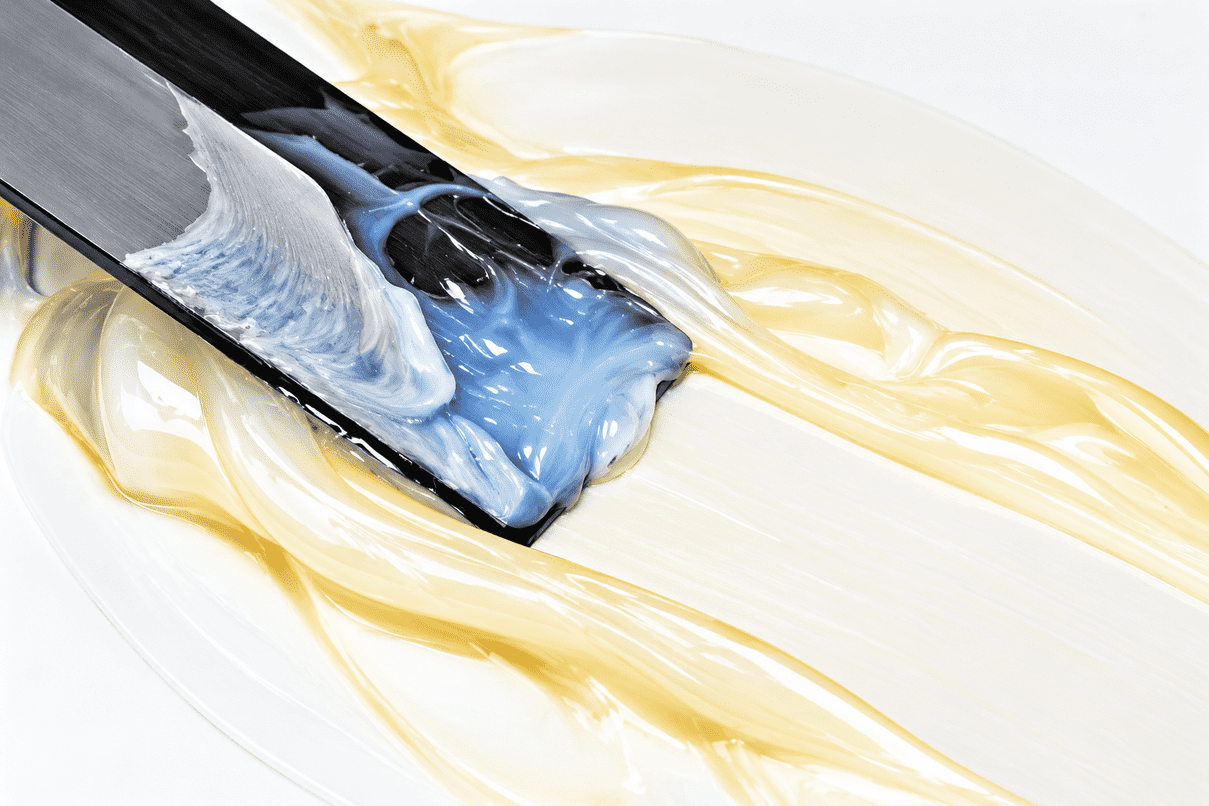
Continue until the mixture is thoroughly blended according to the epoxy manufacturer's instructions.
Woodsmith Tip: Mark the Mixing Time. Write down the time you mixed the epoxy on the cup or container. It's an easy way to keep track of how much working time you have left.
Step 3: Apply the Epoxy
Before mixing your batch, make sure the mating surfaces are properly prepared.
For a woodworking glue-up, that means starting with surfaces that are clean and appropriately prepared for the epoxy and materials being bonded.
Once the epoxy is mixed, apply it with a disposable glue brush, mixing stick, or other suitable applicator.
For the wood joints described here, epoxy is applied to both mating surfaces so they're thoroughly wetted before assembly.
Clamping an Epoxy Joint
An epoxy glue-up doesn't necessarily require the heavy clamping pressure you might associate with some woodworking joints.
The important thing is to bring the components together and hold them securely in position while the epoxy cures.
For some small assemblies, that may require nothing more elaborate than tape, string, or rubber bands. Conventional woodworking clamps can certainly be used when the assembly calls for them.
The key is not to apply so much pressure that you unnecessarily squeeze the epoxy from the joint.
You want the components held firmly together while maintaining an adequate glue line.
Clean Up Epoxy Before It Cures
Pay attention to squeeze-out while the epoxy is still manageable.
Once epoxy has fully cured, removing it becomes much more difficult.
The original shop methods recommend scraping away epoxy after the parts have been immobilized but while the squeeze-out is still somewhat soft. Follow the epoxy manufacturer's recommendations for any additional cleanup products.
The same principle applies to your tools and work surface: cleanup is easier before the epoxy cures.
How to Thicken Epoxy with Fillers
One of epoxy's most useful characteristics is that you can alter its consistency.
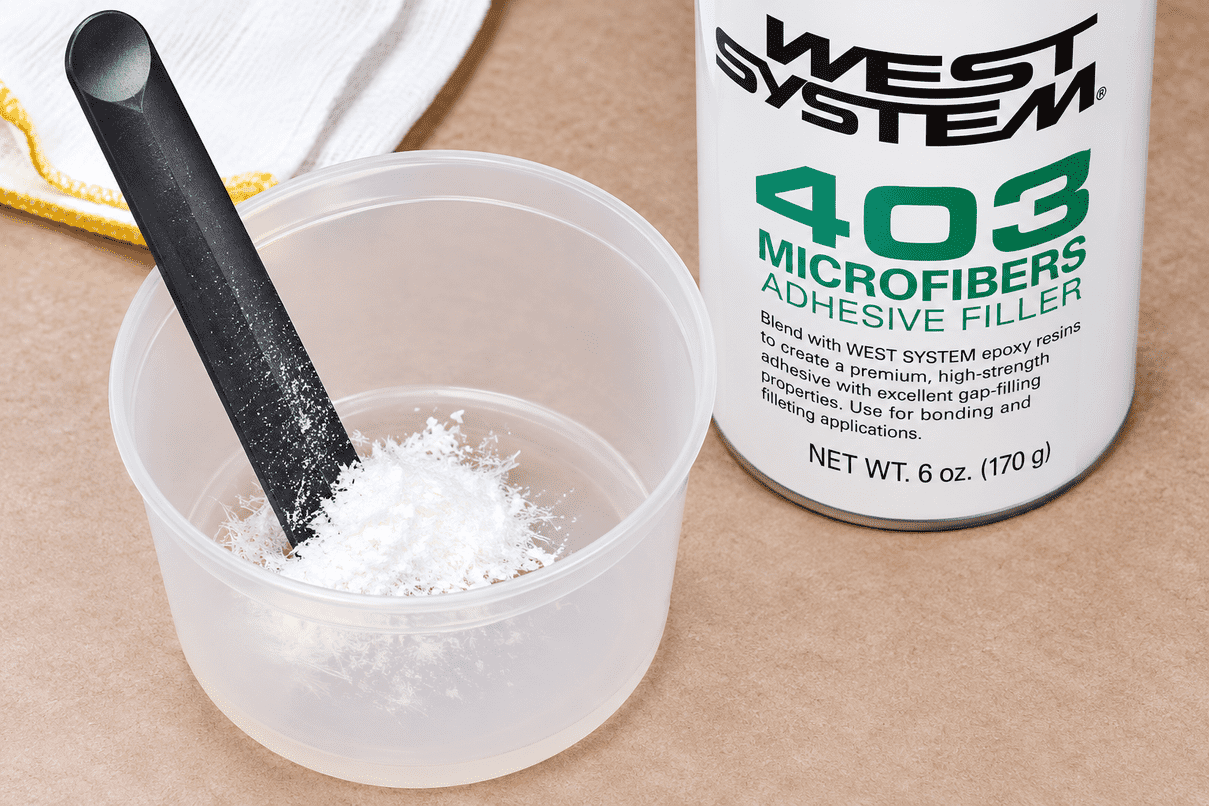
Straight epoxy can be relatively fluid. That's useful when you want the mixture to flow or wet a surface easily.
But a thin mixture isn't ideal for every job.
On a vertical surface, it can run. When you're repairing a gap or void, you may want the epoxy to stay exactly where you put it.
That's where epoxy fillers come in.
A compatible filler can turn a fluid mixture into anything from a slightly thickened adhesive to a paste-like material.
Commercial epoxy systems offer fillers with different working characteristics. Plastic fibers, silica thickener, and phenolic microballoons are a few examples.
For woodworking, there's also a simple shop-made option.
Make a Wood-Dust Epoxy Filler
Fine sanding dust can be mixed into epoxy to create a wood-colored filler.
But there's an important detail: Use sanding dust rather than ordinary sawdust. Sanding dust is much finer.
Sand a scrap of matching wood with 320-grit sandpaper, collect the resulting dust, and add it gradually to the mixed epoxy until you reach the consistency needed for the repair.
Woodsmith Tip: Sift Your Sanding Dust. For a smoother epoxy filler, sift the sanding dust before adding it to the epoxy. A small kitchen strainer or fine-mesh sifter works well for separating out larger chips, splinters, and coarse particles.
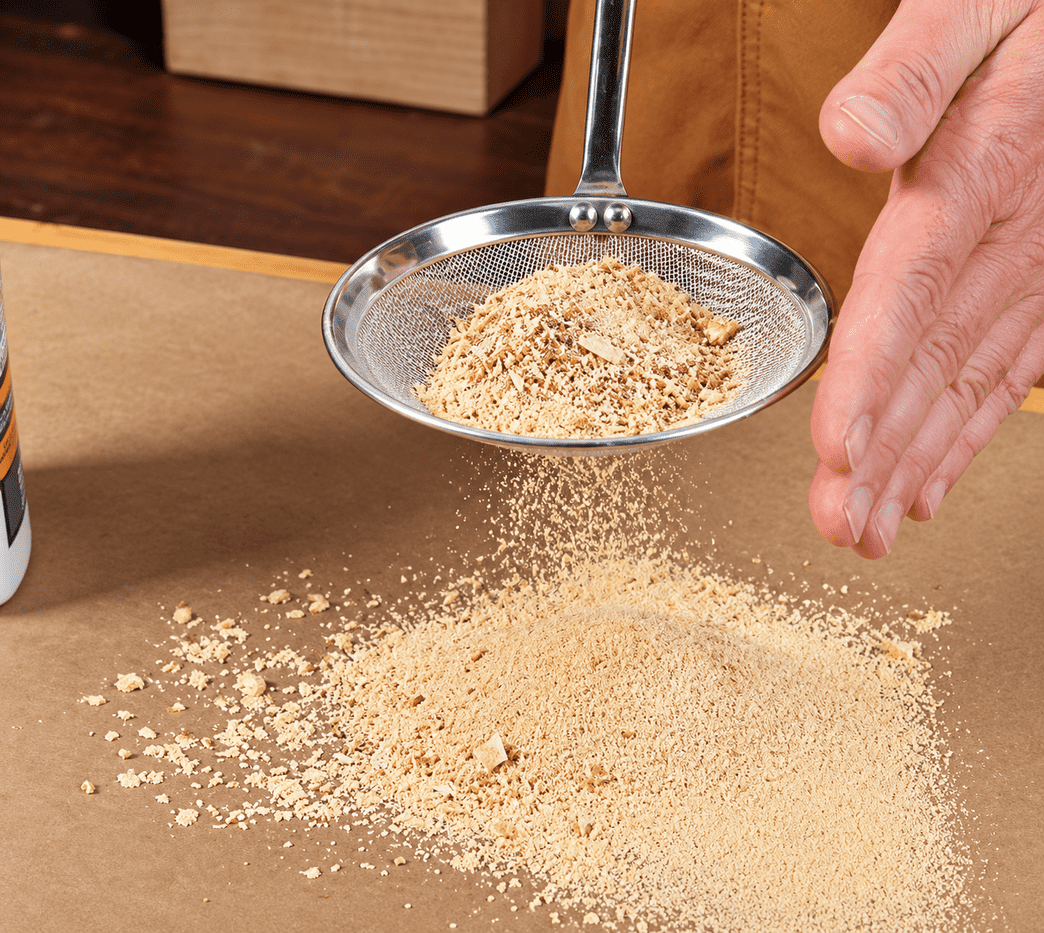
What you're after is a fine, flour-like wood dust. The finer particles mix more evenly into the epoxy and make it easier to create a smooth, consistent filler. If you're trying to match the color of a project, collect and sift dust from a scrap of the same wood species.
This gives you some control over both the color and consistency.
Keep in mind that an epoxy-and-wood-dust repair won't necessarily accept stain the same way the surrounding bare wood does. If appearance is important, make a sample first.
How to Mix Filler into Epoxy
The order of operations matters.
First, completely mix the resin and hardener.
Then add the filler.
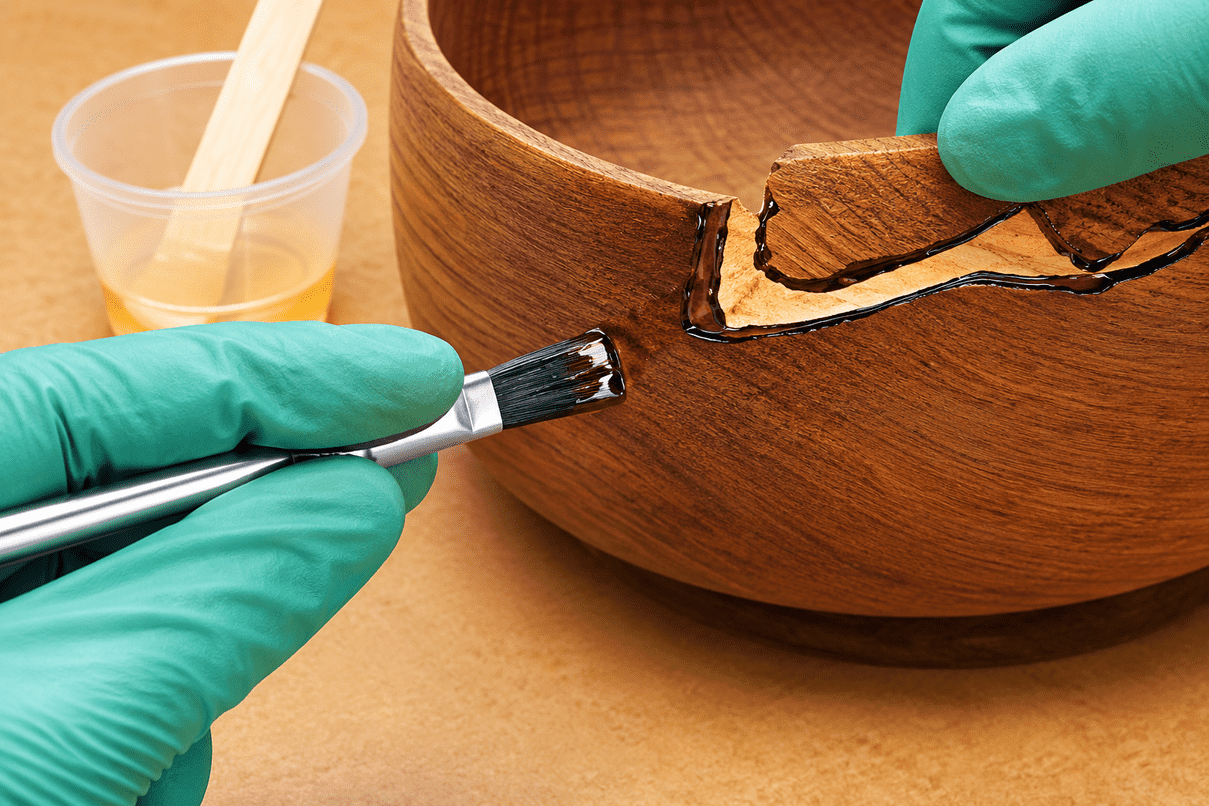
For a repair such as a crack or split in a turned bowl, start by mixing the epoxy normally. Wet the mating surfaces with unthickened epoxy.
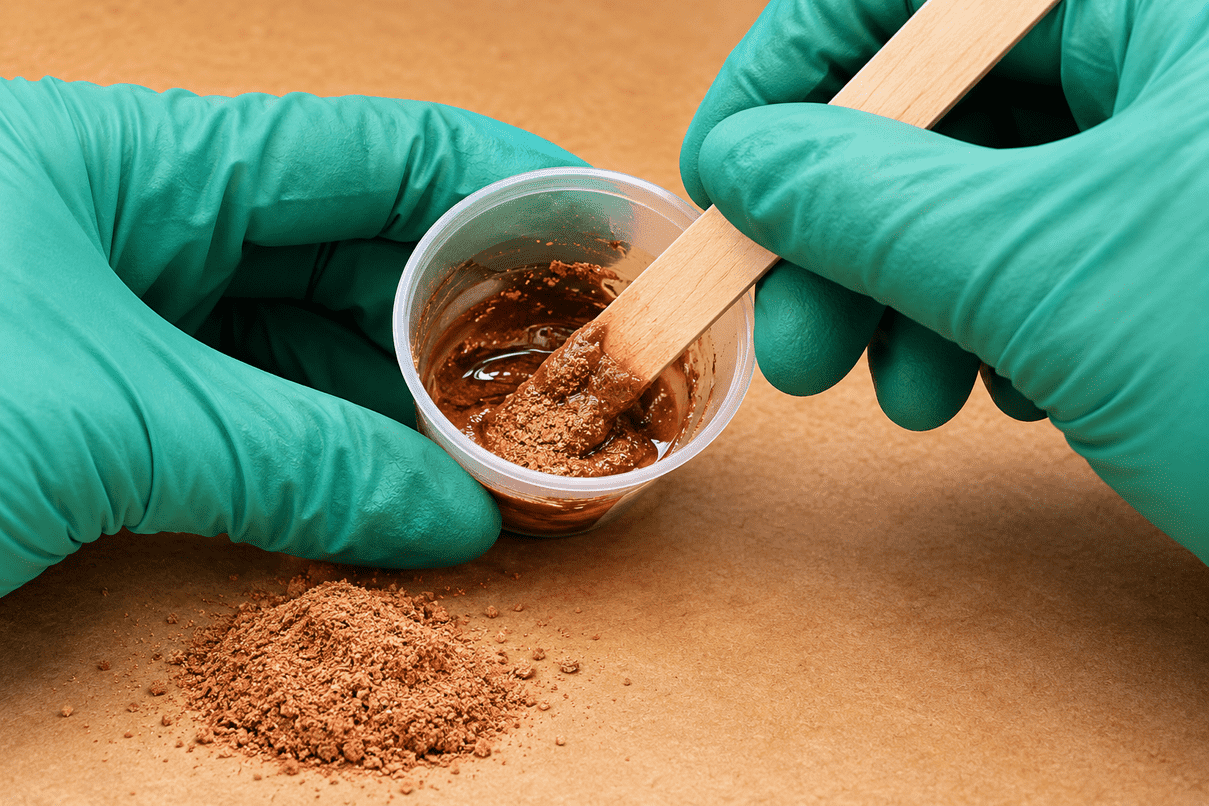
Next, add your filler to the remaining epoxy. Continue adding it gradually until you reach the consistency required for the job.
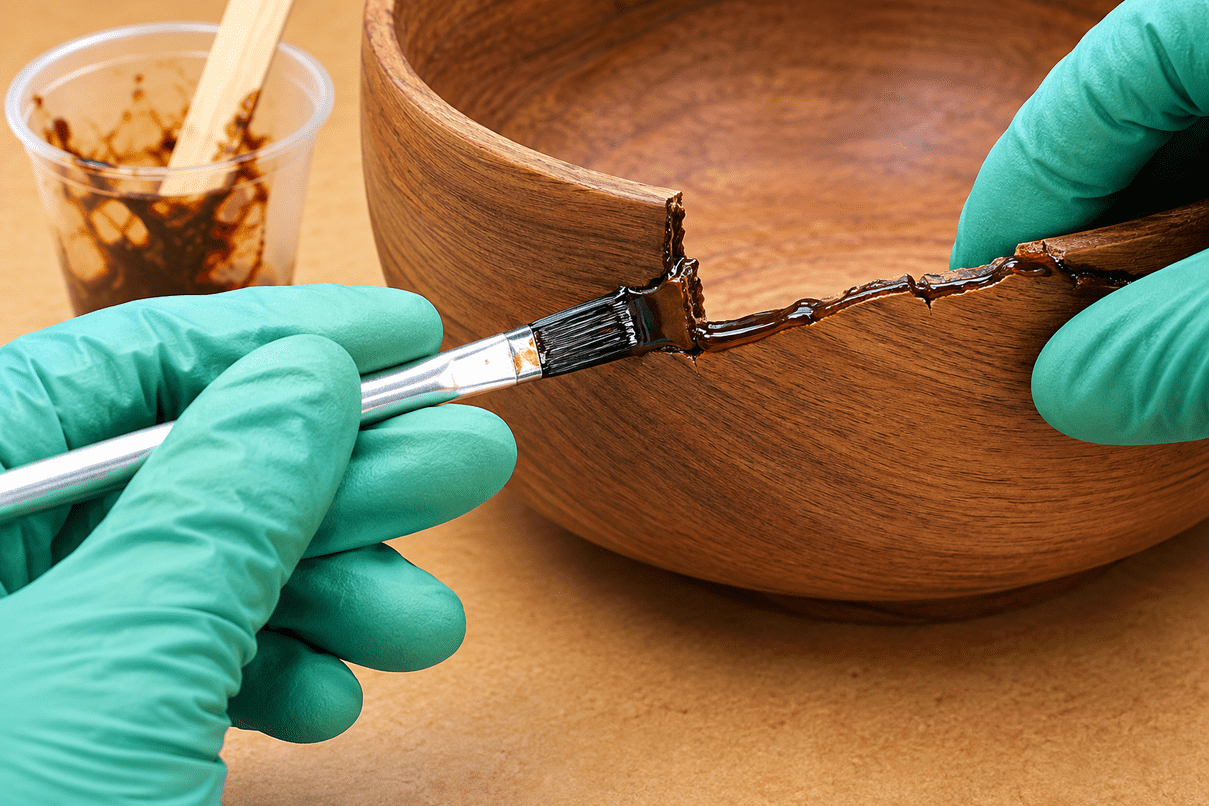
Apply the thickened mixture to one side of the repair, bring the parts together, and hold them in place while the epoxy cures.
This approach combines the penetrating ability of the unthickened epoxy with the gap-filling ability of the thicker mixture.
Useful Woodworking Jobs for Epoxy
Once you understand how to measure, mix, and alter epoxy, you'll start finding applications for it throughout the shop.
Here are a few especially useful ones.
Bond Wood to Metal
One of epoxy's advantages is its ability to bond compatible dissimilar materials. Wood-to-metal applications are a good example.
That makes epoxy handy for installing hardware, repairing jigs, or tackling projects where a conventional woodworking adhesive isn't suitable.
Reinforce Threaded Inserts
Threaded inserts are one of my favorite places to use epoxy.
Instead of relying solely on the insert's mechanical grip, you can anchor it with epoxy for additional support.
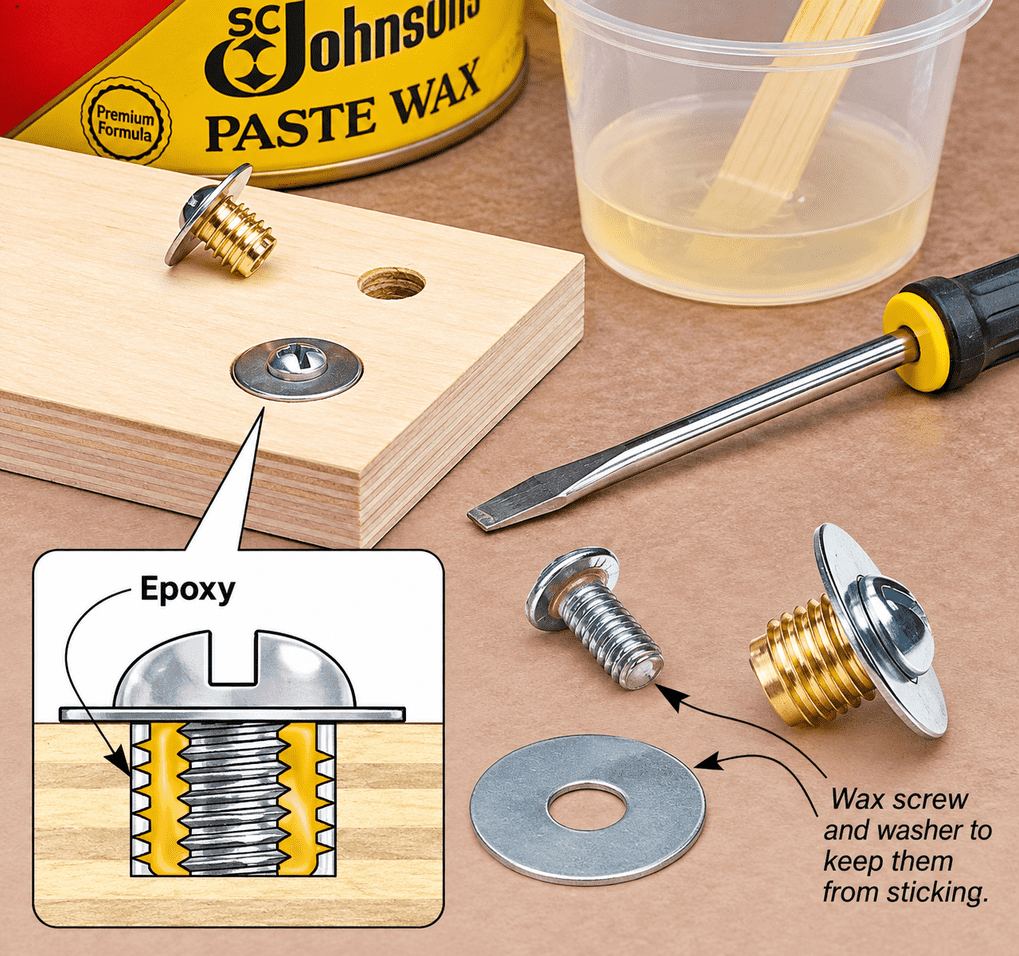
Start with an appropriately sized hole for the method. The technique shown here uses an oversized hole with epoxy surrounding the insert.
Thread a screw and washer into the insert before installation. The washer provides a reference that helps keep the insert positioned at the surface.
Apply paste wax to the screw and washer so the epoxy doesn't permanently bond them to the workpiece.
Once the epoxy has cured, remove the screw and washer.
Repair a Stripped Screw Hole
A similar technique can be useful for repairing damaged screw holes.
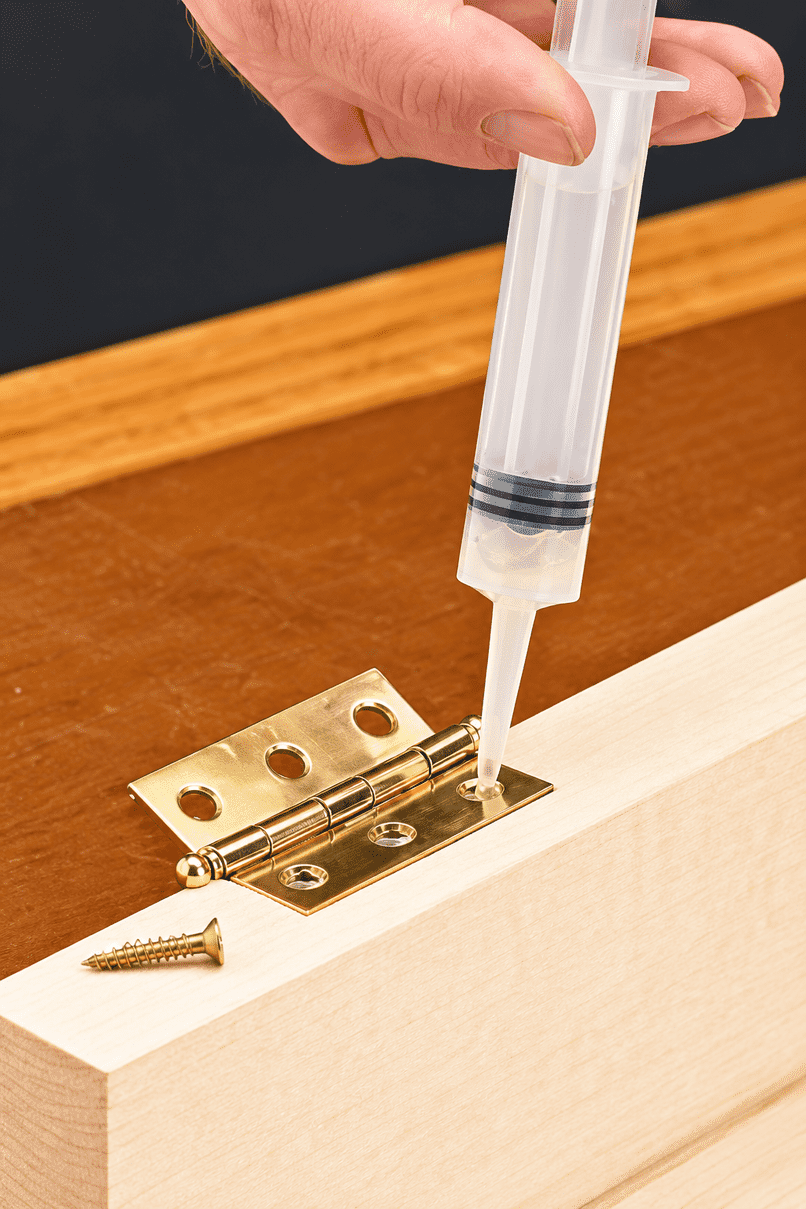
Rather than expecting damaged wood fibers to grip the screw again, epoxy can become part of the repair and provide a new foundation for the hardware.
The exact repair method will depend on the hardware, size of the hole, and forces involved.
Fill Cracks, Knots, and Voids
Epoxy is also useful when the job involves more than simply joining two perfectly fitted surfaces.
Cracks, knots, and voids can often be filled with epoxy, either in its normal form or thickened with an appropriate filler.

Adding fine sanding dust from the project can help visually integrate certain repairs with the surrounding wood.
RELATED ARTICLE: Make a Simple Epoxy Inlay
Colored epoxy takes the same basic idea in another direction, turning the filler into a decorative feature.
RELATED ARTICLE: How to Use Epoxy as a Pore Filler for a Glass-Smooth Wood Finish
Seal End Grain on Outdoor Furniture
Epoxy can also serve as a barrier on vulnerable end-grain surfaces.
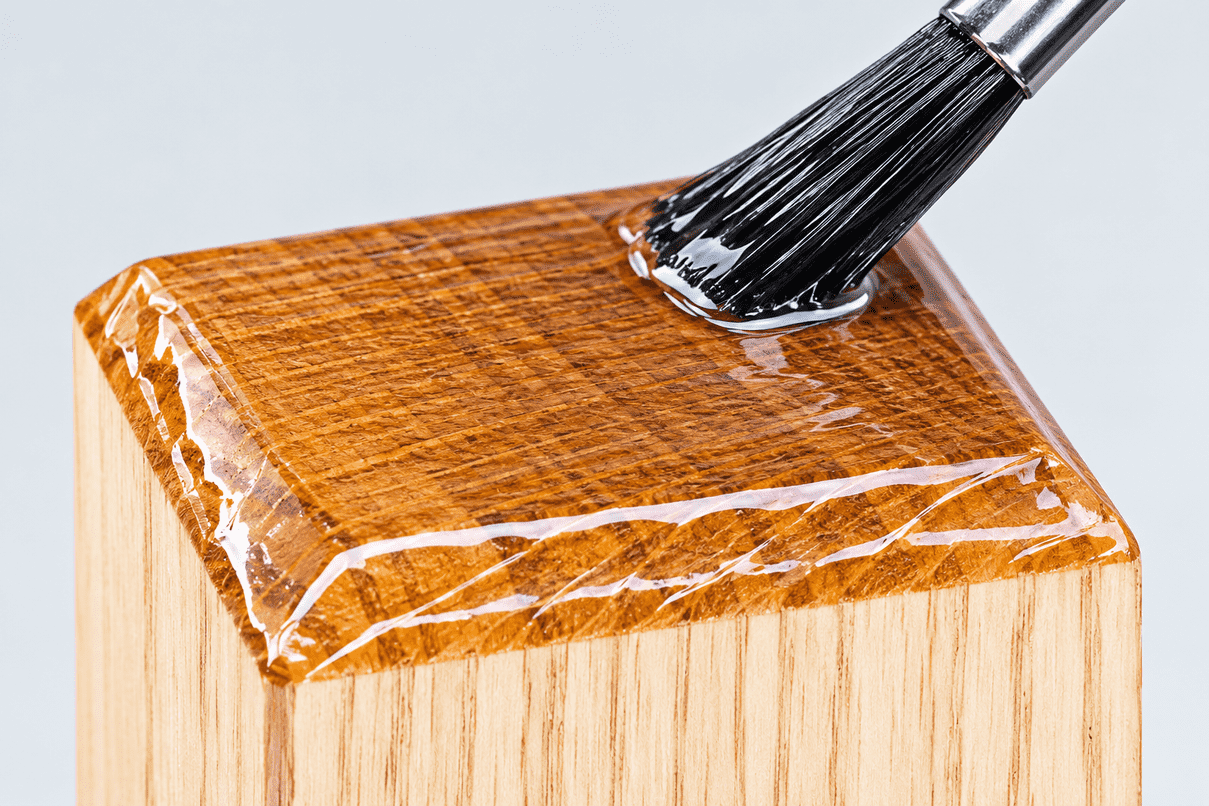
The bottom of an outdoor table or chair leg can wick moisture through the exposed end grain. Coating the bottom with epoxy creates a barrier between the wood and a wet deck or patio surface.
RELATED ARTICLE: Use Epoxy to Protect Outdoor Furniture Feet
This dedicated quick tip shows a simple method using painter's tape to create a shallow reservoir around the bottom of the leg before applying the epoxy.
Control Epoxy Cure with Temperature
Temperature affects how epoxy cures. Warmer temperatures generally speed curing, while cooler temperatures slow it down.
That can sometimes work to your advantage. If you need a little more working time, working in a cooler environment may extend the usable period. If you're trying to accelerate curing, additional warmth may help.
But don't improvise beyond the temperature range specified by the epoxy manufacturer. Temperature affects not only cure speed but also how the epoxy behaves and ultimately performs.
Epoxy Safety in the Woodshop
Epoxy deserves the same thoughtful handling as other shop chemicals.
Wear appropriate gloves and eye protection, and work with the ventilation recommended for the particular epoxy you're using.
Avoid getting uncured resin or hardener on your skin, but if that happens, follow the manufacturer's instructions for skin cleanup rather than automatically reaching for a solvent. It's recommended touse a waterless hand cleaner rather than using solvents on your skin.
Also pay attention to mixed epoxy that's left over after a glue-up.
Epoxy Generates Heat as It Cures
The resin-hardener reaction generates heat.
This becomes particularly important when a significant quantity of mixed epoxy is left concentrated in a cup or other container. A larger mass can become much hotter than the same epoxy spread into a thin film.
Handle and dispose of leftover mixed epoxy according to the manufacturer's directions and allow it to cure in a safe location.
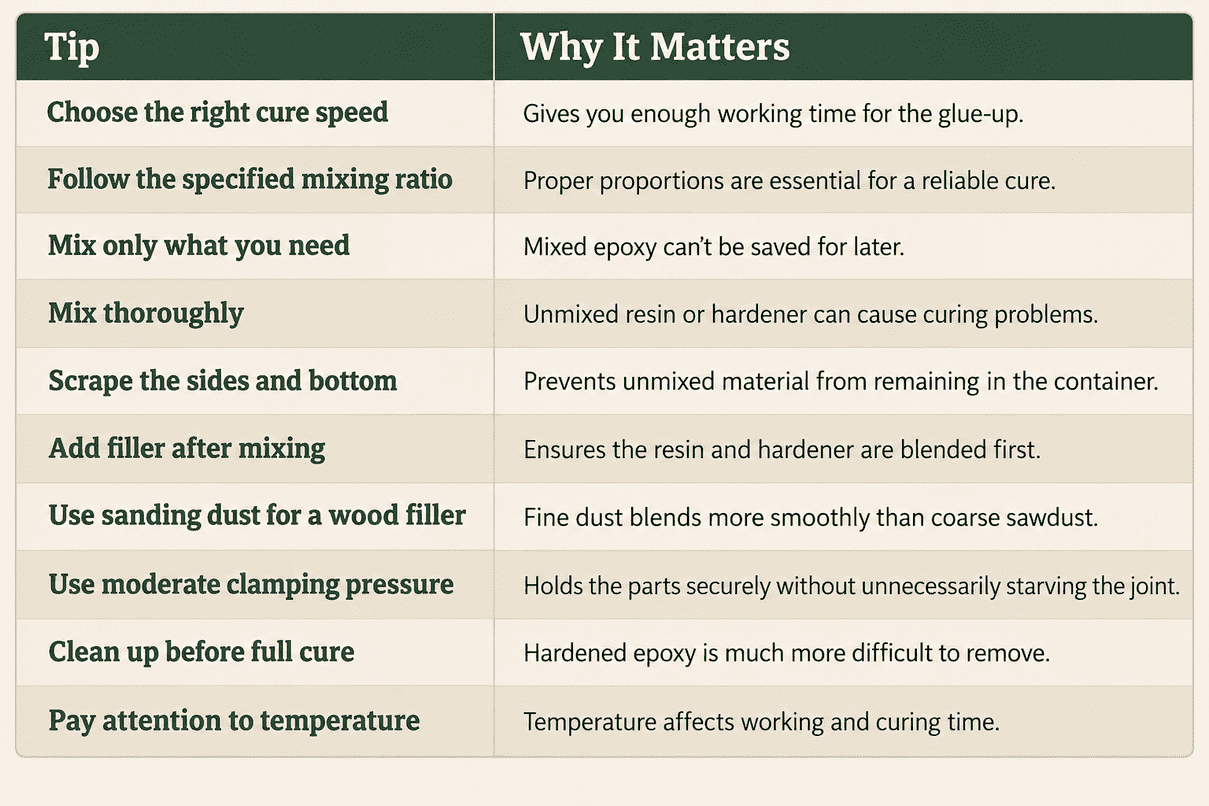
Epoxy Tips at a Glance
Why Epoxy Belongs in a Woodworking Shop
Epoxy probably won't replace the bottle of yellow glue sitting on your workbench—and it doesn't need to.
Its strength is in the jobs ordinary wood glue doesn't handle particularly well.
It can join compatible dissimilar materials, reinforce hardware, fill gaps and defects, create decorative inlays, seal vulnerable end grain, and be modified with fillers to suit a particular repair. And with an epoxy system that offers different hardeners, you may also be able to choose a working time that better fits a complicated glue-up.
The biggest hurdle is simply becoming comfortable with the process.
Measure carefully. Mix thoroughly. Apply it appropriately. Give it time to cure.
Once those steps become familiar, two-part epoxy stops feeling like a specialty product and becomes another useful problem-solving tool in the woodshop.
Go Beyond Yellow Wood Glue
Epoxy is only one alternative to ordinary PVA glue. Polyurethane, liquid hide glue, and CA glue each offer advantages for particular woodworking jobs.
Our guide to alternatives to yellow wood glue explains where each adhesive earns a place in the shop.
EXPLORE ALTERNATIVES TO YELLOW GLUE → Beyond Yellow Glue: Other Adhesives for Woodworkers