5 Tips for Cutting and Installing Crown Molding Like a Pro

Installing crown molding is an excellent way to enhance the beauty and value of your home, but it’s also a challenging task that must be done correctly to avoid frustration and costly mistakes. Fortunately, with the right tools and a bit of patience, even novice do-it-yourselfers can tackle this job with confidence. In this post, we’ll provide you with five tips for cutting and installing crown molding like a pro, so you can achieve professional-looking results with minimal effort.
These tips for cutting and installing crown molding include the best strategies for measuring and cutting the molding accurately, securing the molding to the walls and ceiling, and hiding the gaps. We’ll also provide a few helpful tricks that will make the job easier and help you save time.
Tools Needed
For anyone looking to cut and install crown molding like a pro, the right tools are essential. When gathering your supplies, make sure you have the following items at your disposal:
- A measuring tape for accurately determining measurements of your walls and plotting out where to cut the pieces of crown molding.
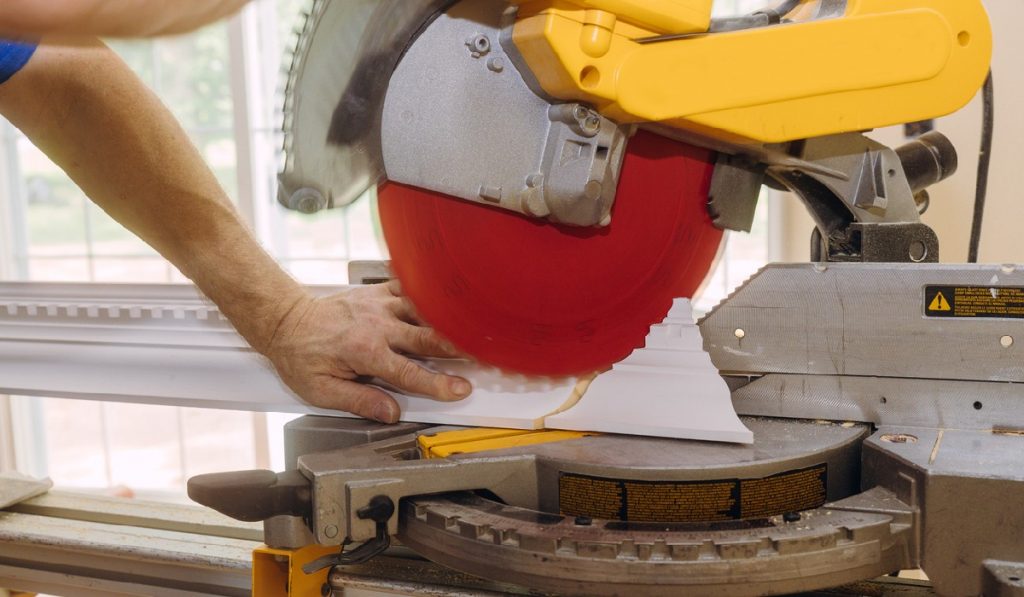
- A miter saw for making angled cuts along the sides of the molding.
- A contour gauge for creating a custom fit when cutting the ends of the molding.
- An air compressor and nail gun for attaching the pieces together once they have been cut and fit.
- Wall anchors and screws for securing the crown molding to your wall.
- A wood moisture meter to check the moisture level of the wood; lower moisture means more durability.
- Wood glue and finishing nails to ensure a tight fit between the sections of crown molding.
- Sandpaper for smoothing out any rough edges or gaps between sections of molding.
- Paint or stain to finish off your crown molding and give it a professional look.
Measuring and Cutting
Once you have all your tools ready, it is time to begin measuring and cutting the crown molding. Start by measuring your walls so that you can create a plan for how many pieces of crown molding you will need to cut and how long they should be. When it comes to cutting, use a miter saw to get neat, straight angles along the sides of each piece, which will help them connect when you put them together. Keep in mind that when cutting the ends of the molding, you’ll need to use a contour gauge to get an exact fit between pieces.
Installing
When it comes to installing crown molding, accuracy is key for achieving a professional look. Begin by nailing each piece into place using an air compressor and nail gun – start at one corner of your room and work around in order so that everything fits together perfectly. Once all the pieces are in place, use wood glue or finishing nails to join them together in order to create a tight seal between each section. Finally, secure the entire piece into place with wall anchors and screws before touching up any rough spots with sandpaper or wood filler.
Troubleshooting
If you run into any difficulties during this process, here are some troubleshooting solutions that may help:
- If your wall is not perfectly straight, feel free to adjust your pieces as needed by trimming them down with extra cuts from your miter saw before installing them in order to accommodate uneven spaces.
If one end of your piece does not fit snugly against an adjacent section, use wood filler or caulk to fill in any noticeable gaps or holes between them where necessary.
If you need extra help contouring certain areas of your crown molding prior to installation, try using a contour gauge, as this will help you get an exact fit against even tricky wall shapes or curves. - Finally, don’t forget to paint or stain your finished product in order to give it a polished look that will hold up over time! With these tips in mind, you should be well-equipped with all you need to cut and install crown molding like a pro successfully!
Conclusion
Crown molding is a great way to add character and value to your home, but it can be a daunting task for those who have never attempted it. However, with the right tools and patience, anyone can tackle crown molding installation and achieve professional results. By following these five tips for cutting and installing crown molding like a pro, you’ll be able to confidently create beautiful, polished-looking spaces that will stand the test of time for years to come.
