A Step-by-Step Guide for How to Stain Wood

Staining wood may look easy, but there are crucial steps to follow that ensure the end product meets your expectation. You need the right supplies, a little bit of patience, and some skill. Luckily, we created this guide, so you can learn how to stain wood like a professional.
In this post, we’ll provide an easy-to-follow step-by-step guide for how to stain wood. We’ll also explain the different types of wood stains and how to apply them and how to protect your furniture against water and UV damage. Plus, we have a few extra tips and tricks to help you get the best results.
Preparing the Wood
Before beginning any staining process, proper preparation is essential. The type of wood determines the appropriate prep process that you should use before staining. Begin by sanding the wood with fine-grit sandpaper. Depending on the type of wood, use either medium or fine sandpaper. Once complete, your wood surface should be free from imperfections, residues, and splinters.
Next, use a vacuum cleaner or a brush to fully remove dust from the surface of the wood. Then, apply wood conditioner if needed for softer woods such as pine or cedar. This will help ensure even absorption of stain by providing a more uniform finish. Just be sure to allow the wood conditioner to dry thoroughly before applying the stain.
Preparing the Wood
Before applying any stain to a piece of wood, you’ll need to ensure it is properly prepped. In other words, sand the wood to your desired smoothness and wipe it clean. If there are any cracks or gaps in the piece you are working on, you’ll want to apply wood glue before staining because it binds best to bare wood. Wood glue can be applied after staining, but it may affect the coloration if the wood glue is not the same color as the stain.
Applying the Stain
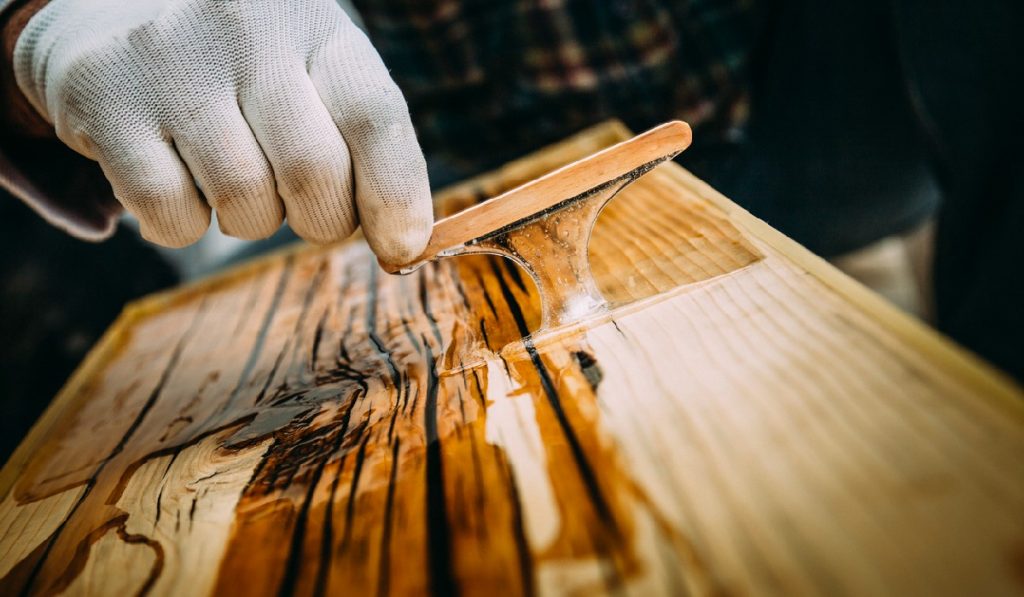
First, mix the stain according to the package instructions. Once ready, put on some protective gloves and apply the stain evenly using either a brush or cloth in long strokes along the grain of the wood. Once complete, allow the stain to remain untouched for several minutes before wiping off any excess using a lint-free cloth. Be sure not to leave the excess stain on the surface too long as this may cause irregular or deeper coloring than desired. Afterward, leave the stained wood alone for around 24-48 hours to allow sufficient time for drying before proceeding with additional steps.
Finishing the Piece
Once you have applied the stain and allowed it to dry completely, it’s time to move on to finishing your piece of stained wood. Begin by applying a coat of clear sealer using a brush or rag in even strokes along the grain of the wood once more. Allow ample drying time between coats per package instructions (at least 24 hours between each finishing coat application).
For further protection of your stained piece, apply several coats of polyurethane sealer in thin layers. Allow each layer of sealer to dry completely before applying additional layers and then sand lightly with fine-grit sandpaper in between coats if desired for a smoother finish.
Tips for Refinishing
Stains and finishes can wear down over time and may need refinishing periodically depending on usage and weather exposure.
When refinishing stained wood surfaces, begin by lightly sanding away any worn areas with medium grit sandpaper; then proceed with the staining and finishing steps as outlined above to return your piece to its original condition. Remember that furniture pieces made from soft woods such as pine may require multiple applications and additional conditioning before staining in order to achieve an even finish without irregularities.
Conclusion
Staining wood can be a daunting process, but with the right supplies and knowledge, anyone can achieve stunning results. This guide includes all the steps necessary for successful staining; from preparing the wood to applying the stain. So take the time to read through this guide as many times as needed, gather your supplies and get ready to transform any piece of wood into a work of art!
