



How to Cut Thick Wood and Panels with a Circular Saw
Cutting thick wood panels can be a challenge, especially when the workpiece is too large or heavy to handle safely on the table saw.
I ran into this problem while building a new workbench for my shop. The benchtop consisted of several layers of MDF glued together into one thick panel.
Once the glue dried, I needed to trim the ends to their final length.
The completed top was too big and heavy to maneuver across the table saw. And because of its thickness, my circular saw couldn't cut all the way through in a single pass.
The solution was a simple three-step cutting technique using a circular saw, a straightedge guide, and a router equipped with a flush-trim bit.
By making a cut from each face and using the router to clean up the remaining offset, I was able to create a smooth, square end on the thick benchtop.
Step 1: Make the First Cut with a Circular Saw
Start by marking the finished length of the panel.
Position a straightedge guide so the circular saw blade will cut along your layout line.
Make sure the guide is securely clamped and that the panel is fully supported.
Set the circular saw to its maximum usable cutting depth, following the saw manufacturer's instructions.
Then make the first cut along the straightedge.
This establishes the finished edge on the first face of the panel.
Shop Tip: Take your time setting up the straightedge. This first cut becomes the reference surface for the final router pass, so keeping it straight and square is important.

Step 2: Flip the Panel and Make a Second Cut
Once the first cut is complete, carefully turn the panel over.
Reposition the straightedge for a second cut from the opposite face.
The goal is to cut through the remaining material while leaving a small amount of waste beyond the finished edge established by the first cut.
In other words, the second cut should overlap the first cut in depth but be positioned slightly toward the waste side.
This prevents the second cut from removing material from the finished edge.
Make the second cut with the circular saw.
The two cuts will separate the waste from the panel, but there may be a small step where they meet.
That's where the router comes in.

Step 3: Clean Up the Edge with a Flush-Trim Router Bit
To remove the remaining step, install a flush-trim bit in your router.
Position the router so the bit's bearing rides against the finished surface created by the first circular saw cut.
The cutting edges of the router bit will remove the excess material left by the second cut.
Work along the edge, keeping the bearing in contact with the reference surface.
This brings the remaining material flush with the first cut, leaving a smooth, continuous edge.
Shop Tip: Check that your flush-trim bit has enough cutting length to reach the remaining waste while keeping its bearing against the reference edge. Remove only a small amount of material with the router, and follow the bit manufacturer's recommendations for cutting depth and feed direction.
Tips for Cutting Thick Panels Safely
This technique is useful for thick workbench tops, laminated MDF panels, and other oversized workpieces, but a few precautions are important.
First, support the panel securely before making any cuts. A heavy workpiece can shift unexpectedly, especially when you're removing material from an end.
Also, support the waste portion of the cut so it can't break away prematurely or pinch the saw blade.
When flipping a large panel, get assistance if necessary. Avoid trying to maneuver a heavy workpiece by yourself.
Finally, make sure the router bit's bearing is running against a clean, continuous reference edge. Any irregularities in that surface will be transferred to the finished cut.
A Simple Solution for Thick Workbench Tops
When a workpiece is too thick for a circular saw and too large for the table saw, you don't necessarily need a bigger machine.
By combining two guided circular saw cuts with a final flush-trimming pass, you can accurately trim thick panels using tools already found in many woodworking shops.
The circular saw removes most of the waste, while the router takes care of the final cleanup.
It's a practical technique that works especially well for thick laminated workbench tops and other large panels that are difficult to handle on stationary equipment.
Build a Heavy-Duty Workbench
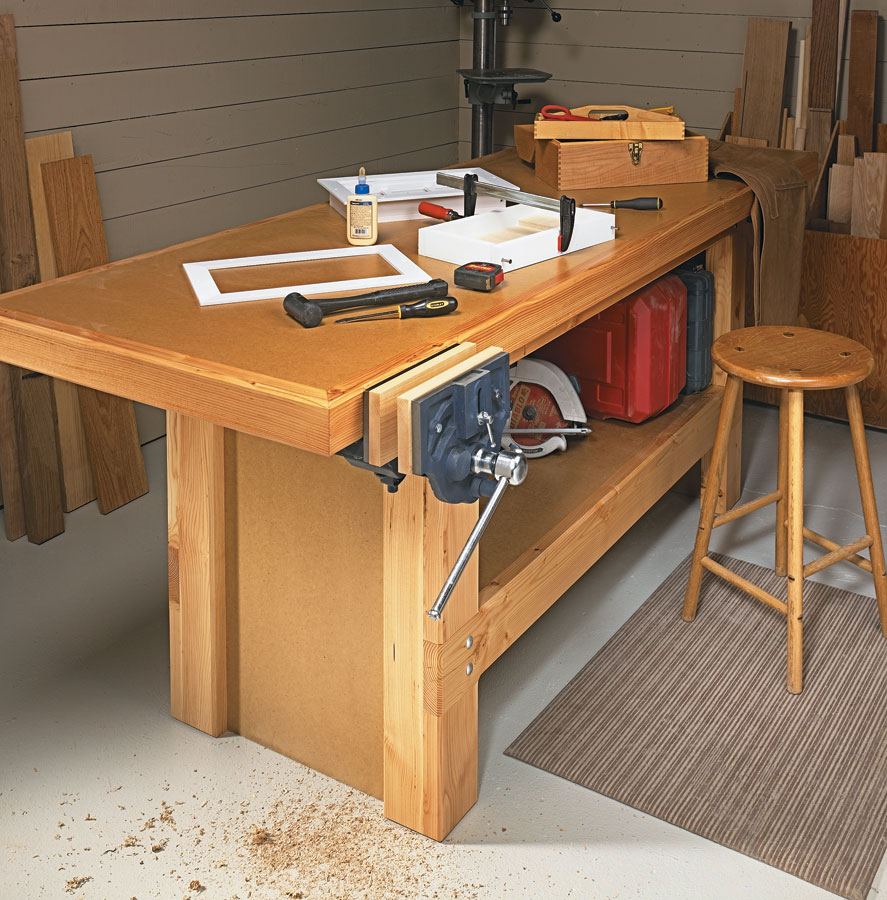
A sturdy workbench is the centerpiece of a productive shop. This heavy-duty design provides a substantial worksurface built to handle demanding woodworking tasks. With step-by-step plans and detailed construction drawings, you'll have everything you need to build a dependable bench for your workshop.
GET THE WORKBENCH PLANS → A Solid Foundation for Your Workshop


