


When woodworkers think about hand-cut joinery, dovetails often get most of the attention. But if you're looking to develop your hand-tool skills, cutting tenons by hand is a great place to start.
The process teaches several fundamental skills: accurate layout, sawing straight and square, working to a line, and carefully fitting one part to another. And unlike some more complicated hand-cut joints, the basic process is easy to understand.

The key is accuracy at every step. A good layout gives your saw a road map, careful cuts leave clean shoulders and cheeks, and cutting the tenon slightly oversize gives you room to fine-tune the fit.
Cut the Mortise First
Before laying out the tenon, complete the mating mortise.
This gives you an actual reference for establishing the thickness and width of the tenon instead of relying solely on measurements. You can then work toward a tenon that matches the mortise you've already created.
RELATED VIDEO: How to Cut a Mortise: 4 Ways to Make a Mortise and Tenon Joint
Lay Out the Tenon
Start by marking the thickness and width of the tenon on the end of the workpiece.
Lay out the tenon just a hair larger than the mortise. An oversize tenon can be fine-tuned later. An undersize tenon is considerably harder to fix.

Next, mark the length of the tenon to establish the shoulders.

A cutting gauge works especially well here. Rather than simply drawing a line, the gauge scores the wood fibers. That scored line provides a positive starting point for the saw and helps create a cleaner shoulder when the joint is assembled.
Finally, carry the layout lines from the end of the workpiece across its faces and edges.
At this point, you should have clear reference lines showing exactly where every saw cut needs to stop.
Cut the Tenon Shoulders
With the layout complete, it's time to start sawing.
A medium-sized backsaw works well because its stiff back helps the blade track straight. A suitable pull saw can also handle the job.

Start with the shoulder cuts.
Place the saw in the scored line made by the cutting gauge. Keep the saw level as you cut so you don't accidentally cut past the layout lines.
Watch both the front and back of the workpiece and stop as the teeth reach the layout lines.
Woodsmith Tip: Let the Layout Guide the Saw. Don't think of the layout lines as approximate locations for the cuts. They're your boundaries. As you get close to a line, slow down and use lighter strokes. It's much easier to remove a little more material later than to repair a cut that's gone too far.
Cut the Tenon Cheeks
The cheek cuts require a slightly different technique.
A good start is critical because the initial kerf will help guide the saw through the remainder of the cut.
Tilt the workpiece so you can see the layout lines on both the end and face. Start the saw while watching both lines. This makes it easier to establish a straight, square kerf.
Once the kerf is established, lower the front of the saw and continue cutting parallel to the shoulder line.

As you approach the shoulder, slow down. Finish with a few light strokes until the waste piece falls away.
Repeat the process on the opposite cheek.
Re-Mark the Layout as You Work
Cutting away a cheek also removes some of your original layout.
After making the first two cuts, re-mark the layout lines on the freshly exposed faces before continuing.
Those new lines give you the references needed for the remaining cuts. After two more cuts, the basic tenon is complete.
Test-Fit the Tenon
Now comes the payoff: fitting the tenon to its mortise.
Because the tenon was deliberately laid out and cut slightly oversize, don't expect it to fit perfectly on the first try.
Instead, identify where the tenon is tight and carefully remove a small amount of material. Work gradually and test the fit frequently.
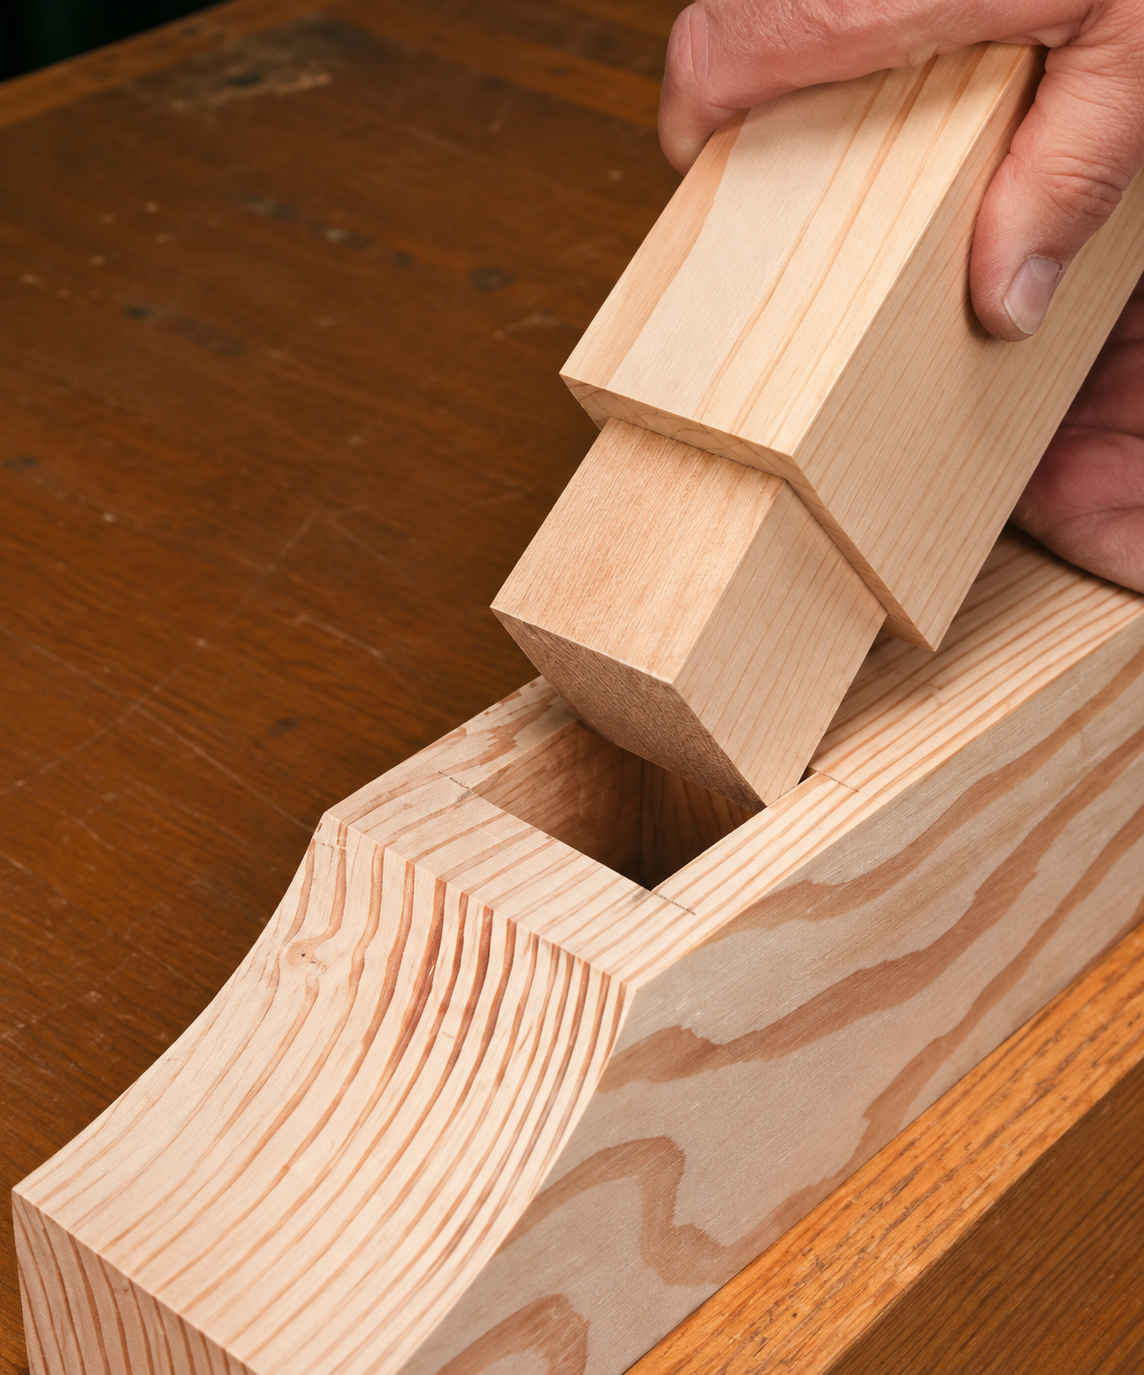
The goal isn't a joint that needs to be hammered together. You want a tenon that slips into the mortise with firm hand pressure.
That small amount of final fitting is one of the advantages of cutting the tenon oversize in the first place.
Hand-Cut Tenons Build Better Sawing Skills
There's nothing complicated about the tools needed to cut a tenon by hand. What matters is learning to work accurately with them.
Start with a precise layout. Establish each saw cut carefully. Watch your reference lines from more than one direction. And leave yourself a little material for final fitting.
After cutting a few tenons this way, you'll develop a better feel for guiding a saw and working accurately to a layout line — skills that carry over to dovetails and plenty of other hand-cut woodworking joints.
RELATED VIDEO: How to Build Heavy-Duty Wooden Sawhorses
Learn to Use Japanese Saws
A Japanese pull saw is a great choice for cutting tenons and other precise joinery. Learn how dozuki, ryoba, kugihiki, and azebiki saws differ, how pull-stroke cutting works, and which saw is best for different woodworking tasks.
LEARN ABOUT JAPANESE SAWS → Japanese Saws for Woodworking: Types, Uses, & Techniques


