

The idea for this article originates from a game table project for the Woodsmith Shop TV show. Between segments, I cleaned up the surfaces of the base, while trying to come up with an article idea for this issue. After a water break, I noticed the collection of tools scattered around my workspace and had my article idea.
The tool kit I recommend includes a mix of abrasive (sanding) tools and edge (cutting) tools. In the kind of work that I do, this short list helps me smooth large surfaces as well as get into all the corners, crannies, and crevises most projects have. The criteria these tools must check include versatility and affordability — though a splurge here or there makes a big difference.
DUST MASK.
 |
| A comfortable dust mask means you’re more likely to use it. |
Let’s prepare ourselves before tackling a surface. With age comes wisdom. I’ve made it a goal to enjoy woodworking as long as possible. A key part of that is protecting my lungs. I found a thermoplastic mask with replaceable filter cartridges that’s comfortable and works well with my glasses. (For sources, refer to page 48.) This means I’m more likely to wear it. The soft mask fits on my face with a good seal. The straps are adjustable for dialing in a just right fit. A large exhalation valve on the front keeps my face cool and dry.
RANDOM ORBIT SANDER.
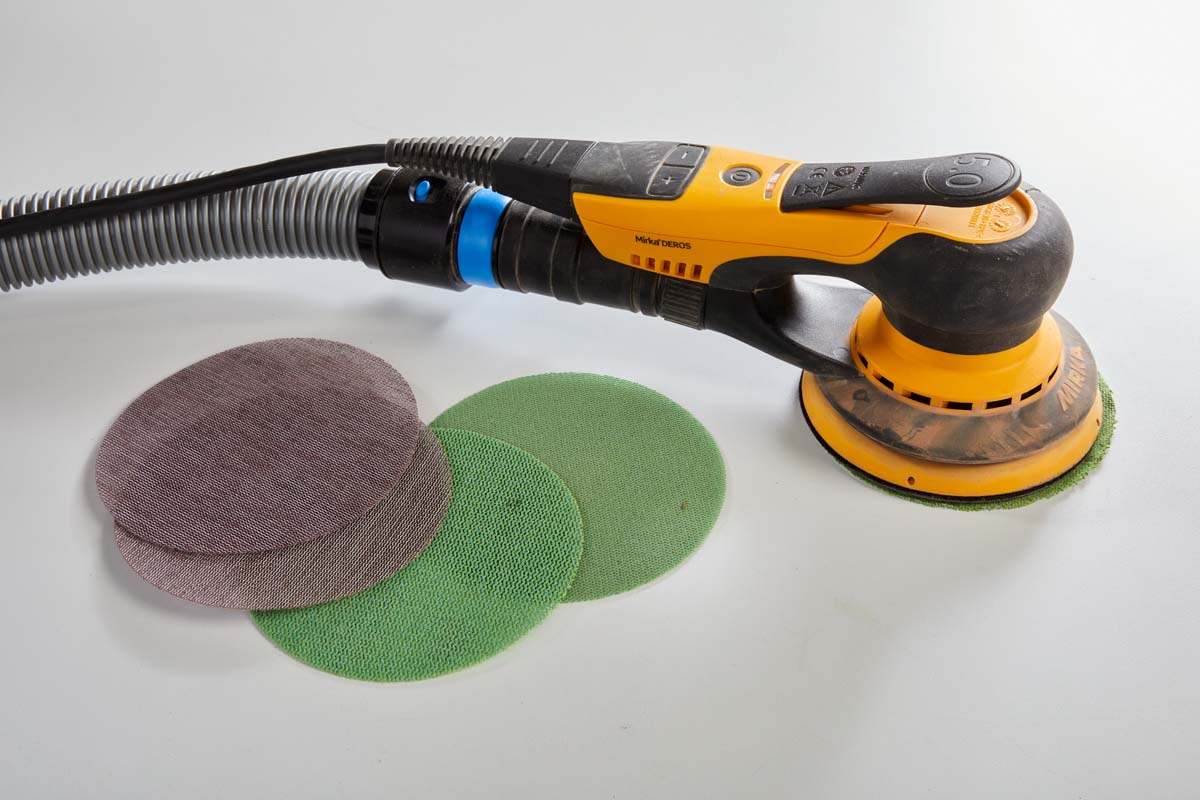 |
| A 5" random orbit sander (and a handful of discs) connected to a dust extractor proves to be a versatile sanding team. |
The mainstay tool of surface prep in my shop is a 5" random orbit sander. What makes it so useful is the balance between the size of the pad and its nimbleness. With it, I’m able to sand large surfaces and keep them flat. The light weight of the sander means I can reach into a cabinet, hold the sander vertically, and follow curves with ease. Sanders come in a range of price points. If possible, try out the sander before committing to it. Vibration and balance are the key points for me.
Just as important as the sander is the abrasive disc that cuts the wood. Recently, I’ve switched to the mesh-like discs, as you see above. To me, they seem to last longer and allow more complete dust collection. You can find discs from 40-grit (gravel on paper) up to 400-grit or higher. Unless you have particular needs, the extreme ends of that range aren’t necessary. A short stack of 80-grit or 100-grit, along with 120 and 150 (or 180) satisfies most tasks that I require of the sander in making furniture.
DUST EXTRACTOR.
Random orbit sanders come with a dust bag or canister to gather up the sanding dust. My advice is to set that aside and connect your sander to a quality dust extractor, or a shop vacuum. While similar in looks, a dust extractor is designed for working with power tools. These often come with an onboard tool-activated outlet, improved filtration and best of all, quieter operation.
CARD SCRAPER.
 |
 |
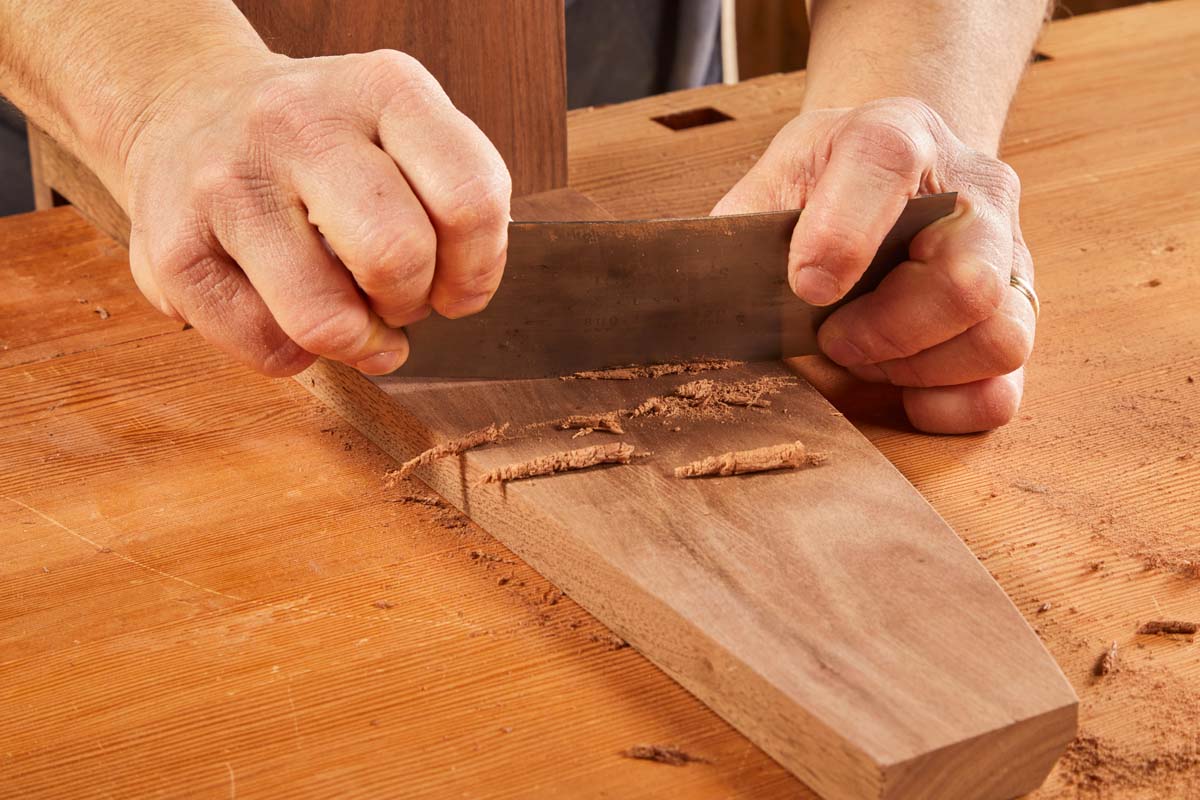
| A card scraper gets into tight corners to remove glue as well as smoothing and refining flat surfaces. |
My second most reached for prep tool is a card scraper, as shown below. This flexible steel blade cuts rather than abrades wood. The small but mighty cutting edge removes blade marks and can be flexed to focus on small blemishes. Its crisp corners dig out glue globs in the corners of assemblies, too.
As a cutting tool, a card scraper requires maintenance. However the sharpening process is one that you master easily. In use, the scraper should produce curls of wood, as you can see in the lower right photo. When you produce more crumbs than curls, it’s time to pause and sharpen.
THE SPECIALISTS
Recommending tools for tasks involves a high level of subjectivity. Personal prefernce leads one woodworker toward certain tools and away from others. The two tools shown on this page fall squarely into this camp.
CHISEL PLANE.
 |
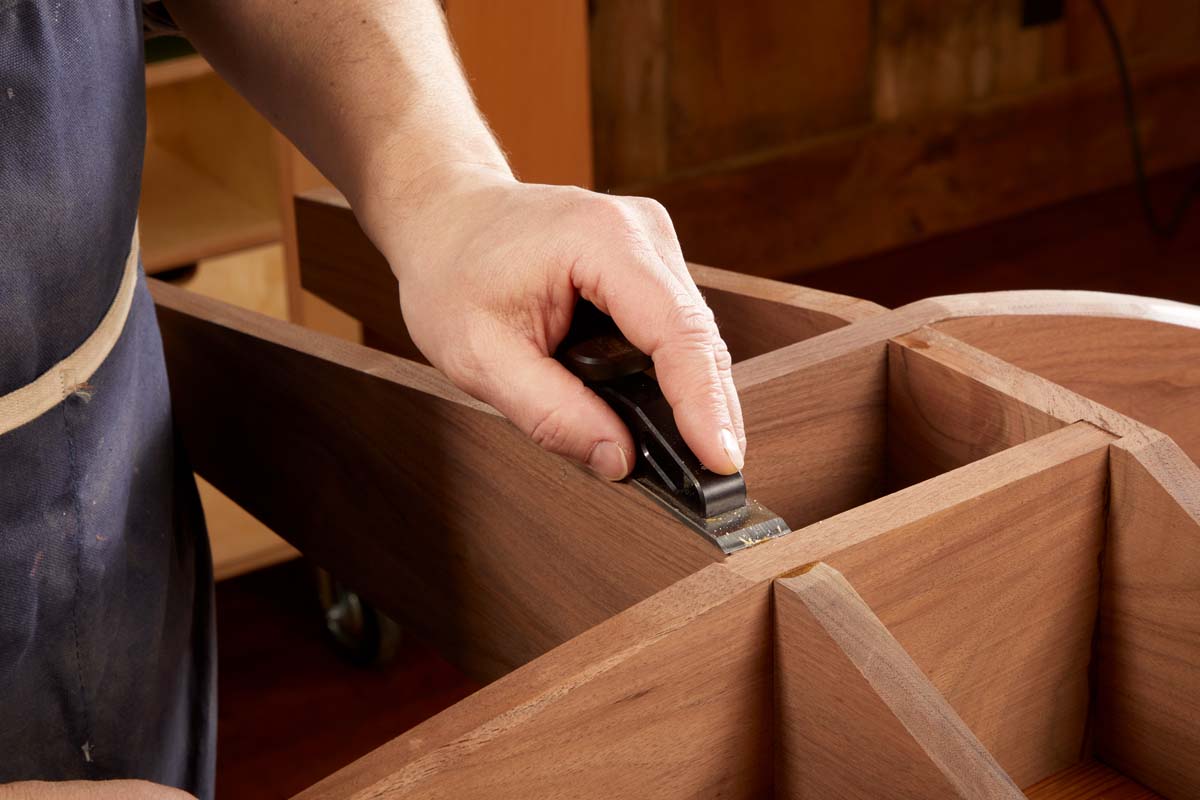 |
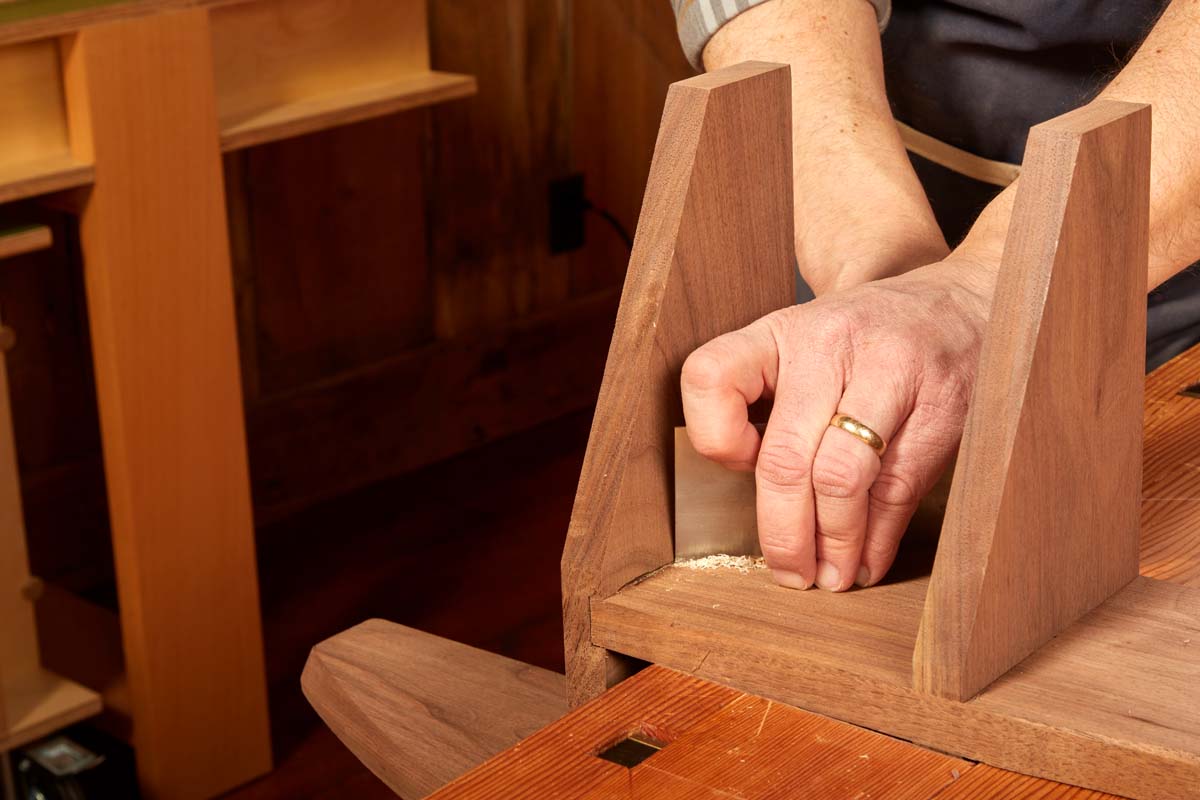
| Chisel planes trim glue ridges, clean out corners, and level pins and plugs. |
By its nature, surface prep involves a close inspection of all parts of a project. The result is you end up finding stuff you passed over before. These unexpected surprises call for a chisel plane, as shown above.
The orientation of the blade gives a chisel plane its advantage. The flat base of the blade serves as a reference and prevents the blade from digging in. For surface prep, this plane finds its best use in removing stray bits of glue. Inside drawers, I can make a cut into a corner from two directions. This severs the glue, popping it out and avoiding tearout.
The low cutting angle of the tool trims raised areas, too. The natural application is tenon pins or screw plugs. However, it works just as well on veneer edging tape.
CABINET SCRAPER.
 |
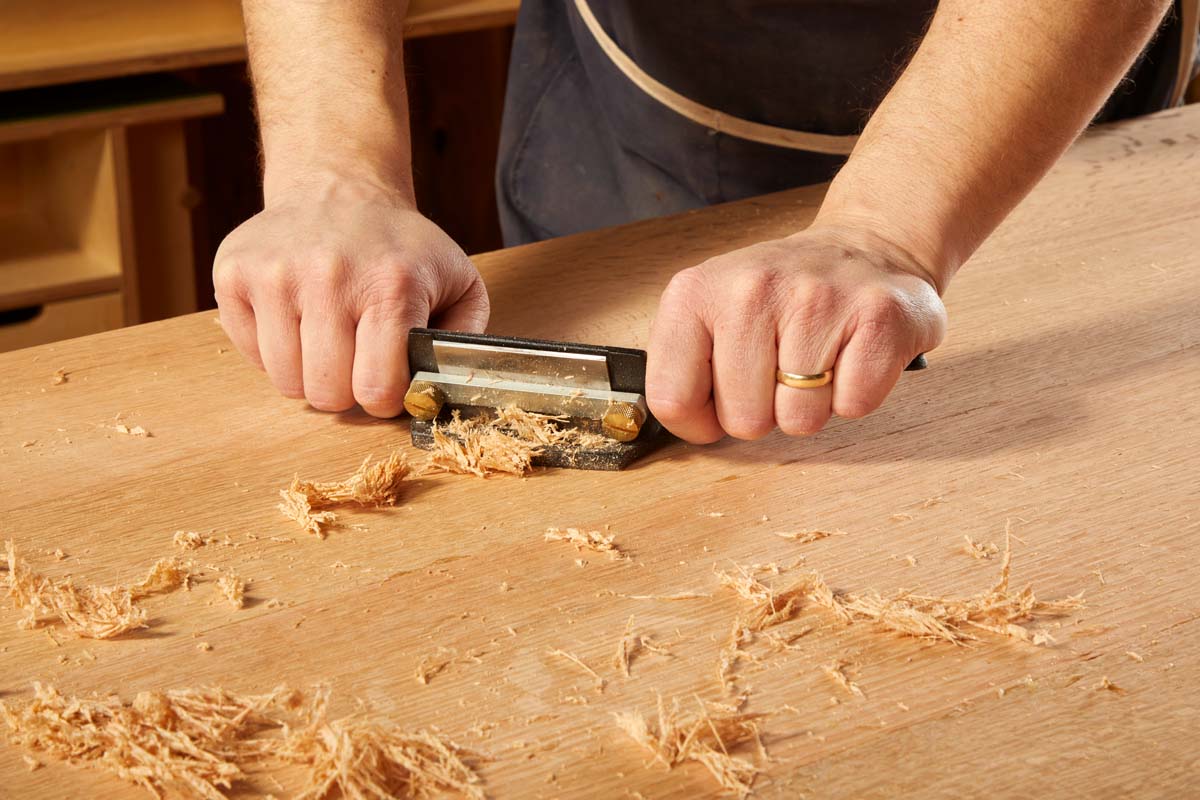 |
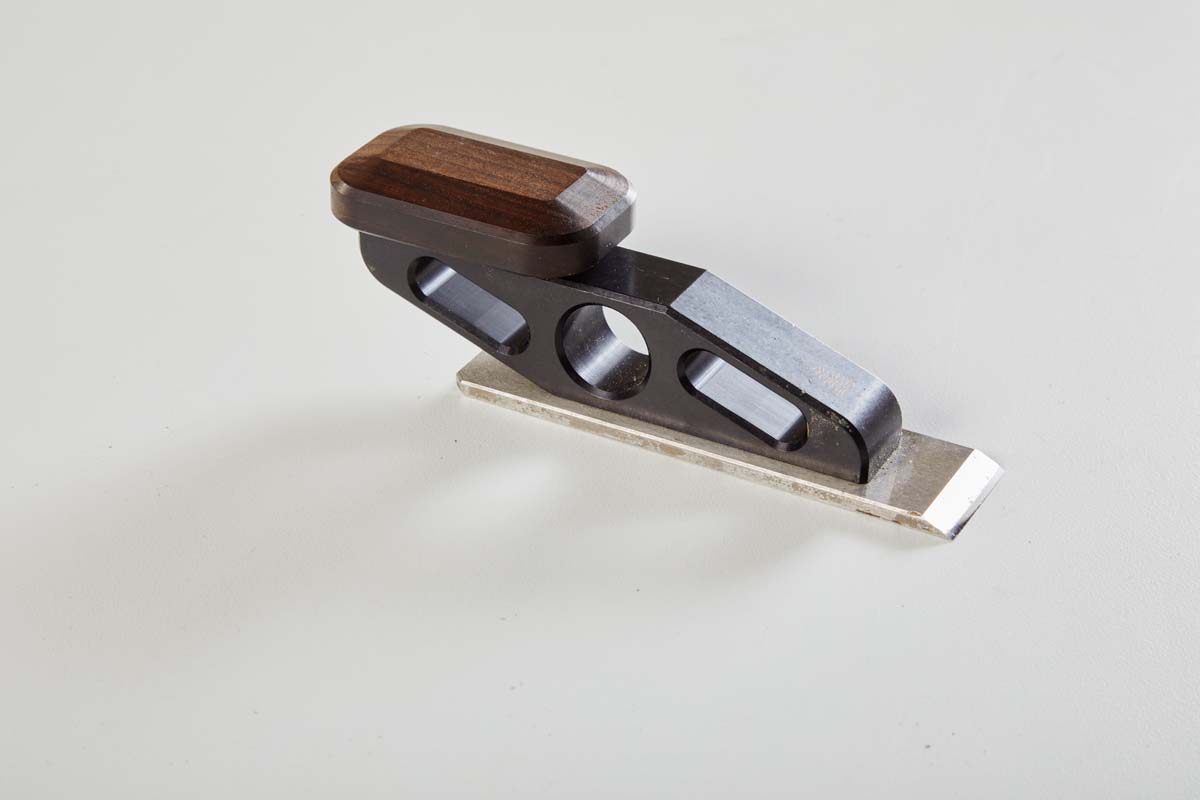
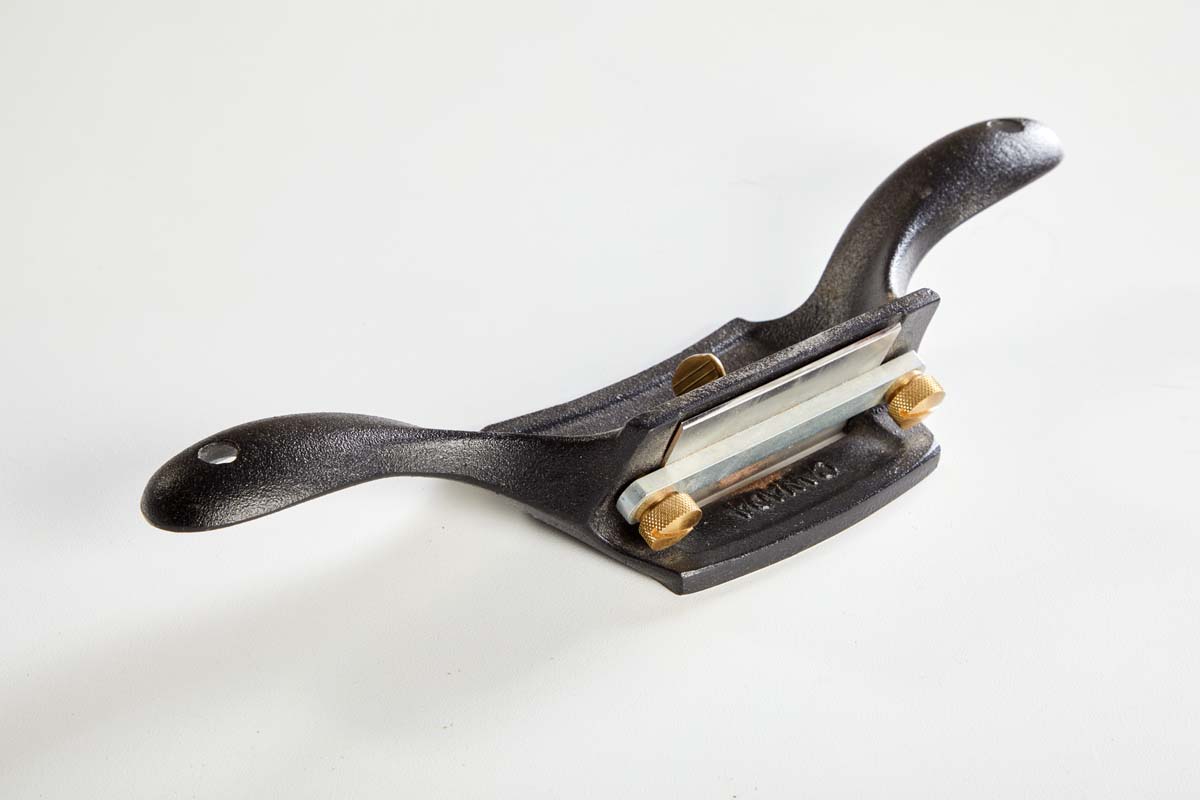
| The cabinet scraper features a thicker blade in a comfortable body to smooth a surface with less user fatigue. |
The simplicity of a card scraper reveals a few downsides as well. Using one for long periods of time tires your hands and fingers. The heat generated by heavy cuts can burn your fingers. The ability to target a small area invites creating a dished-out surface unintentionally.
For these reasons, I have a card scraper’s big brother: the cabinet scraper. The cabinet scraper houses a thick blade in a holder that includes swept handles and a flat sole. It looks like a goose coming in for a landing on a lake.
Its primary function is to smooth large flat surfaces. In glued-up panels, the grain direction often changes abruptly from board to board. This makes using a smoothing plane challenging. A cabinet scraper ignores those grain shifts.
The sole keeps surfaces flat as you work. A thumbscrew on the back flexes the blade to increase the depth of cut. The handles allow you to apply consistent pressure and keep your hands away from the heat.
The blade has a bevel on each edge. It’s sharpened with a hook just like a card scraper. So you have two edges to work with before needing to resharpen. The final work involved in preparing surfaces for finish brings out the beauty of your project. It’s worth spending time to do it well.


