

The macabre adage that “there’s more than one way to skin a cat” holds true in many areas of life, woodworking no less than any other. While we detail the process and tools we used in creating our projects, there are often numerous alternatives available using a variety of different tools. Among these tools is one niche group in particular that we explore only on occasion: hand tools.
Entire books could be (and certainly have been) written on setting up a hand tool shop. However, that’s not what I’ll be focusing on in these next pages. Instead, I’ll cover some basic tools for those who may be interested in dipping their toes into the hand tool side of the pool.
WHY USE HAND TOOLS?
There are a number of reasons to use hand tools in the shop. For some it’s an issue of space — a small shop can store many more hand tools than it can large machines. For others it might be an issue of health.
No power tools means far less noise and dust, not to mention the exercise. And I believe every hand tool user has, to some extent, an interest in the craft and history of the tools themselves. Regardless of the reasoning, the next few pages will show off some essential hand tools. If any tools catch your eye, I’d advise you give them a try — you never know what your next favorite could be.
DIMENSIONING TOOLS
The best place to begin is with the first step in any project: sizing the boards. When it comes to dimensioning a workpiece, hand saws take the place of miter saws and table saws.
HAND SAWS.
 |
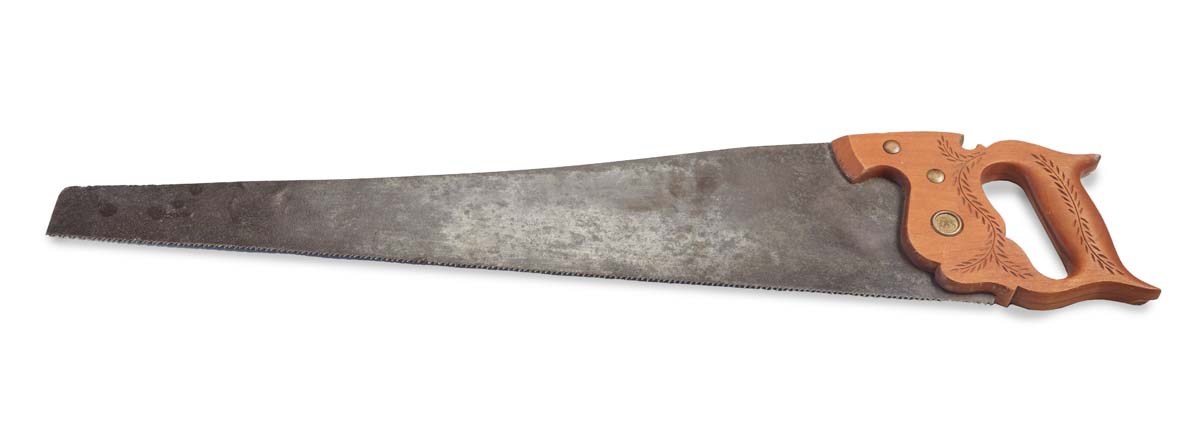 |
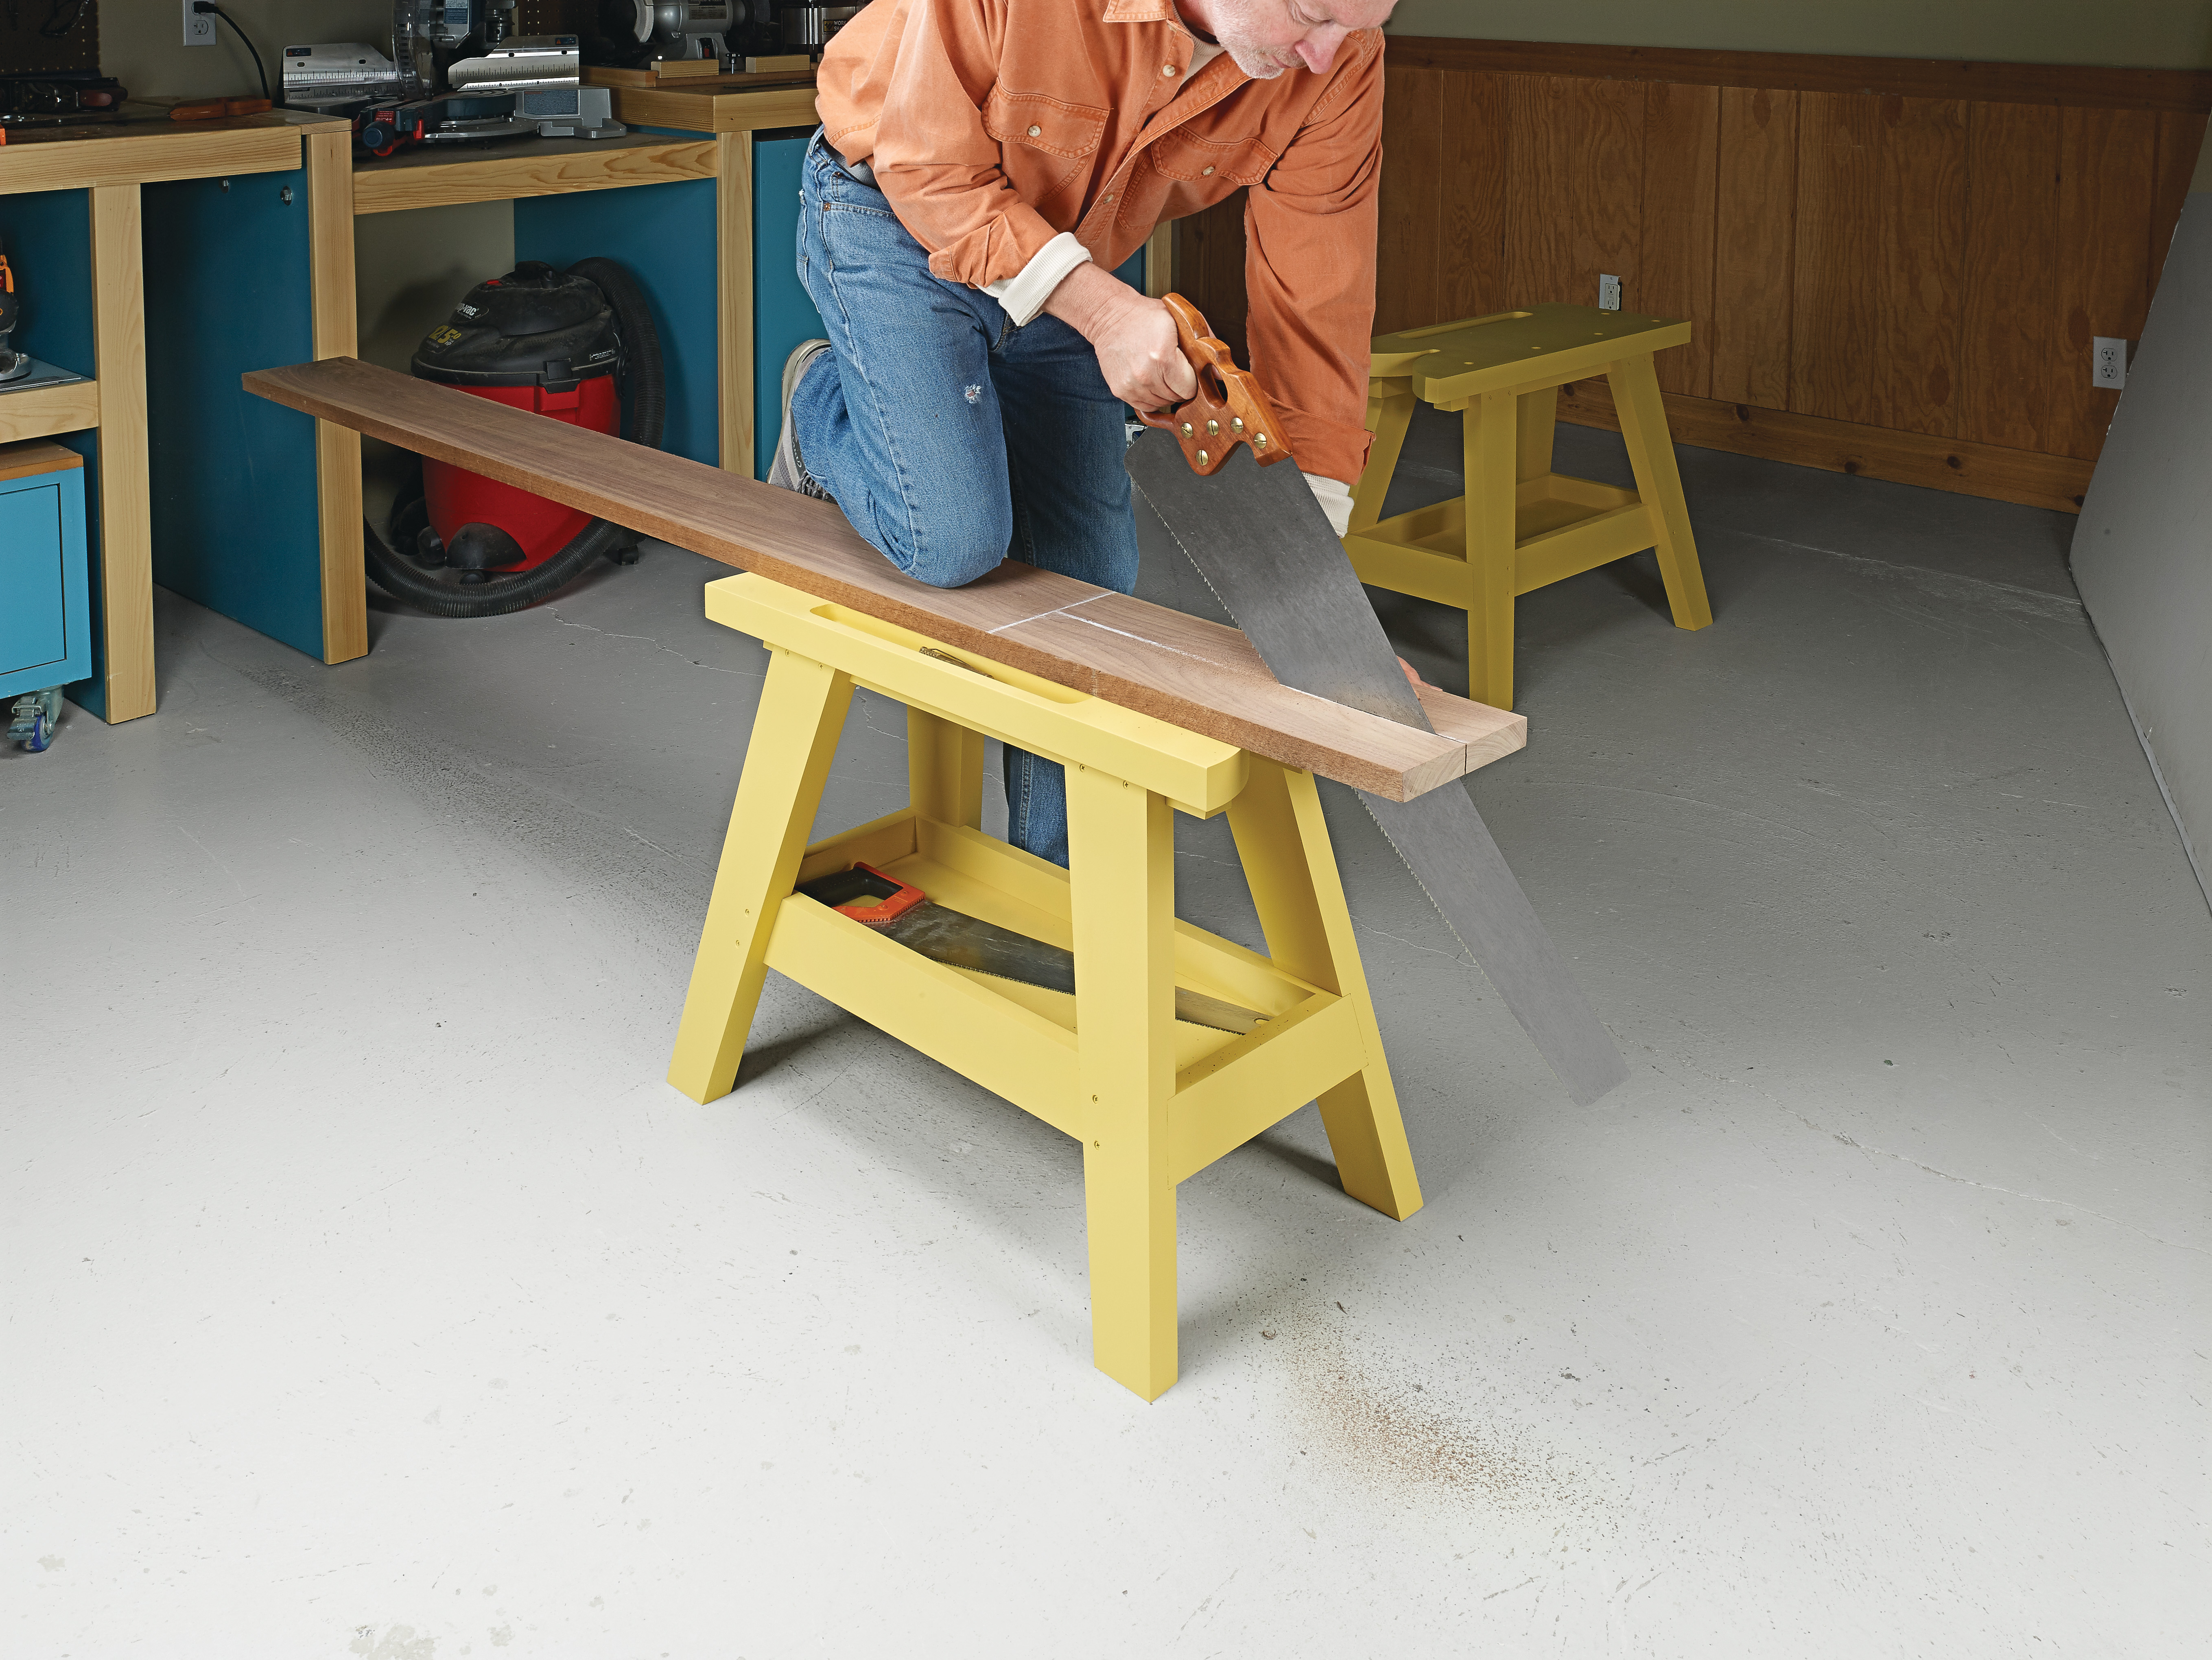
| Classic hand saws are used to cut boards to rough length and width before planing. |
Hand saws are used to cut workpieces to size. They’re large saws without backs, allowing the saw to pass fully through workpieces. While it depends on what size of pieces you’re working with, chances are crosscutting will be your first step.
Hand saws are the largest kind of saw you’ll find, usually sitting around 2' long, and they tend to have a low tooth count. That low tpi may create a rough edge, but it does an excellent job of cutting quickly and efficiently.
After cutting a piece to length, the width is next, and for that you’ll want a rip-filed hand saw. You can see photos of this type of saw below. Ripping hand saws tend to have an even lower tpi than crosscutting saws — often just 4.5 teeth per inch. While this can make starting cuts difficult, you’ll be amazed how fast these saws can cut.
When ripping a board by hand, it’s important to give yourself a little extra waste from the final width (especially if you’re just getting started in hand sawing). This gives you some wiggle room in case your cut isn’t perfect, plus it gives you some extra material to plane off for a crisp edge.Two hand saws will serve you well: one for ripping and one for crosscutting.
While you could keep shorter, finer rip saws on hand for thinner stock, I find a long saw works well no matter the size of the workpiece, and it means I only have one rip saw to keep sharp. The next two tools on the list serve the same purpose as the jointer and planer in a power tool shop. Together they’ll bring boards to thickness and ensure that the workpieces you use are square.
JACK PLANE.
 |
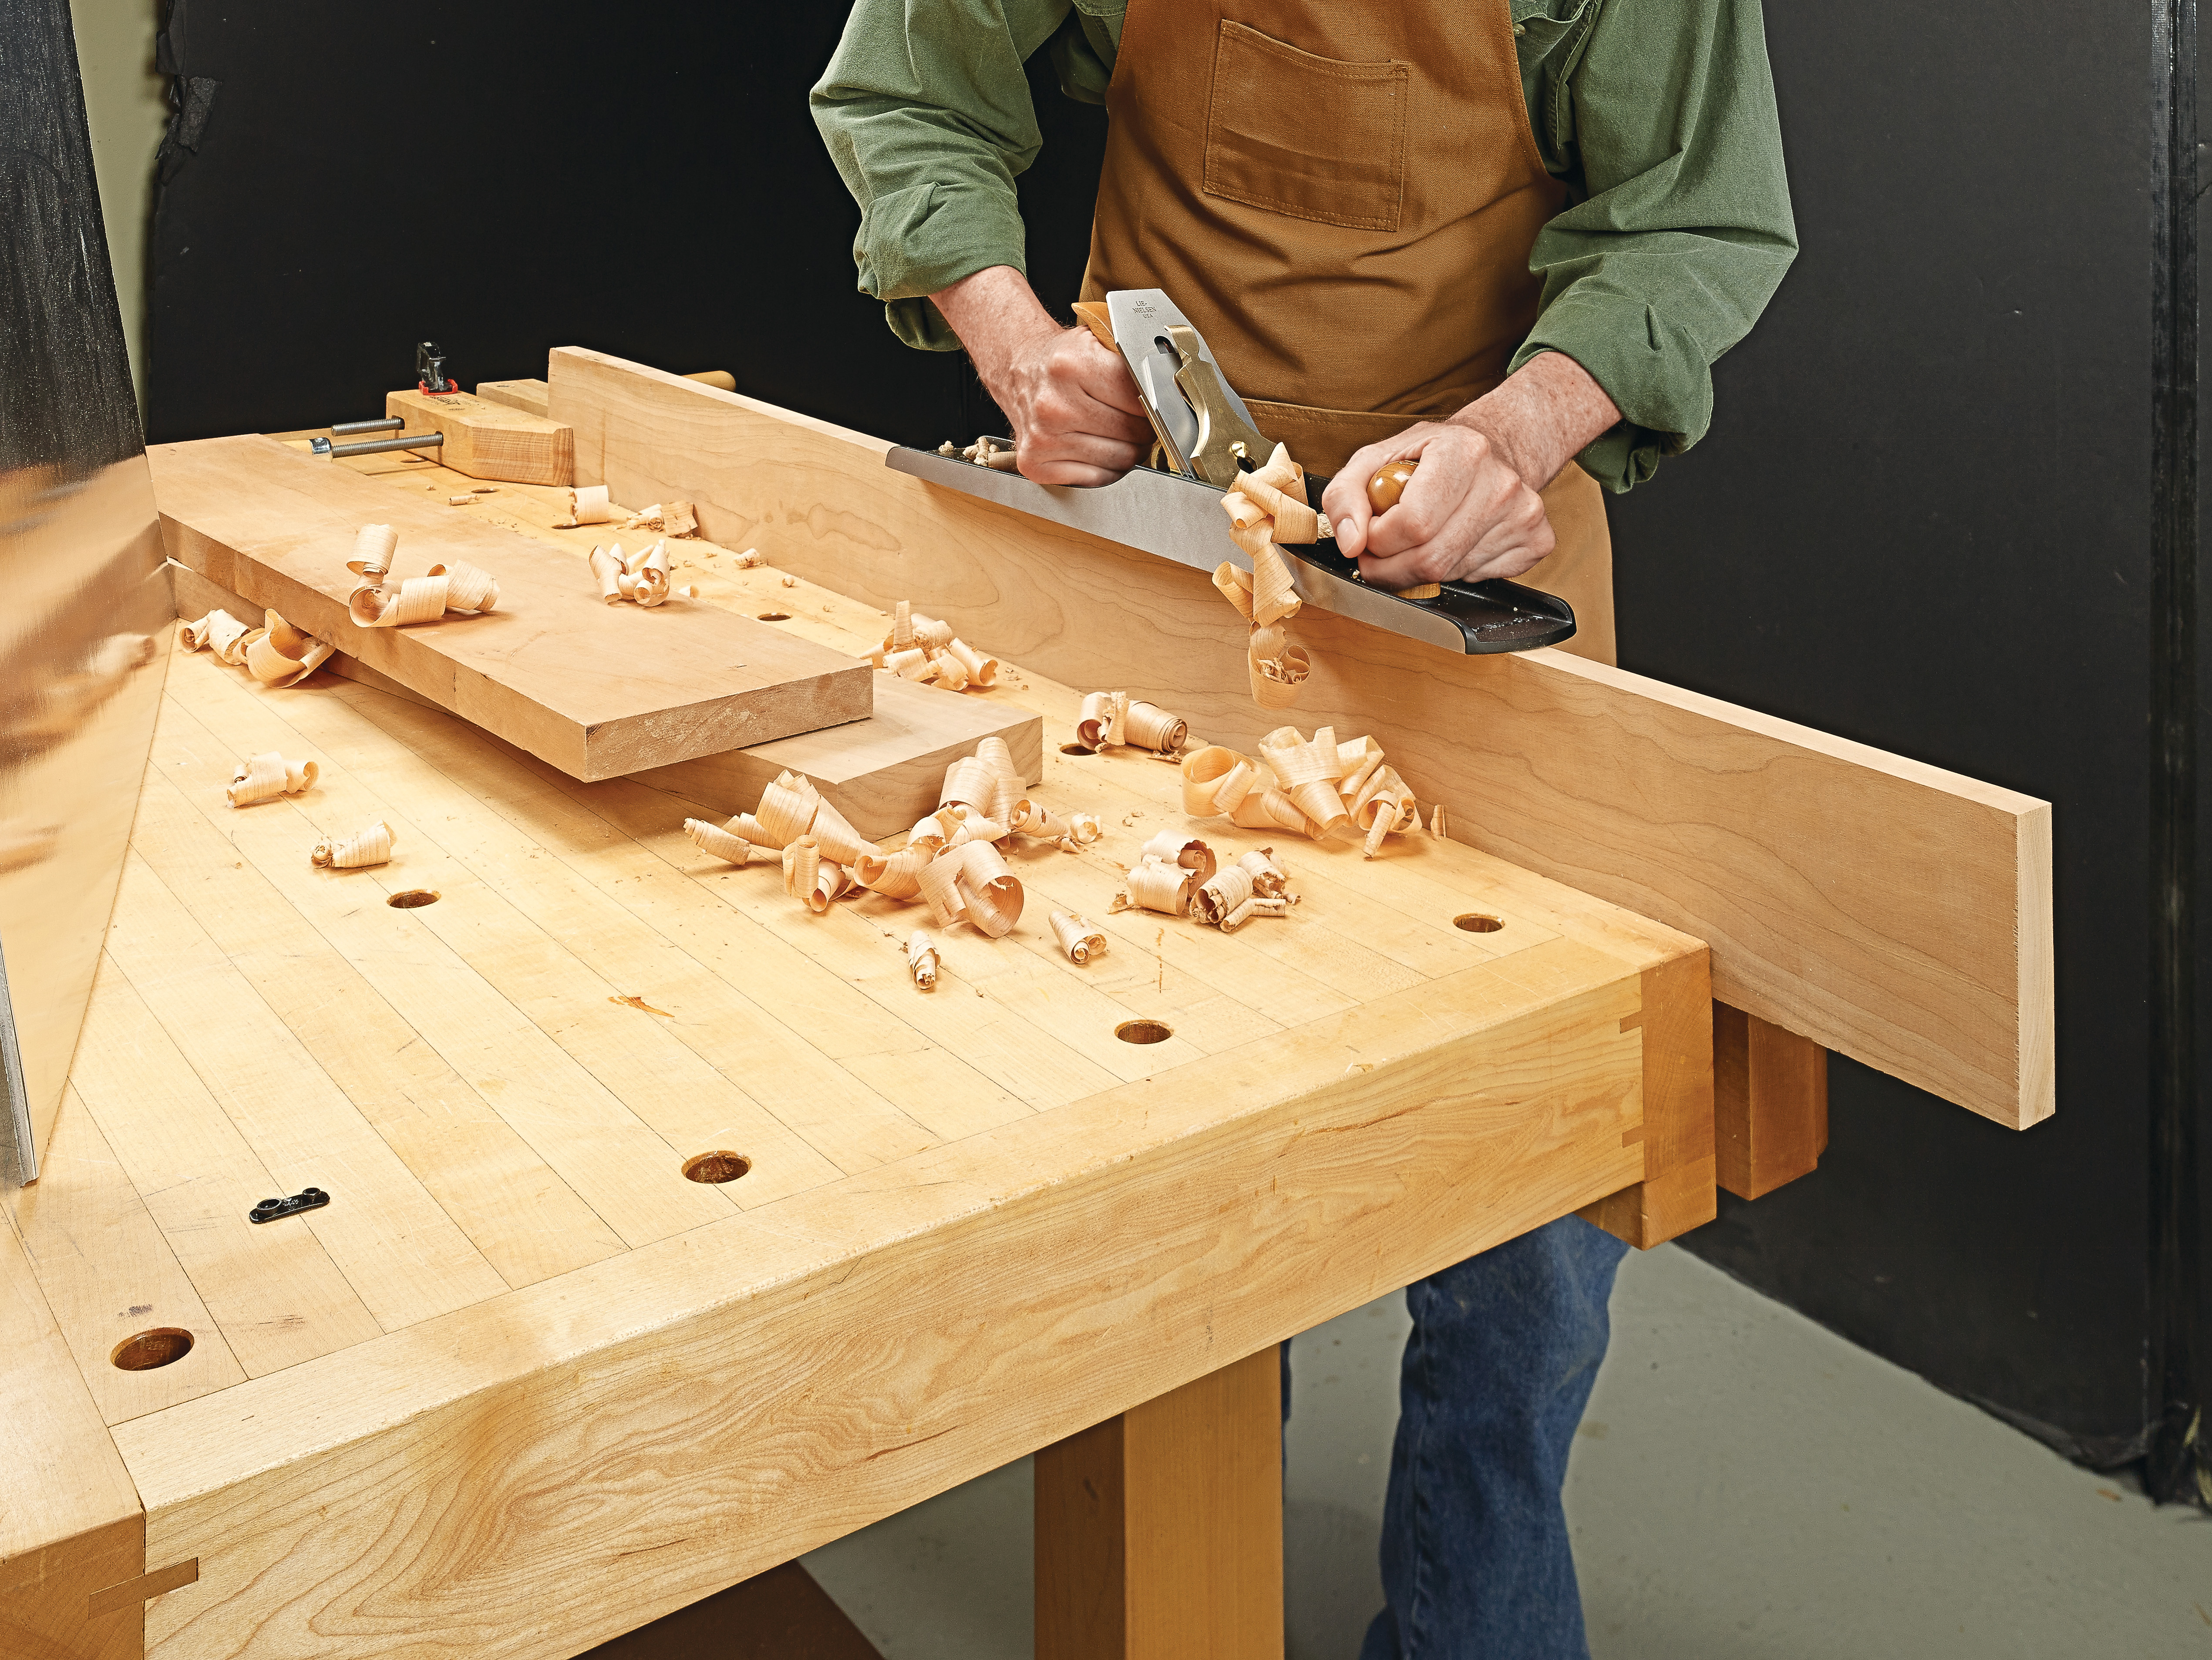
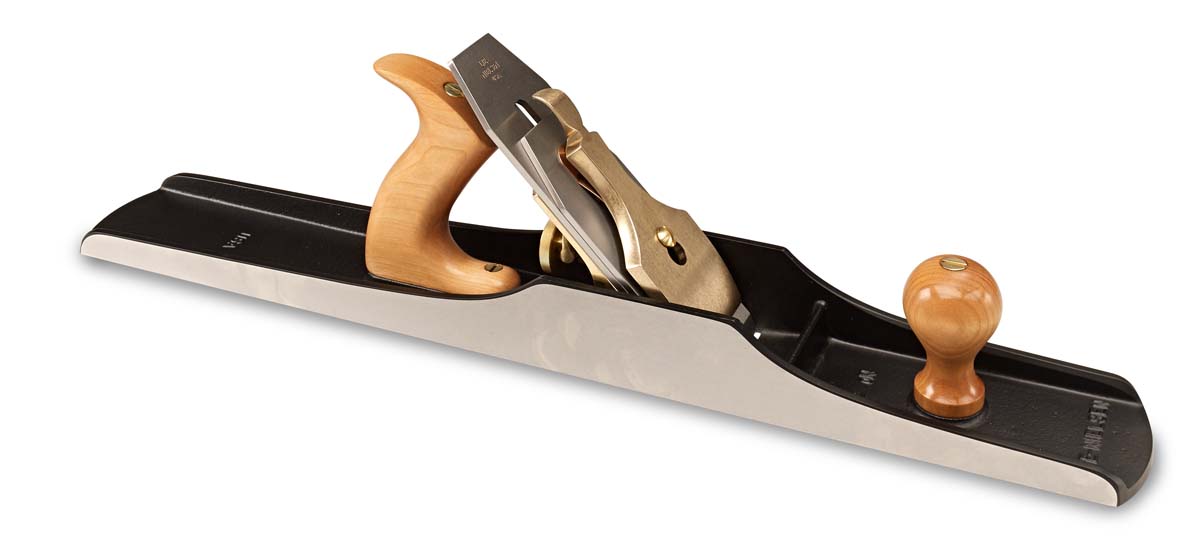
| A jack plane is used to remove large amounts of material effeciently. |
First is the jack (or fore) plane. These are medium-sized planes, usually reaching a foot to a foot and a half in length. Jack planes also have wide mouths, and this is due to their use: hogging away at the face of the workpiece.
A jack plane is used to reach the rough thickness of a board, and to remove any twisting or cupping from the piece. The jack plane may leave a rough surface, but it excels at prepping a board quickly for the next steps.
JOINTER PLANE.
 |
 |
| The long body of a jointer plane helps it to create an even surface, perfect for jointing an edge or flattening a face. |
A jointer plane is a big, heavy tool, and one of the most common planes to find secondhand. This is because jointer planes have a very specific use: flattening a surface or edge. The long, flat sole helps the plane create an even surface across the whole piece.
BACKSAWS
 Tenon saw Tenon saw |
 Carcass saw Carcass saw |
 Dovetail saw Dovetail saw |
| Back saws come in a variety of materials and styles, with backs made from traditional folded brass (bottom), more modern machined brass (middle), and even a reinforced polymer resin |
| (top). |
Looking towards hand-cut joinery, first come the backsaws. These saws have a back that fortifies the blade, allowing it to be thinner (meaning a thinner kerf and thus a more efficient cut) without risking the saw buckling.
Backsaws can be put into three categories based on their size: tenon, carcass, and dovetail. A tenon saw is the largest, with a wide blade that allows it to cut deep tenons, half-laps, and bridle joints without bottoming out. A carcass saw is the next step down.
Despite its somewhat macabre name, it derives from being used to cut the joinery on the carcass (or case) of a project. Finally, there’s the dovetail saw. These small saws feature numerous rip-filed teeth that allow for smooth, accurate cuts. While they’re designed to cut dovetails, they’re useful for joinery on small projects of all kinds.
JOINERY PLANES
For the uninitiated, the sheer volume of hand planes can be staggering. While each has its use, some are more versatile than others, and I find it best to begin with the ones that will serve you in a variety of operations.
| |
| ---------- |
| |
|A smoothing plane finishes up a workpiece. Though it appears similar to a jack plane, this plane will leave a glass-smooth finish.|
|
|A smoothing plane finishes up a workpiece. Though it appears similar to a jack plane, this plane will leave a glass-smooth finish.|
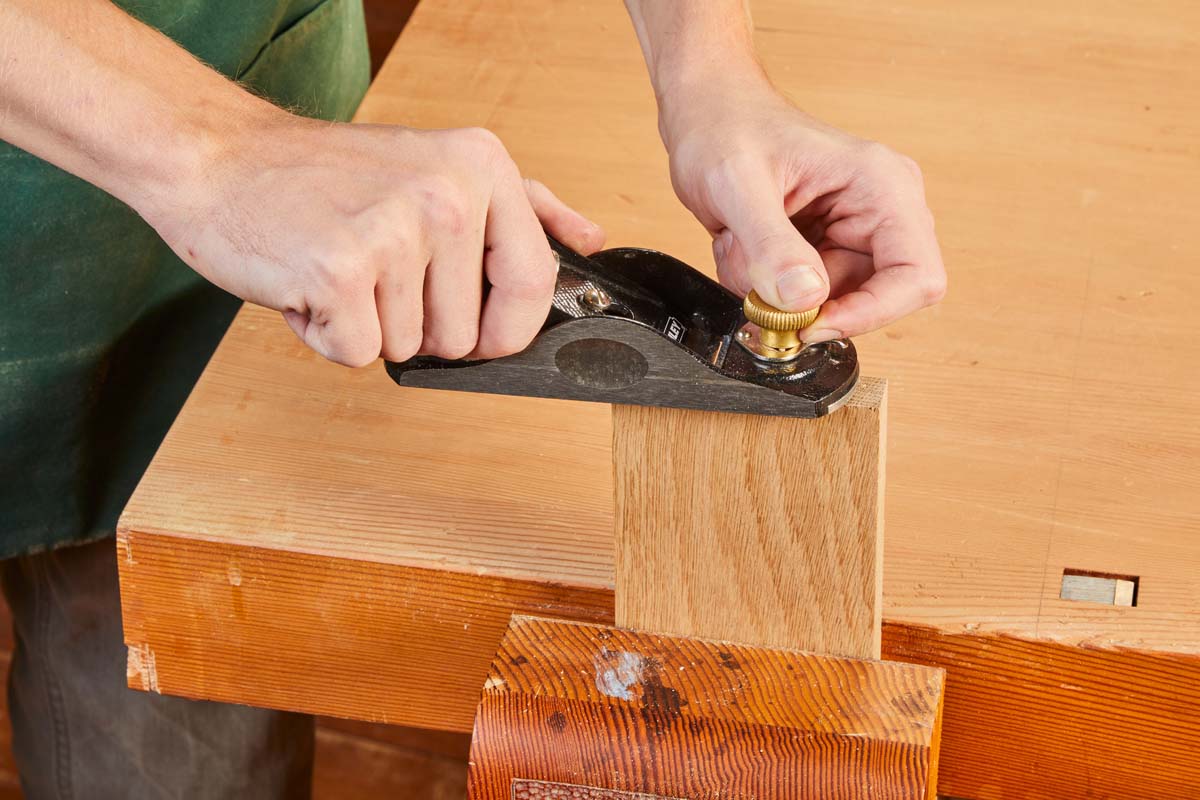
BLOCK PLANE.
 |
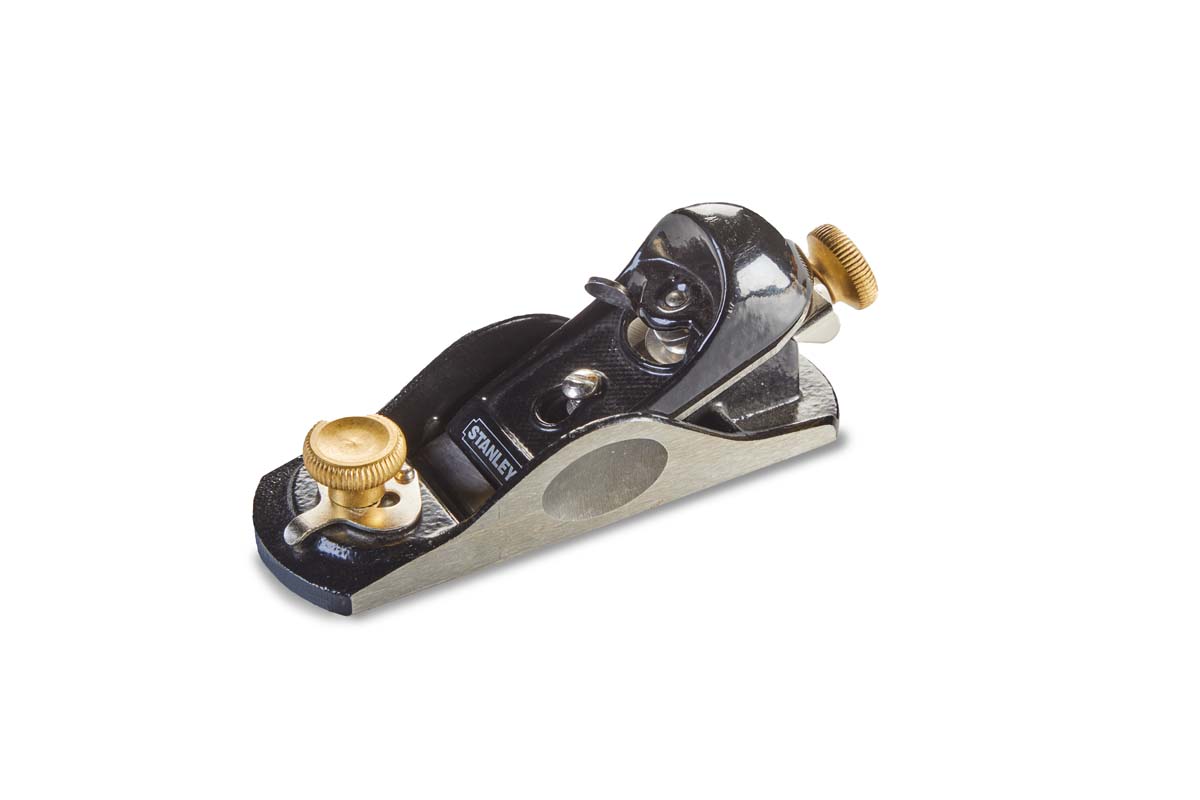 |
| Block planes make quick work of trimming dowels and cleaning end grain. |
One plane you should certainly consider starting out with is a block plane. One of the dedicated purposes of a block plane is to trim the end grain on a piece, which is why you’ll find the blade of the plane seated at a lower angle than most.
This allows the blade to slice into the end grain fibers rather than push them. Block planes are also useful for trimming dowels flush, chamfering edges, and all manner of minor adjustments.
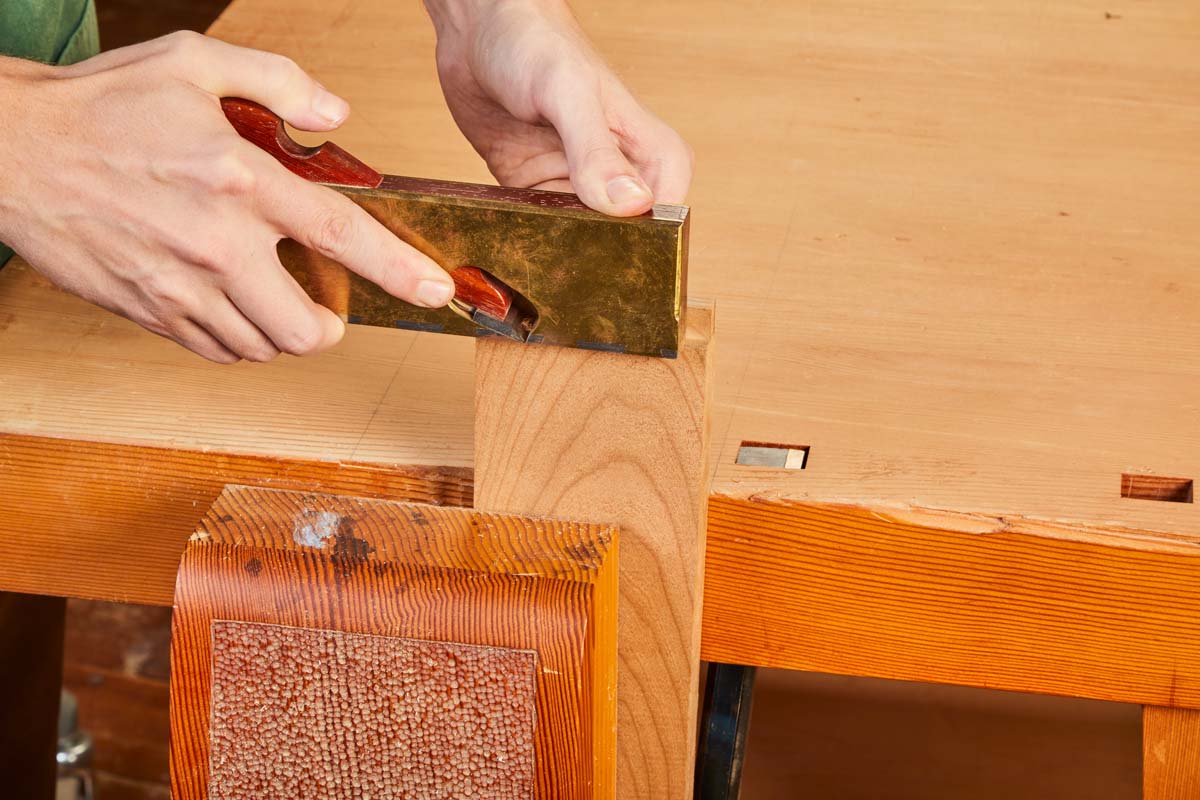
SHOULDER PLANE.
 |
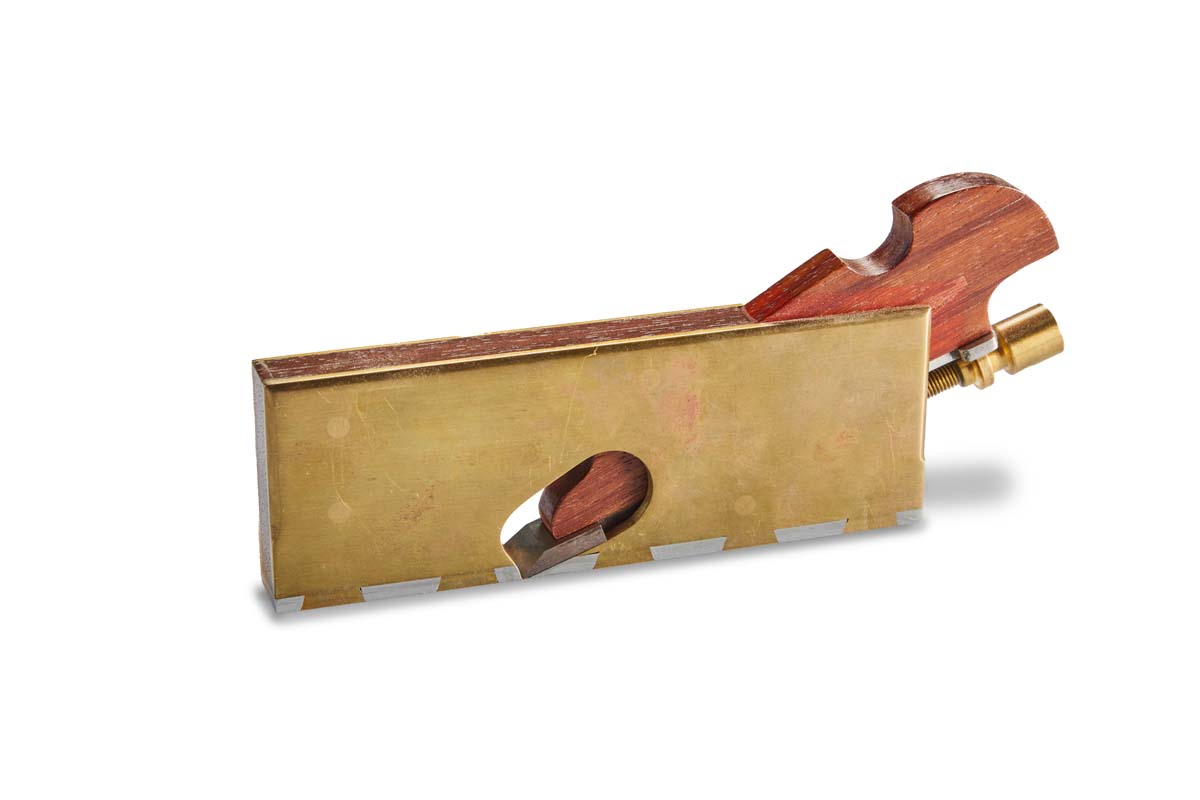 |
| Shoulder planes work well in hard to reach places. |
The shoulder plane is often used to trim a tenon down to fit its mortise (this is where the name “shoulder” comes in), but they can also be used to clean out a dado or to make rabbets. The iron of a shoulder plane is slightly wider than the sole, which makes it excellent for cleaning the corners of a joint.
Honorable Mentions!
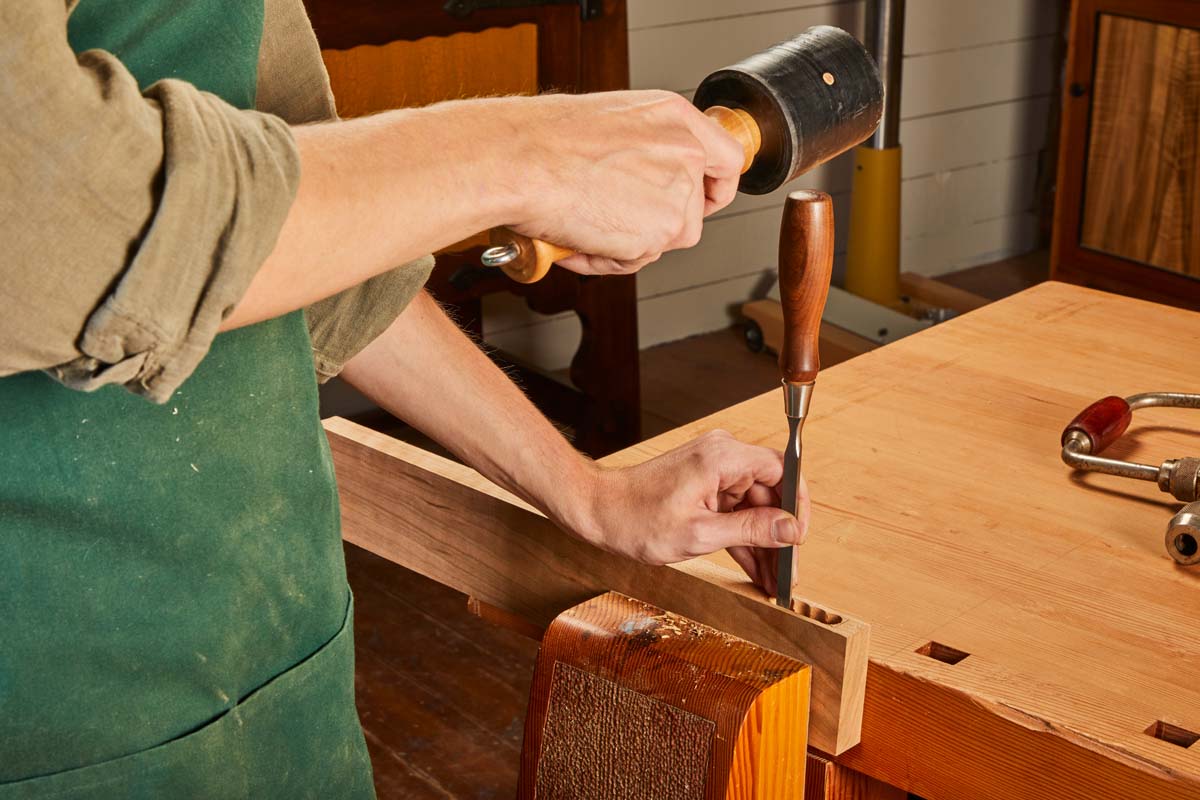
BENCH CHISELS.
 |
 |
| A bevel-edged bench chisel works wonderfully to pare away waste and chop out joints. |
For chopping out and paring away waste, it’s hard to find a better option than a bench chisel. They’re useful for making out dadoes and dovetails, and are a necessity for handmade mortises. For most woodworkers, a selection of bench chisels is a good place to start. You could purchase a whole set running from 1⁄8" wide all the way up to 2", however I don’t think this is necessary for most woodworkers. I find that having the “four quarters” (1⁄4", 1⁄2", 3⁄4", and 1") covers most of the work I do.
There are a few different types of chisels. I prefer bevel-edged chisels like the ones you see here. They’re easy to maneuver and a good size for most of the work I do. However, if I dedicated myself to hand-chopping mortises, I would invest in a heavier-duty mortising chisel.
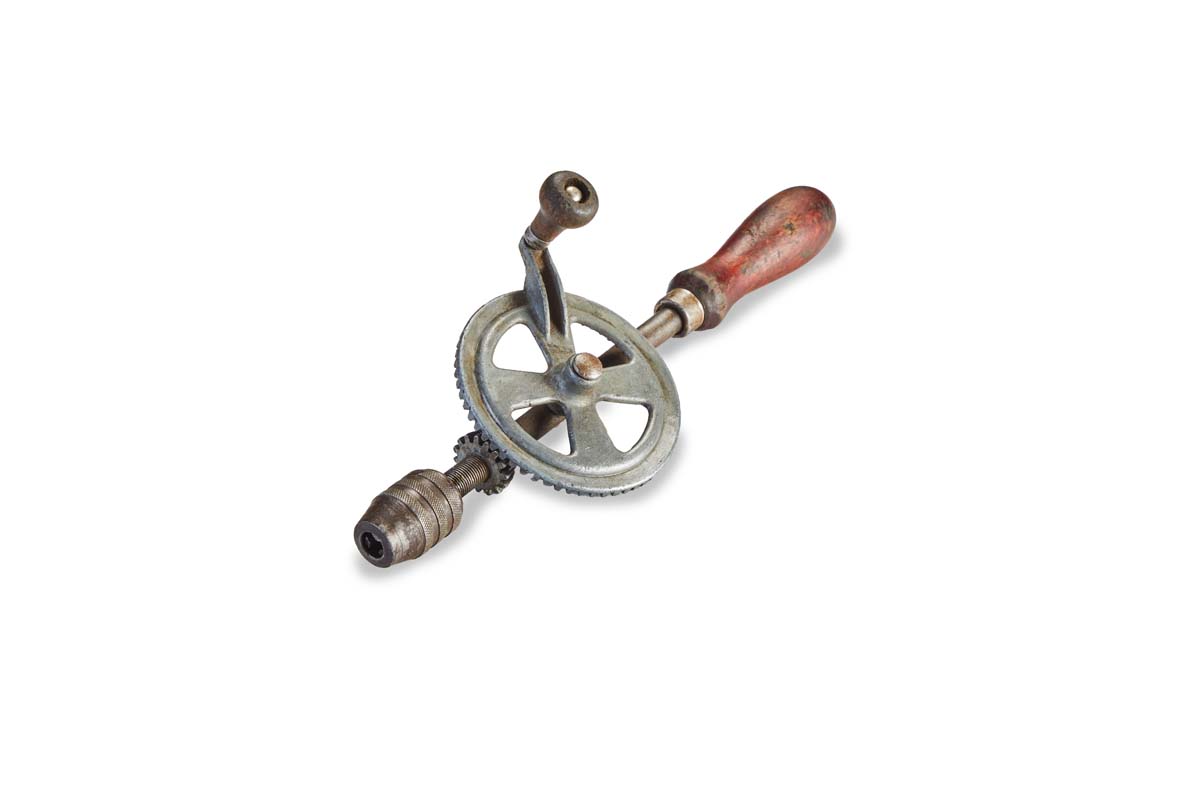
DRILLS.
 |
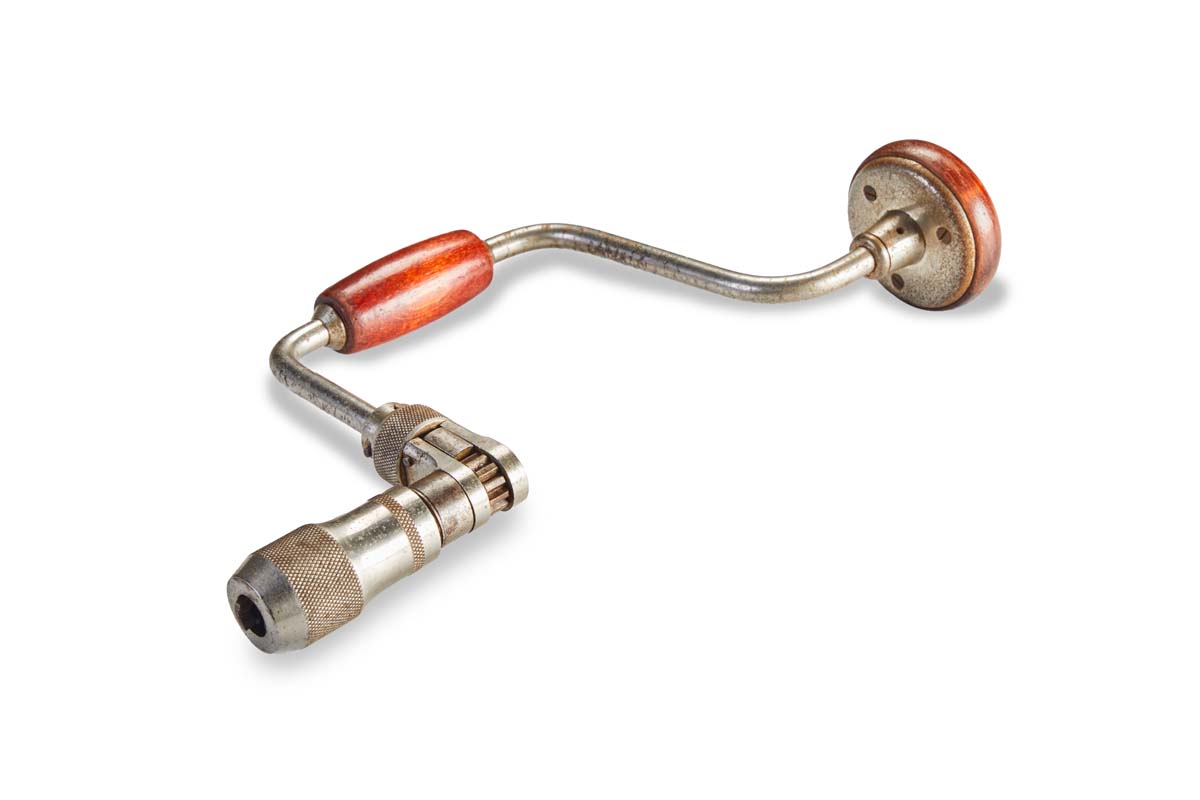 |
| These two styles of drill are both useful to have on hand, with the brace drill excelling in power and the eggbeater focusing on speed. |
Holes are vital for a variety of joints and fasteners. For hand drilling, there are two choices. The first hand drill many think of is the eggbeater. These iconic tools are easy to spot with their gears. The speed of an eggbeater makes it good for smaller holes. In contrast, the brace drill is able to take more stress. Self-feeding bits like the one you see above are good for larger holes, and many feature a ratchet that lets you adjust as you drill.
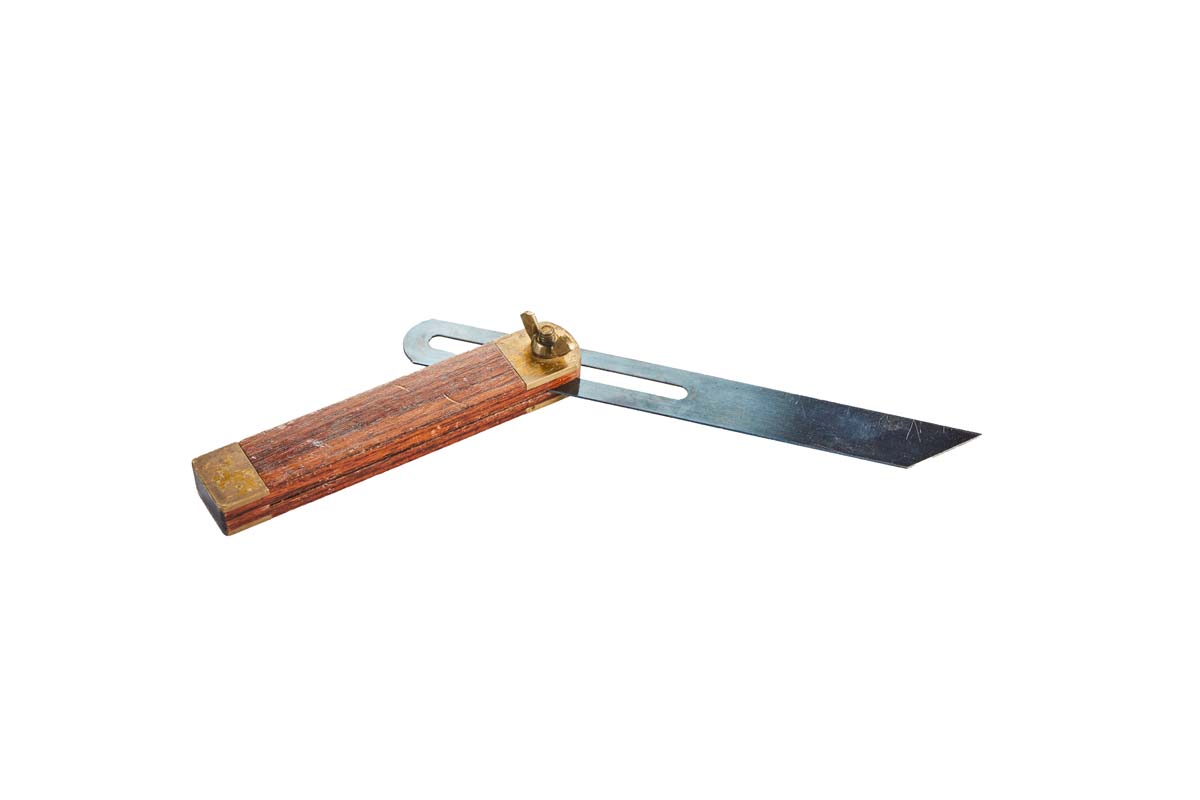
LAYOUT TOOLS.
 |
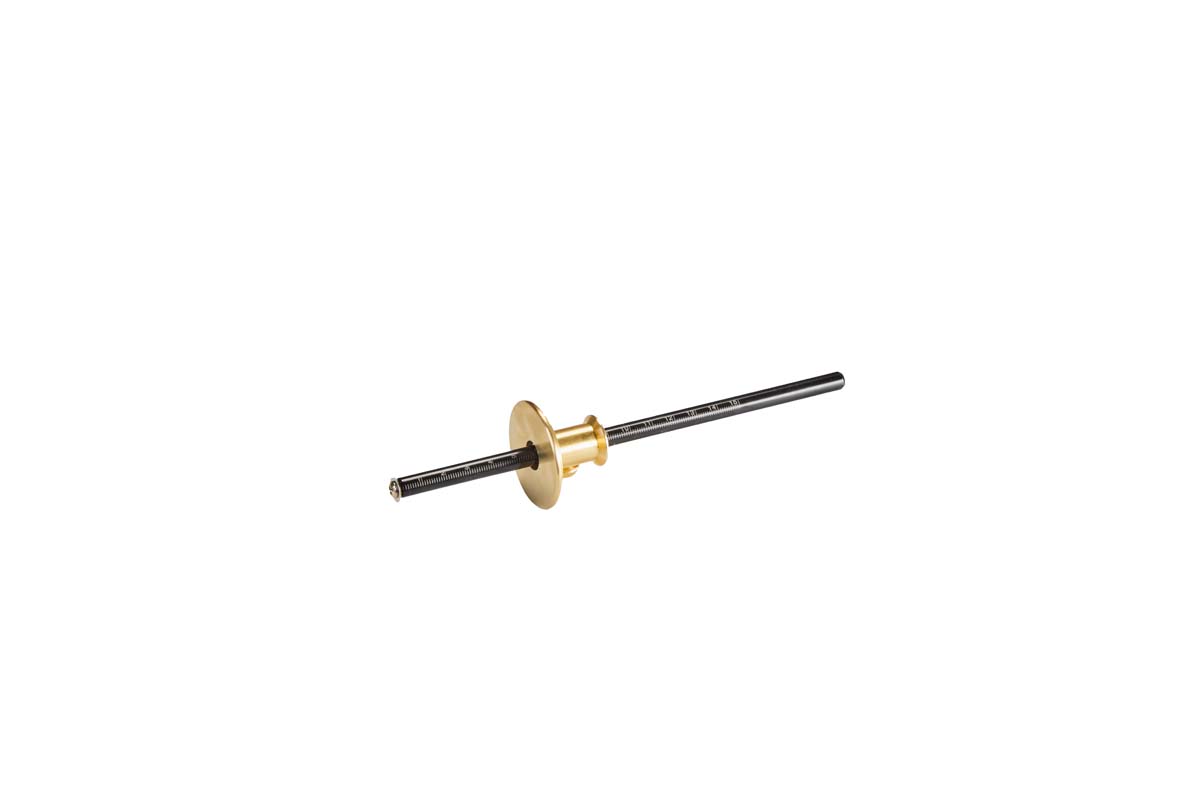 |
| Marking Gauge | Bevel Gauge |
You’ll find all the usual measuring and layout suspects have just as much use in a hand tool shop. However there are two tools I’d like to point out in particular: the marking and bevel gauges.
A marking gauge is useful for laying out a parallel line. A mortise, the shoulders of a tenon, or the baseline for a set of dovetails are all likely candidates here. Additionally, a marking gauge scribes a physical reference point when it comes time to make the cut.
A bevel gauge earns its keep by helping to lay out angled lines, but also comes in handy when drilling angled holes. Drilling by hand allows you to work at your own pace, and the bevel gauge can be kept nearby and used as a reference while you work.


