


There’s a fascination I have (and one I imagine I share with many other woodworkers) concerning old tools. Some of it is historical: an interest in how the world used to work. Some of it tickles the little engineer in my brain, oohing and aahing at rusty, mechanical monstrosities (yes, bargain bin combination planes, I’m talking about you). But, in all honesty, I find the main draw I have comes in imagining that old tool revived as a new part of my arsenal.
Fixing up old tools is something that I find grabs the attention of many woodworkers. The issue, however, is that many people don’t know where to begin. In my opinion, the best place to start any job is knowing what tools you’ll need to undertake it. Here we’ll be looking at a few techniques for fixing up old hand tools, but the primary focus will be on the products and tools used to complete the tasks.
CLEANING & STRIPPING.
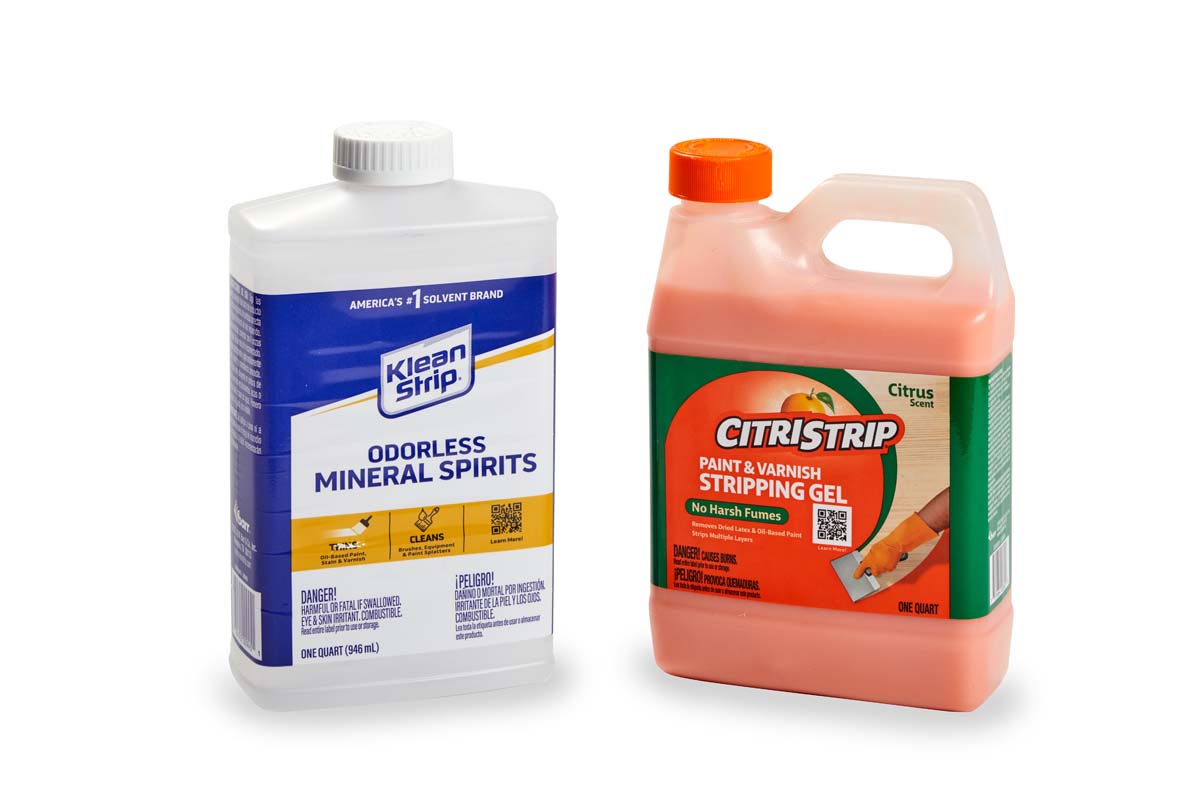  |
| Mineral spirits and gel strippers remove finish without taking away material, while sanding pads and steel wool work well to get off persistent paint and rust spots. |
The first thing you’ll need to do with your old tools is clean them up. It’ll likely take a good scrub to remove whatever grime has accumulated over the decades. After that, you’ll need to address any Japanning or finish. My rule at this stage is to start with the least invasive techniques. In a perfect world, this means that I can simply use mineral spirits to strip off any finish from the wood and a gel stripper to remove Japanning from the metal.
Unfortunately, perfection is rare.
 Card scrapers are good at removing film finishes from wood. Different shapes allow for a perfect match.
 Adhesive-backed sandpaper is a versatile option for working with a variety of shapes when used with dowels and scrap pieces.
Beginning with the wood, you may find some of the gunk and grime to be more resilient than mineral spirits can handle. In this case, I move to card scrapers. These work well to remove film finishes, as well as the initial layer of wood. For some oil-based finishes, card scrapers may be sufficient, but if not then I’ll use adhesive-backed sandpaper to make blocks (or tabs and rods). A little sanding with these is usually enough to reach the bare wood beneath.
METAL MAINTENANCE
As I mentioned, a gel stripper like the one shown on the previous stage will be enough for metal. The small amount of citrus solvent is enough to deal with most paint, and certainly any grime, but there are some special considerations when it comes to metal parts.
JAPANNING.
Japanning is a European imitation of traditional Asian lacquering methods, resulting in a black, shellac-like lacquer. Japanning is wonderful when you can keep it, but that isn’t always the case. If the Japanning looks rough, I’ll soften it with the gel stripper (again, think shellac) and remove the finish with a brass brush.
Brass is a great choice here — since it’s softer than steel, it’ll remove the Japanning without marring the steel beneath. After removing the Japanning, I’ll use a black spray paint to protect the fresh metal and recreate the black look.
RUST.
The final thing to address on these pieces is the eternal enemy of metal: rust. The photos show my method of dealing with rusty parts. A perforated basket, a tub, some rust remover (like Evaporust), and some brass brushes do the job. If I need stronger abrasion, I may use steel wool.
Removing Rust
 |
 |
| To remove rust from an old tool, begin by separating the rusted metal parts from the clean metal and wood. | A basket helps keep metal castings together while immersing in a rust remover, and is easy to drain after. |
 |
 |
| Immerse the castings and allow them to soak. Check every half hour (for up to eight hours) to see the progress. | A brass brush removes leftover paint, grime, and rust without marring the steel parts. |
COMPETITIVE EDGE
 |
| Combination waterstone for coarse and fine sharpening. Honing guide to maintain correct bevel angle |
 |
| A honing guide ensures the proper bevel angle while sharpening. |
 |
| To true the back of a chisel or plane iron, keep it flat as you slide back and forth along a coarse stone. |
The next part to look at is the blade. Chances are an older tool’s former owner will have neglected the edge. The extent of that neglect determines where to start.
SHARPENING STONES.
There are three kinds of sharpening stones: waterstones, oil-stones, and diamond plates. Any of these three options works well, and the main differences between them are the lubricant needed and their friability (how easy the material wears down).
Both waterstones and diamond plates require water for lubrication, while an oilstone needs oil. Waterstones are the most friable, followed by oilstones, with diamond plates being the most resistant to wear. This means that waterstones will need flattened regularly, whereas diamond plates will almost never need to be flattened.
Regardless of which you choose, you’ll want to follow the photos above when sharpening. First, true the back of the blade, then use a honing guide to help you refine the bevel edge. If there are nicks in the blade, start with a coarse stone to get them out, then work up through the grits. Just like sanding, the finer you go, the sharper an edge you’ll be left with.
SAW SHARPENING.
 |
 |
| The first step in fixing up the teeth of an old saw is to make sure all teeth will be contacting the workpiece at the same time. To do so, joint the teeth with a few passes from a flat file, as shown above. | To sharpen the teeth, use a small triangle file. Set the file in the well in front of the tooth, find the bevel with file, then push to sharpen the tooth. One pass usually does the job. |
First, you’ll likely need to joint the teeth to ensure that they all make contact with the workpiece together. Use a large flat file to file down any high teeth, (Figure 1). One or two passes is usually enough.
After jointing the teeth, you’ll need a small triangle file to return the teeth to a point. As in Figure 1, this is done by filing along the bevel edge. Due to the set of the teeth on a saw, you’ll need to work from both sides of the saw to match the alternating bevel angles. Speaking of the set, you may also need to adjust the set of the teeth if a saw has been especially roughed-up. A commercial saw set is the best way to do this (which you can find in sources on page 50).
PATCHING WOOD
This last section of hand tool repair is my favorite, as it calls for the most creativity. When a wooden part is damaged or broken (as with the horn on the tote of a hand plane showon below) creating a replacement patch is the best option. The band saw, along with various rasps, files, and sanders are the tools here (although for round replacements, such as a chisel handle, the lathe will be the best option).
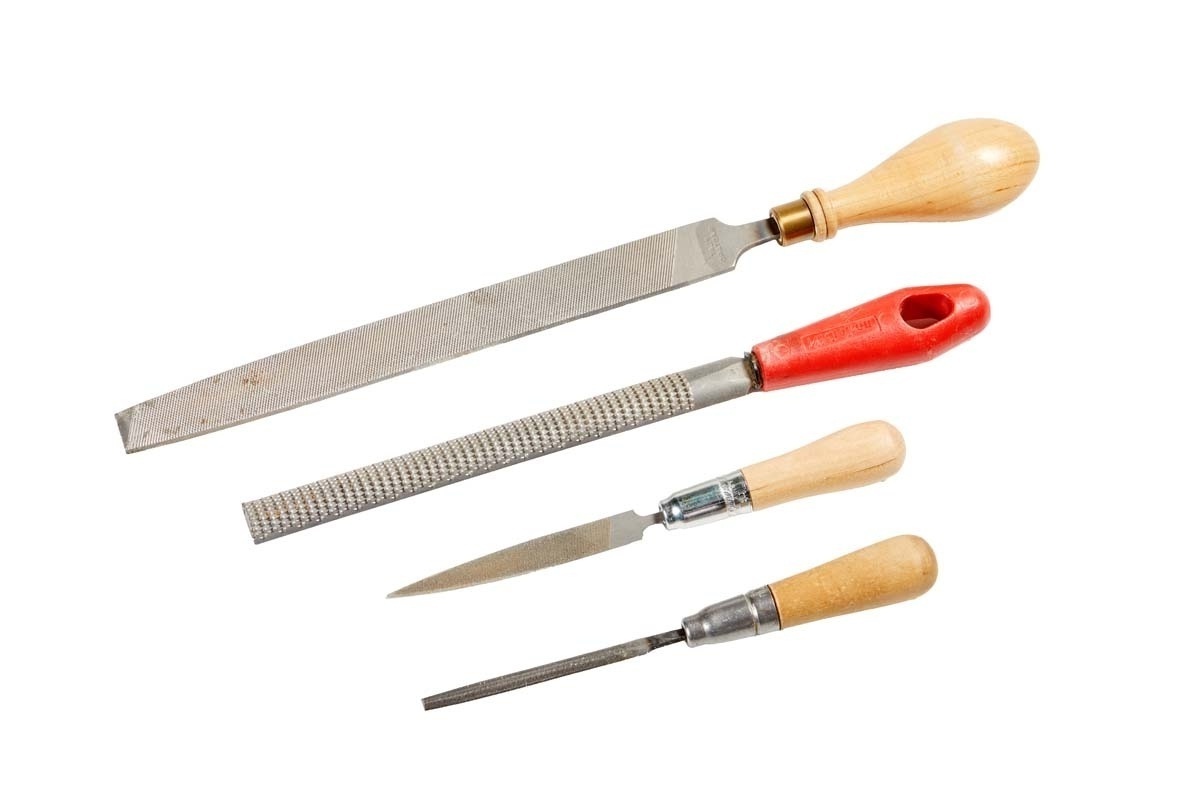 |
| A variety of shapes and sizes in chisels and rasps comes in handy when crafting replacement wood parts. |
The real trick is finding the proper piece to work as a patch. The better you do at matching color and grain, the more impressed people will be when you tell them that’s not the original. The box below shows an example of patching a tote tote of a hand plane. After that, all that remains is deciding the finish for your “new” tool.
Horn Repair
 Use the band saw (and the fence) to remove the area beside the “wound.” A flat surface here will make for a seamless patch.
 I make a few passes across a sanding block to clean up the blade marks on the fresh wood and to smooth the edge.
 Glue the patch in place. For small pieces like this tote, I find a quick-grip clamp along with some wedges works best.
 Lay out the desired final shape on the patch. In the case of this tote, I also marked the hole I’d need to drill to reattach it.
 Remove most of the waste from the patch at the band saw. Stay outside your layout lines so you still have a bit of meat to shape.
 Finish up your patch with rasps and files. Here’s where creativity comes into play — shape the patch to suit your hand.


