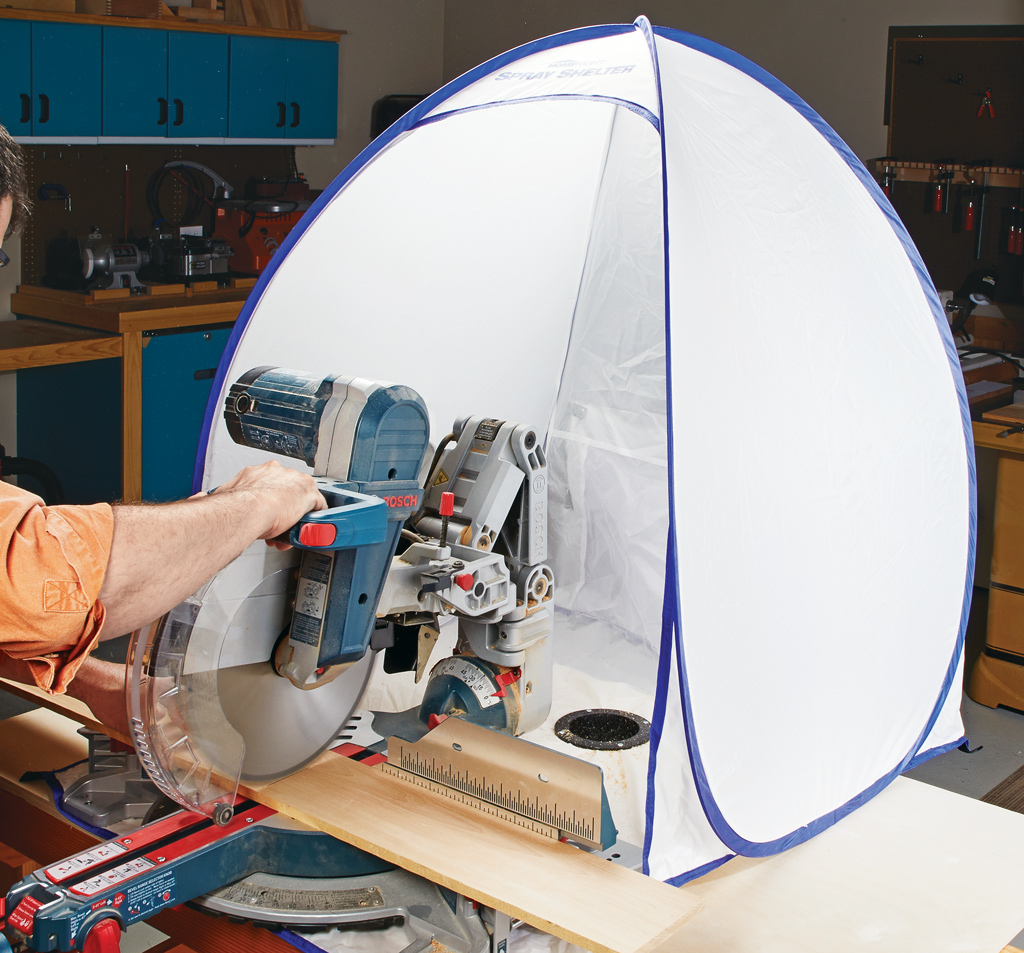
A miter saw is already one of the most convenient tools for crosscutting lumber, but the basic saw that comes out of the box isn't necessarily the best setup for woodworking. Factory fences have large openings, table inserts often leave a wide gap around the blade, and there's usually no convenient way to make a series of identical cuts.
Fortunately, you don't need to rebuild the saw to make it more useful. A few simple miter saw upgrades can improve workpiece support, reduce tearout, provide better control, and make repetitive cuts easier.
Most can be made from scraps you probably already have in the shop.
1. Make a Zero-Clearance Miter Saw Insert
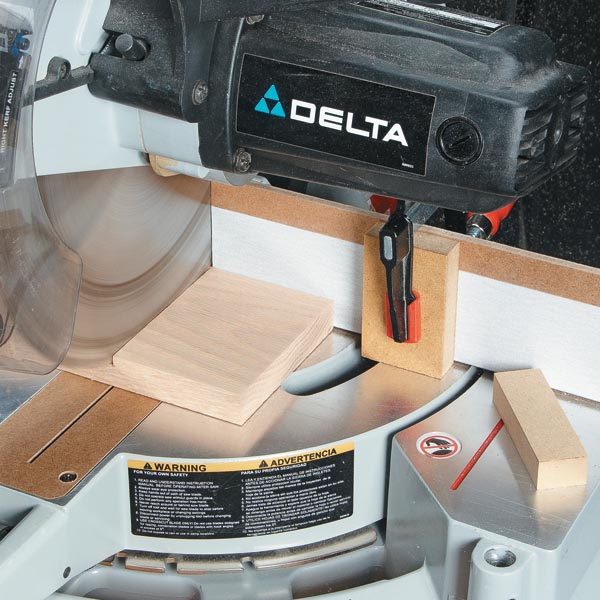
One of the first places I'd look when upgrading a miter saw is the factory table insert. The opening around the blade is usually much wider than the blade itself. That's necessary to accommodate the saw's full range of miter and bevel cuts, but it doesn't provide much support for a workpiece during a standard crosscut.
A shop-made zero-clearance insert solves the problem.
Make the replacement insert to fit the opening in your saw, then slowly lower the spinning blade through it. The resulting kerf closely matches the blade width.
Now the workpiece is supported right up to the cut. That extra support can help reduce tearout on the bottom face of the board.
There's another benefit: The narrow opening provides a useful visual reference for exactly where the blade will cut.
Note: A zero-clearance insert may limit some bevel settings, so check the clearance before making an angled cut.
RELATED VIDEO: How to Make a Zero-Clearance Insert for a Miter Saw
2. Add an Auxiliary Fence
The table isn't the only place where there's a large opening around the blade. Take a look at your miter saw's factory fence and you'll probably see a considerable gap there as well.
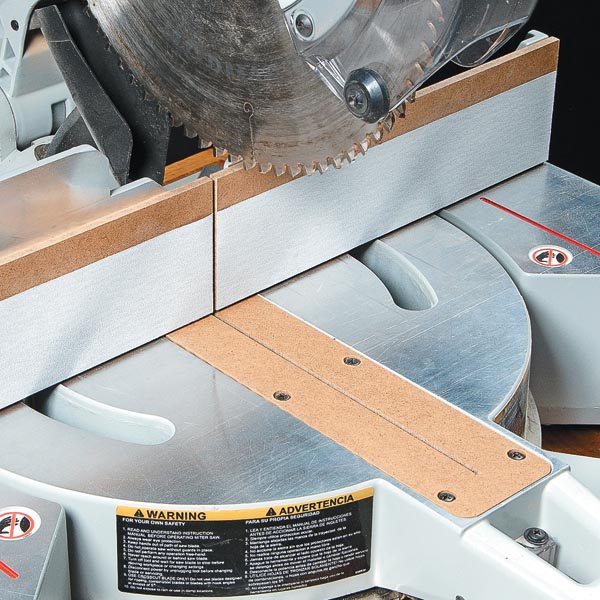
I like to cover it with a simple 1/4" hardboard auxiliary fence.
Attach the hardboard to the existing fence and make a cut through it. Just like the table insert, the blade creates its own zero-clearance opening.
The auxiliary fence supports the wood fibers along the back of the workpiece, where the blade exits the cut. This can make a noticeable difference when crosscutting hardwood or plywood where splintering would otherwise be visible.
And because it's just hardboard, there's no reason to treat it as permanent. When the opening gets chewed up, replace it with another piece.
3. Give the Fence a Non-Slip Face
There's another easy improvement you can make while you're adding the auxiliary fence.
Apply a strip of adhesive-backed sandpaper to its face.
The sandpaper adds just enough friction to help keep a workpiece from shifting sideways as the blade enters the cut. That's particularly useful with small parts or when making an angled cut where the action of the blade may encourage the workpiece to creep.
You don't need an aggressive grit. The goal isn't to sand the workpiece — it's simply to provide a little extra grip.
It's a tiny modification, but it's one you'll appreciate every time you use the saw.
4. Add Dust Relief to the Fence
One downside to adding an auxiliary fence is that sawdust can become trapped between the bottom of the fence and the workpiece.
Even a small amount of debris can keep a board from seating firmly against the fence, which can affect the accuracy of a cut.
The fix is simple. Before installing the auxiliary fence, cut a small rabbet along its lower edge.
The rabbet creates a relief area where dust and small chips can collect without getting between the workpiece and the reference surfaces.
It's one of those small details that's easy to overlook when making an auxiliary fence, but it makes the upgrade much more useful.
5. Add a Stop Block for Repeat Cuts
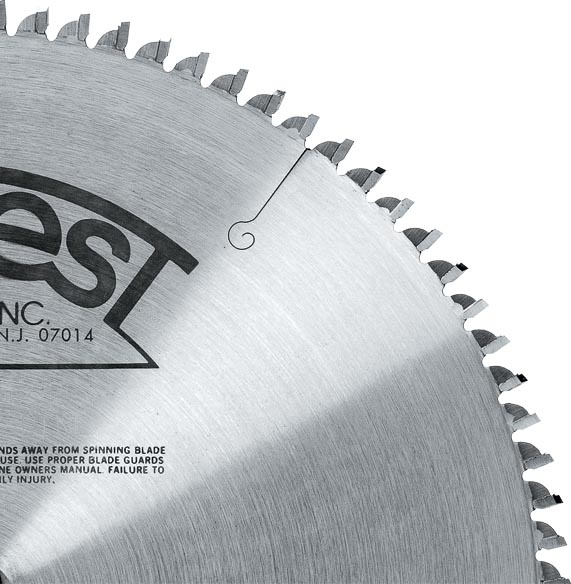
If you frequently cut several project parts to the same length, a miter saw stop block may be the most useful upgrade of all.
Instead of measuring and marking every workpiece, position a stop along the fence. Butt each workpiece against the stop and every part references the same setup.
There's an important distinction when you're cutting short pieces, however. You don't want to trap a cutoff between a fixed stop and the blade.
The setup shown here uses a removable spacer between the workpiece and stop. Position the board against the spacer, then remove the spacer before making the cut. This leaves clearance between the finished part and stop so the cutoff isn't trapped beside the blade.
Just account for the thickness of the spacer when setting the stop position.
One Upgrade Builds on the Next
What I like about these upgrades is that they can work together as a system.
The zero-clearance insert supports the bottom of the workpiece. The auxiliary fence supports the back. Sandpaper keeps the board firmly positioned, while the dust-relief rabbet prevents debris from interfering with that positioning. Finally, a stop system makes it easy to take advantage of the setup when cutting multiple identical parts.
You don't necessarily need to make everything at once. Start with the upgrade that solves the biggest frustration with your saw and add the others as you need them.
The result is a miter saw that's better suited to furniture and project building, rather than simply cutting long lumber down to rough length.
Having Trouble Getting Accurate Miter Saw Cuts?
Upgrades can make your saw easier to use, but they can't compensate for a saw that's out of alignment or the wrong blade for the job. If you're dealing with rough cuts, tearout, or cuts that aren't square, see How to Get Better Miter Saw Cuts: 5 Simple Solutions → for our step-by-step troubleshooting guide.
Related Content: Best Miter Saws