



A Simple Clamping Trick for Decorative Wood Molding
Decorative molding can make a big difference in the appearance of a furniture project. Whether it's applied to a bookcase, cabinet, or shelf, molding adds detail, softens transitions, and helps define the style of the piece.
But getting that molding securely attached can be a challenge.
For smaller cabinets and shelves, I prefer to glue the molding in place. The problem comes when it's time to clamp everything together. The curved or shaped profile makes it difficult to find a good clamping surface, and the cabinet top or bottom can prevent you from positioning a clamp where it's needed.
The solution is a simple flexible clamping caul made from hardboard.
Make a Flexible Hardboard Clamping Caul
The caul is nothing more than a narrow strip of 1⁄4" hardboard.
Hardboard works well because it's flexible enough to bend slightly under pressure while still providing support.
Instead of applying a clamp directly to the molding's delicate profile, the caul lets you position the clamp away from the cabinet bottom or other obstruction.
As you tighten the clamp, the hardboard flexes and transfers pressure to the molding.
This makes it easier to hold the molding against the cabinet while the glue dries.
Round the Ends to Protect the Molding
Before using the caul, I round over its ends at the router table.

The rounded ends create a smoother contact point, helping prevent the caul from leaving dents or marks on the molding.
You can also ease the edges with sandpaper to remove any sharp corners.
When shaping a narrow strip at the router table, work with an oversized blank or use a suitable holding jig to keep your hands away from the bit.
Apply Clamping Pressure Where You Need It
To use the caul, apply glue to the molding and position it on the cabinet.
Then place the rounded end of the hardboard caul against a suitable contact point on the molding, with the opposite end positioned where the clamp can apply pressure.
Tighten the clamp gradually until the caul flexes enough to hold the molding firmly against the cabinet.
The idea is to apply steady pressure without crushing the decorative profile.
WOODSMITH TIP: Test the Caul Before Gluing. Before applying glue, make a dry run with the molding, caul, and clamp. This gives you a chance to check the contact points and make sure the caul won't slip or leave marks on the finished surface. For delicate profiles, a thin protective pad at the contact point can provide extra protection.
A Simple Solution for Better Molding Installation
You don't always need a specialized clamp to solve a tricky workholding problem.
A narrow strip of hardboard provides enough flexibility to reach around obstructions and apply pressure where a conventional clamp can't.
It's a quick, inexpensive shop-made accessory that's worth keeping handy whenever you're installing decorative molding on cabinets, bookcases, or other furniture projects.
More Woodworking Clamping Tips
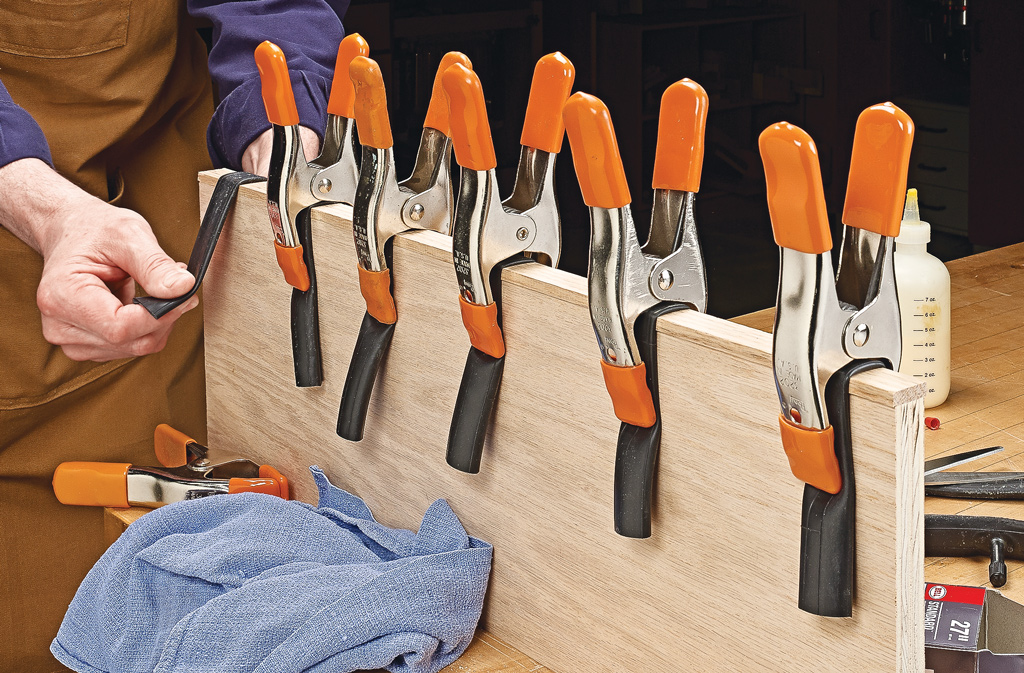
From tricky glue-ups to delicate trim and unusual shapes, the right clamping technique can make assembly easier and help prevent damage to your project.
Explore more Woodsmith clamping tips, shop-made accessories, and techniques for getting better results during assembly.
EXPLORE CLAMPING TIPS → Better Clamping for Better Woodworking


