It’s tough to think of a hand tool that gets more use in my shop than my set of chisels. And while it’s tempting to just pick up a chisel and start working, you can get better, more consistent results by using the right technique. I’ve picked out some everyday shop tasks that give you a good overview of some basic chisel techniques. I often use a router to create an opening for a cabinet back. But the router leaves rounded corners. With a chisel, you can square them up in a snap. Cleaning up the corner is done in two steps. The first step consists of a series of vertical, chopping cuts to define the corner. I use a wide chisel to provide a stable bearing surface to keep the cuts in line with the routed rabbet. I also hold the chisel on the blade for greater control.

The second cut is a horizontal, paring cut that removes the waste. Here my left hand is steering the chisel and the right hand provides the power. You can also see the chisel is positioned bevel up. This allows the wide, flat back to keep the cut even with the bottom of the rabbet.

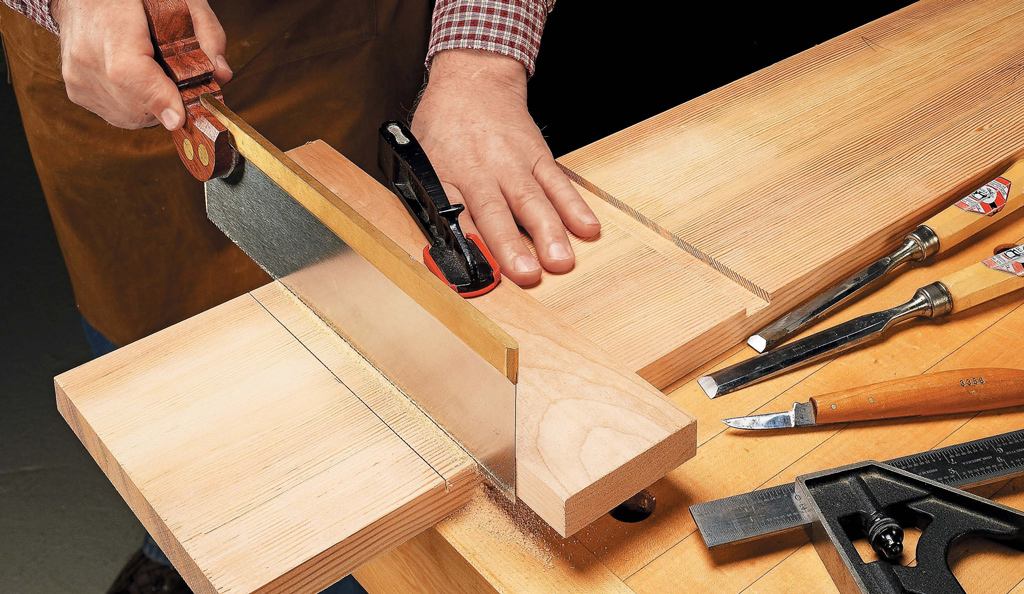
Plugs are a good way to disguise the heads of screws. The challenge is trimming them flush. Here’s a simple, three-step process that will guarantee great results. The first thing to do is to cut off the plugs close to the surface with a hand saw. The second step is to use a chisel to trim the plug flush. And doing this depends on the type of plug you use. A section of dowel can be used to make an end grain plug for a screw hole. But it’s diffcult to make a smooth chisel cut across the tough end grain. I start with scoring cuts around the perimeter, then gradually increase the depth until the plug is cut off nearly flush. A last bevel-up cut will trim it smooth. Face-grain plugs are a little simpler. The thing you want to avoid here is having the plug split off below the surface. To prevent this, I take thin cuts across the grain, working down to the surface.

Even though removing dried glue squeeze-out is a common task, it’s no picnic. When glue has dried in a corner, like the drawer you see at left, I use a bevel-down grip to “pop” the glue out. The bevel acts as a “safety” to keep the cutting edge from gouging the workpiece. Squeeze-out on edge joints call for a different approach. Here, you want to hold the chisel nearly vertical and pull it along the glue line. This scraping action quickly shears off dried glue. One more thing: To avoid having to spend a lot of time resharpening my best chisels, I bought an extra, inexpensive chisel just for this job.


