



Gluing Plywood Sheets Together to Make Thick Panels
Sometimes a woodworking project calls for a panel that's thicker than a single sheet of plywood. Whether you're building a shop jig, fixture, or sturdy work surface, laminating two sheets of plywood together is a practical way to get the thickness you need.
The challenge is keeping the panels aligned while the glue dries. Traditional yellow wood glue can make large sheets slippery, and getting even clamping pressure across the entire surface often requires a collection of clamps and cauls.
For suitable nonstructural applications, there's an easier approach: spray contact cement. It provides a quick bond without the hassle of clamping an entire panel.
Why Use Contact Cement for Laminating Plywood?
Contact cement works differently from conventional woodworking glue. Instead of applying glue and clamping the parts together while it cures, you apply the adhesive to both mating surfaces and allow it to become ready for bonding.
When the coated surfaces are brought together, they bond immediately.
For large plywood panels, this offers several advantages:
- No need for dozens of clamps and cauls
- Fast application over broad surfaces
- Less chance of panels sliding during clamping
- No lengthy clamping period
- Easy application with an adjustable spray nozzle
I prefer using contact cement in an aerosol can because it's easy to apply a consistent coating across a large surface.
Be sure to choose a contact adhesive specifically approved for bonding wood or plywood to itself. Not all spray adhesives have the same strength or intended applications.
How to Glue Plywood Sheets Together with Contact Cement
Step 1: Prepare the Plywood Panels
Start with two clean, dry plywood panels.
Make sure the mating surfaces are flat and free of dust, oil, and other contaminants that could interfere with the bond.
I like to cut one panel slightly oversized. This eliminates the need to align every edge perfectly during assembly.
Once the panels are bonded, the oversized piece can be trimmed flush.
Step 2: Apply Spray Contact Cement
Apply contact cement evenly to both mating surfaces, following the adhesive manufacturer's instructions.
An aerosol contact cement with an adjustable nozzle makes it easy to control the spray pattern.
Use a narrow pattern for smaller areas and a wider pattern for large panels.
For the adhesive used in this technique, I apply two coats to each surface to get consistent coverage.
Allow each coat to dry for the time specified by the manufacturer before applying the next coat or assembling the panels. Drying and bonding times vary by product.
Safety Note: Many aerosol contact cements contain flammable solvents. Work in a well-ventilated area away from ignition sources, and use respiratory protection appropriate for the product's vapors and spray mist. Follow the manufacturer's safety instructions.
As seen in the main photo above, spray contact cement makes it easy to coat large plywood surfaces. Apply the adhesive to both mating faces according to the manufacturer's directions.
Step 3: Carefully Align the Plywood Sheets
Once the adhesive is ready for bonding, carefully position the panels.
This is the step that requires the most attention.
Unlike conventional wood glue, contact cement doesn't allow you to slide the panels around after the adhesive-coated surfaces touch.
For large panels, temporary spacers or dowels placed between the sheets can help keep them separated while you align the edges. Remove the spacers progressively as you bring the surfaces together.
Cutting one panel slightly oversized also gives you some room for error.
Step 4: Apply Pressure to Set the Bond
After bringing the panels together, apply firm, even pressure across the entire surface.
I use a wood block and mallet, starting near the center and working toward the edges.
This helps bring the adhesive-coated surfaces into contact.
For additional pressure along the edges, a clamp with a wide jaw can be used every few inches around the perimeter.
A pressure roller is another option for contact adhesives when recommended by the manufacturer.
The goal is to apply enough pressure to establish a consistent bond without damaging the plywood.

Work across the panel to establish a consistent bond, then apply additional pressure around the edges.
Step 5: Trim the Plywood Flush
With the panels bonded, trim the oversized layer to match the other sheet.
A router equipped with a flush-trim bit makes quick work of this step.
Use the accurately sized panel as the guide for the bit's bearing.
Make sure the adhesive has developed sufficient strength for machining, as directed by the manufacturer, and securely support the workpiece before routing.
The result is a thicker plywood panel with clean, matching edges.
When Should You Use Wood Glue Instead?
Although spray contact cement is convenient, it isn't the right adhesive for every plywood lamination.
For structural assemblies, heavily loaded workbench tops, or projects that require a rigid, permanent wood-to-wood bond, conventional wood glue or another approved structural adhesive may be a better choice.
Contact cement can remain more flexible than cured woodworking glue, and some formulations are susceptible to creep under sustained loads.
Always match the adhesive to the intended use of the finished panel.
For suitable shop projects where fast assembly and minimal clamping are priorities, spray contact cement can be a useful alternative.
A Faster Way to Make Thick Plywood Panels
Laminating plywood doesn't always have to involve a complicated glue-up with clamps covering every edge.
For the right application, spray contact cement offers a fast, convenient way to bond large panels face-to-face.
By applying the adhesive evenly, carefully aligning the sheets, and applying firm pressure, you can create a thick panel with less fuss.
It's a useful technique to keep in mind the next time a woodworking project calls for plywood that's thicker than a single sheet.
Best Tapes, Glues & Adhesives for Woodworking
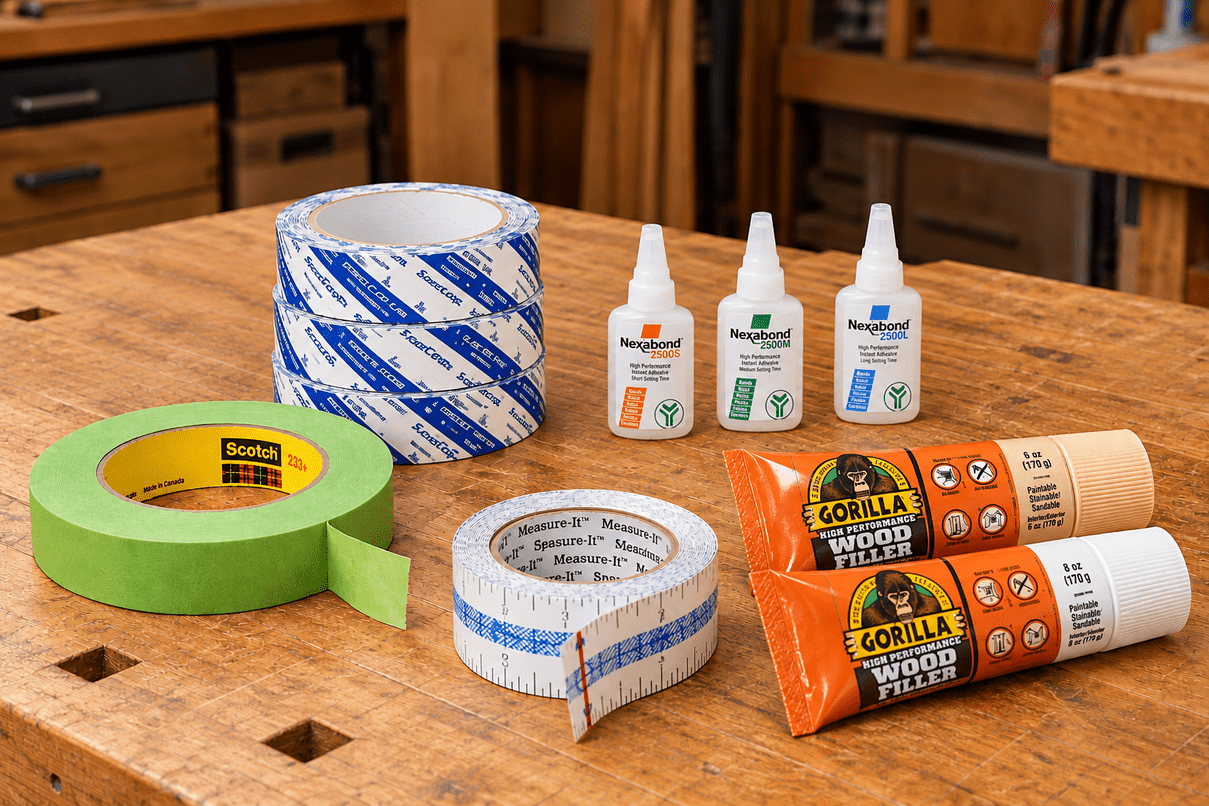
From wood glue and CA glue to double-sided tape and specialty adhesives, the right product can make assembly faster and easier. Explore five useful adhesives and tapes that solve everyday woodworking challenges.
EXPLORE WOODWORKING ADHESIVES → Find the Right Adhesive for Every Shop Task


