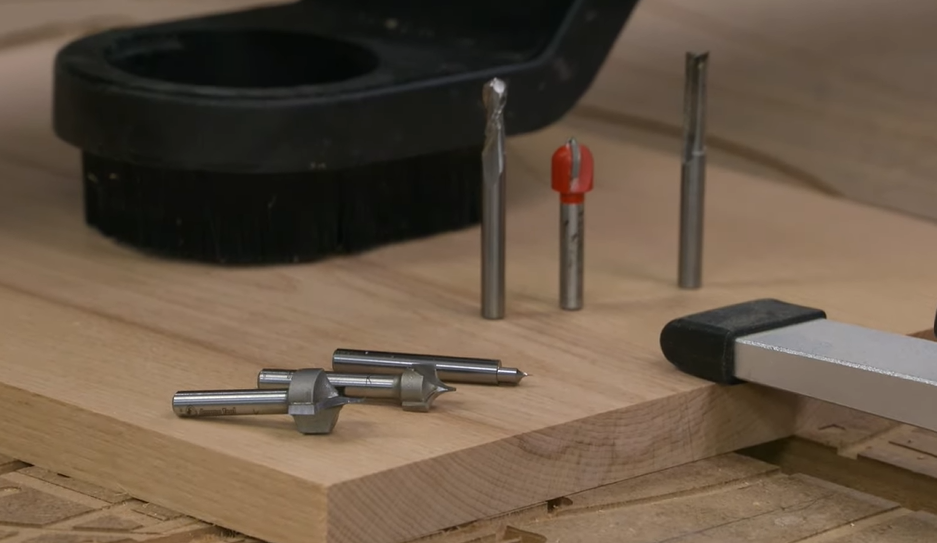
The unique sinuous look of the projects comes from the choice of the router bits and the toolpaths created. I really like using point cutting round over bits for a rope-like effect. Ball nose bits produce a gentle repetitive pattern that leaves a flat surface on top that is ideal for serving trays. Straight bits also work well for trays and cuts stair steps for an o-so-modern bowl.
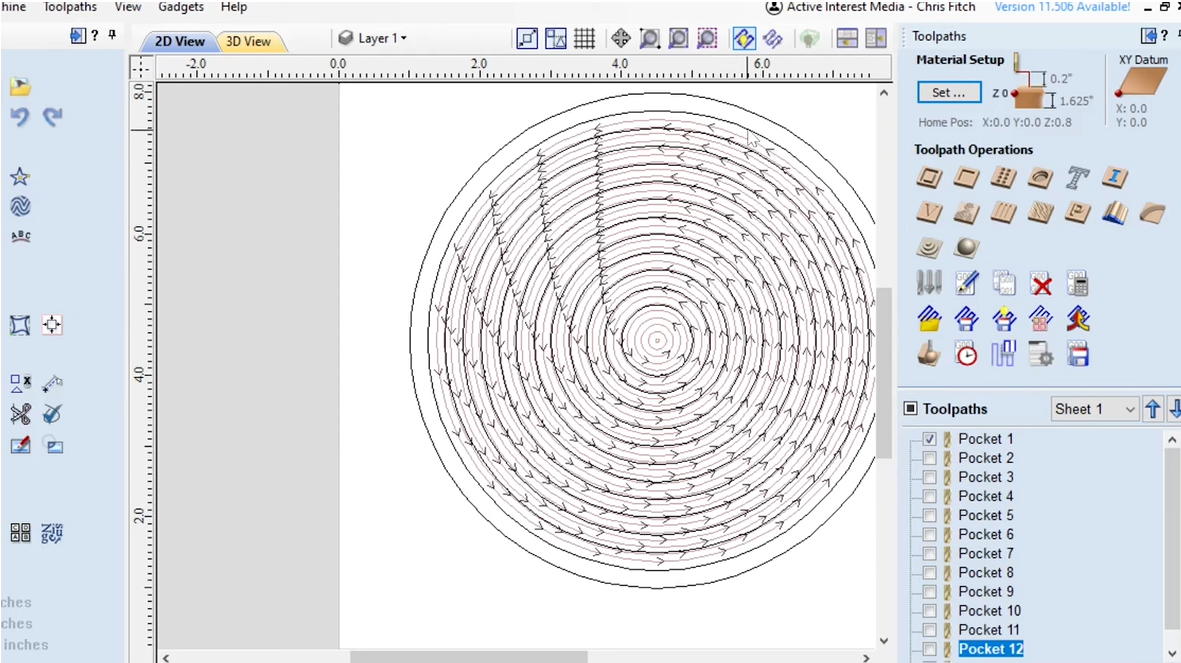
Each project’s tool pathways are created using offset patterns. As an example, the square rattan tray was created using the sketching tools in Vectric VCarve. I began by drawing a square at the center of the project. Since I am using a point cutting round over bit the line represents a center pathway, as opposes to an inside or outside cut, for the tool to follow. Based on the bit’s radius, I set the size of the square to no less than twice the radius of the round over bit. Now that the first square is established, it’s just a matter of using the offset tool and creating a succession of squares offsetting each one by the overall diameter of the bit. If you don’t have an offset tool that’s OK, just add twice the bit’s diameter to each successive square’s dimensions and keep all of the squares centered. The last square that you draw can be used to establish an outside profile cut by a straight bit following the outside of the line. Different projects will require different steps, but all will use simple offsetting of patterns and creating a profile.
When creating cutting files one thing to remember is that you want to cut the interior patterns to extend well beyond the final profile of the project so that the bit can fully cut its shape. Another tip is that you may want to cut the outside profile first while using tabs that are sturdy and strong followed by the interior cuts. Why? Cutting the profile last will result in a lot of tear-out as it cuts through the interior pattern. Sanding out tear-out in all those cuts does not follow the theme of our projects – fun, fast and easy.
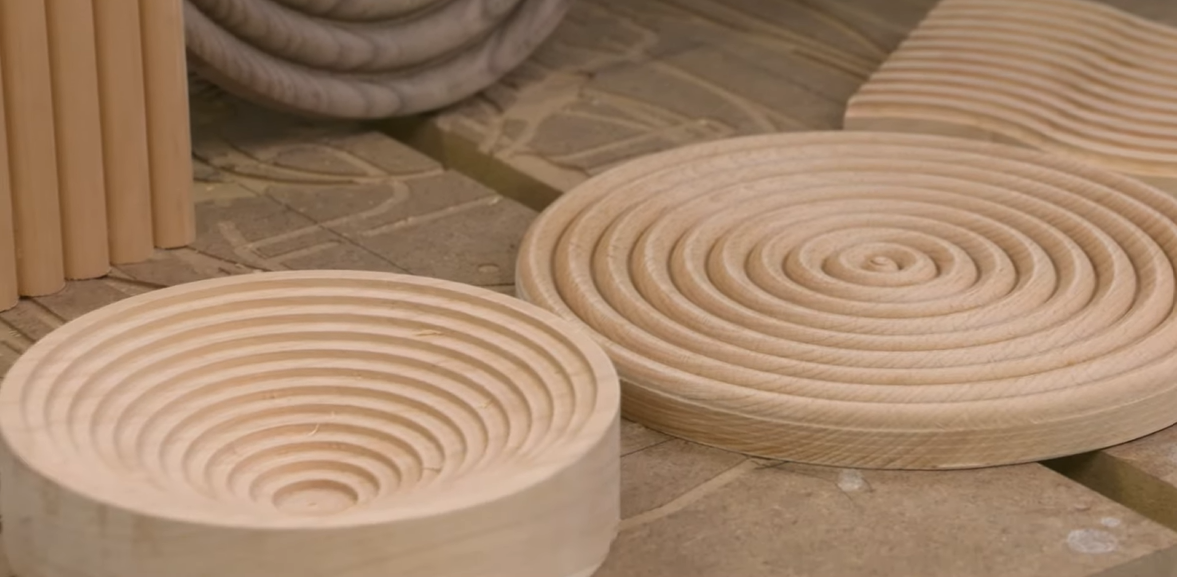
Sharp bits and careful work will eliminate almost all sanding and a couple of coats of oil will finish up the projects. I used butcher block oil for a soft even finish that is also food safe. Fun, fast, and easy projects and all in one evening.