Chairs occupy their own special place in the woodworking world. Our interaction with a chair is much more direct than with a bookcase. We sit in the chair for extended amounts of time, so it must be comfortable. We need to be confident in its construction and feel secure, so it must be strong, and it must look appealing, and ideally, make us look appealing in it. With all of those demands, chairs can sometimes be difficult to design and tricky to build with small intricate joints, an array of different parts, and oh my, those compound angles!
Slab chairs, however, are simple, fun, and inviting. The styles and designs are almost limitless, and the construction is direct - make a seat, attach the legs, add the back, take a seat, and relax. Another slab chair bonus is that the parts are nearly always under 2 feet so they can be made on most desktop CNC routers.
Here are a few things to keep in mind as you design and build a slab chair.
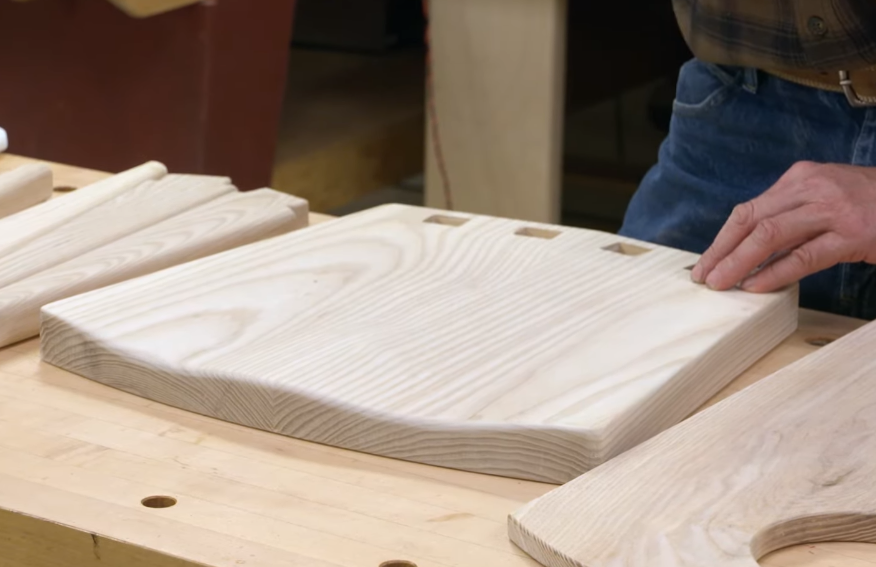
The Seat. The seat is the anchor point for the legs and back so make it 1 ¼” to 1 ½” thick for strength. If you would like a “lighter” look, bevel the lower edge at a low angle. Trapezoidal chair seats that are wider in the front and narrower in the back are always a good place to start to establish basic dimensions. A dished seat is much more comfortable than a flat slab, so just plan on dishing the seat or living with regret. The area behind your knees when sitting in the chair needs to be heavily radiused for comfort. A rasp will make quick work of this detail.
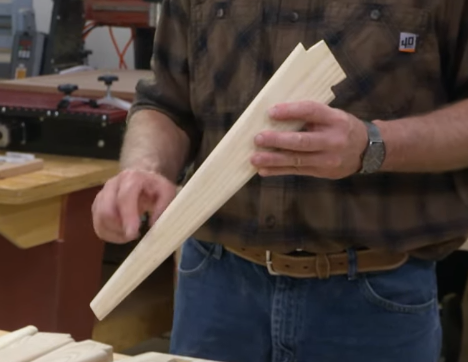
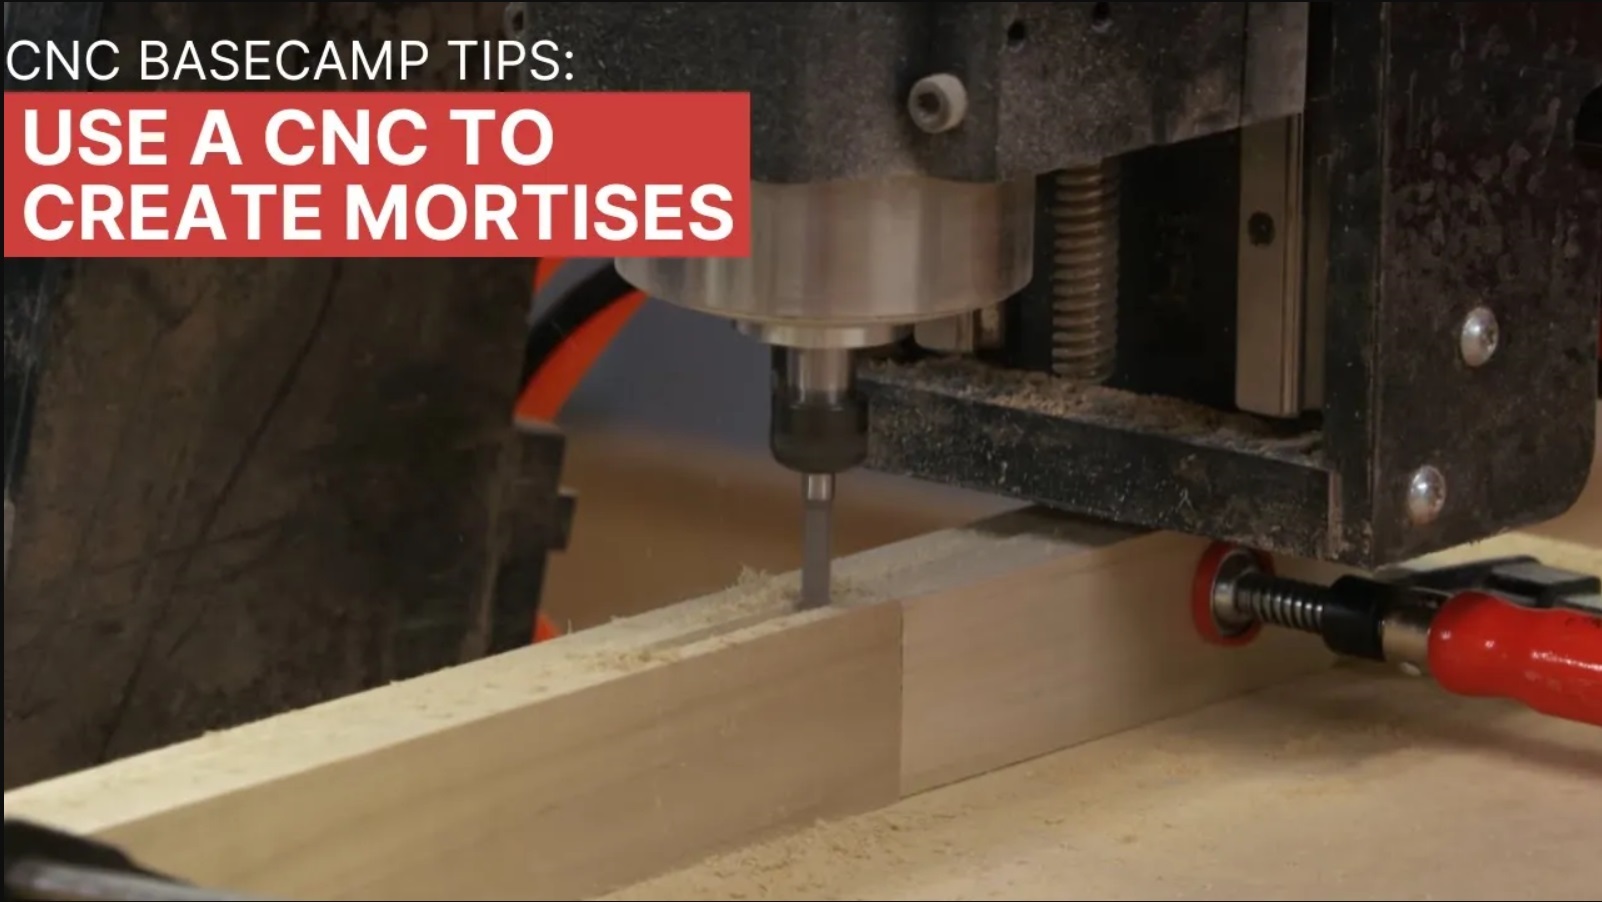
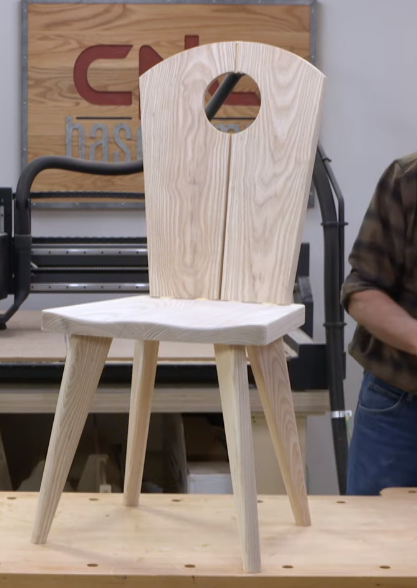
The Legs. Legs should be 1” to 1 1/8” thick for strength with a shouldered tenon on the business end. They should be set in opposition to each other, not parallel. Placing them in this manner gives the legs a resistance to racking that stretchers would otherwise provide. Have fun with the shape of the legs. They can curve in, curve out, be serpentine in shape or simple tapers. Every shape expresses a certain energy and aesthetic that will carry throughout the chairs appearance.
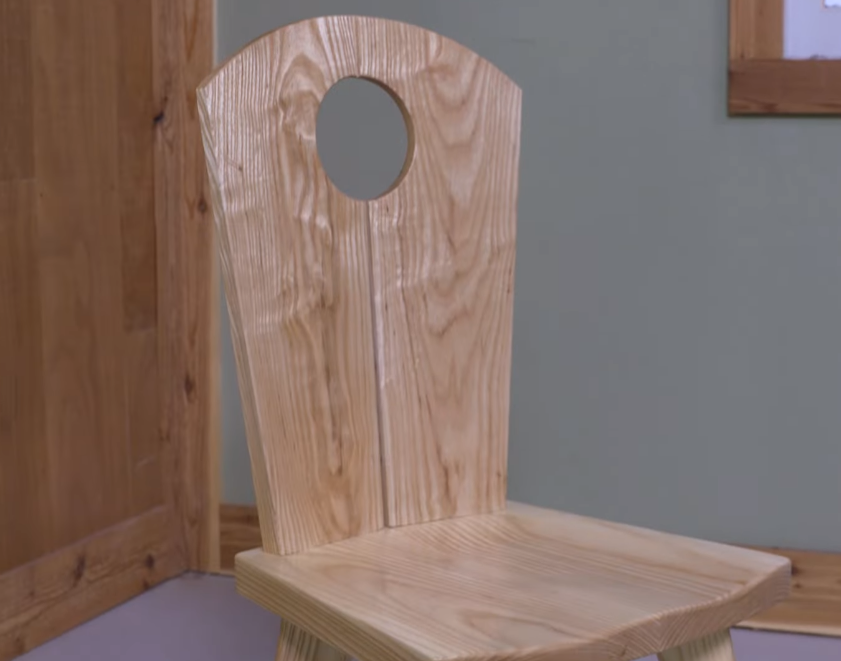
The Back. The back is the star of any chair so have fun with cutouts, inlays and shapes. As with the seat, a back with a shape that “hugs” the body will be much more comfortable so plan on using 2, 3 or more upright pieces slightly angled to form a gentle cradle.
The Chair. There is a lot going on with chairs so begin by prototyping your first chair using lumberyard 2x stock. It’s a lot less painful to make changes with the construction lumber prototype than with the finish chair later. Find the most comfortable wood chair in your house or at work and take notice of what makes it that way, then have your spouse or a friend do the same. Be expressive and have fun with the design. Who wants to make a chair that looks like something you can buy?
I hope you are inspired to try building CNC slab chairs. Start with this design and then go from there, creating your own solid, easy-to-build, awesome looking chairs for the kitchen, the deck, the office and beyond!