

A little metalworking knowledge can be a very handy tool for a woodworker. With it you can create custom details or even furniture hardware that will separate your work from the rest and free you from using catalogs. Metalwork in a woodworking shop need not be complicated or expensive. All you need are a set of tools, a few techniques, and a little experience to apply them.
Let’s look at one of the skills of working with metal — cutting it to shape.
START WITH SAWS
The most efficient way to shape metal in the home shop is by sawing, using a hacksaw, a jewelers saw or a band saw. Hacksaws are often viewed as a tool for rough work. That is not really the case. To get great results from a hacksaw start by purchasing a quality-made high-tension saw, and while you’re at it get a variety of top brand blades.
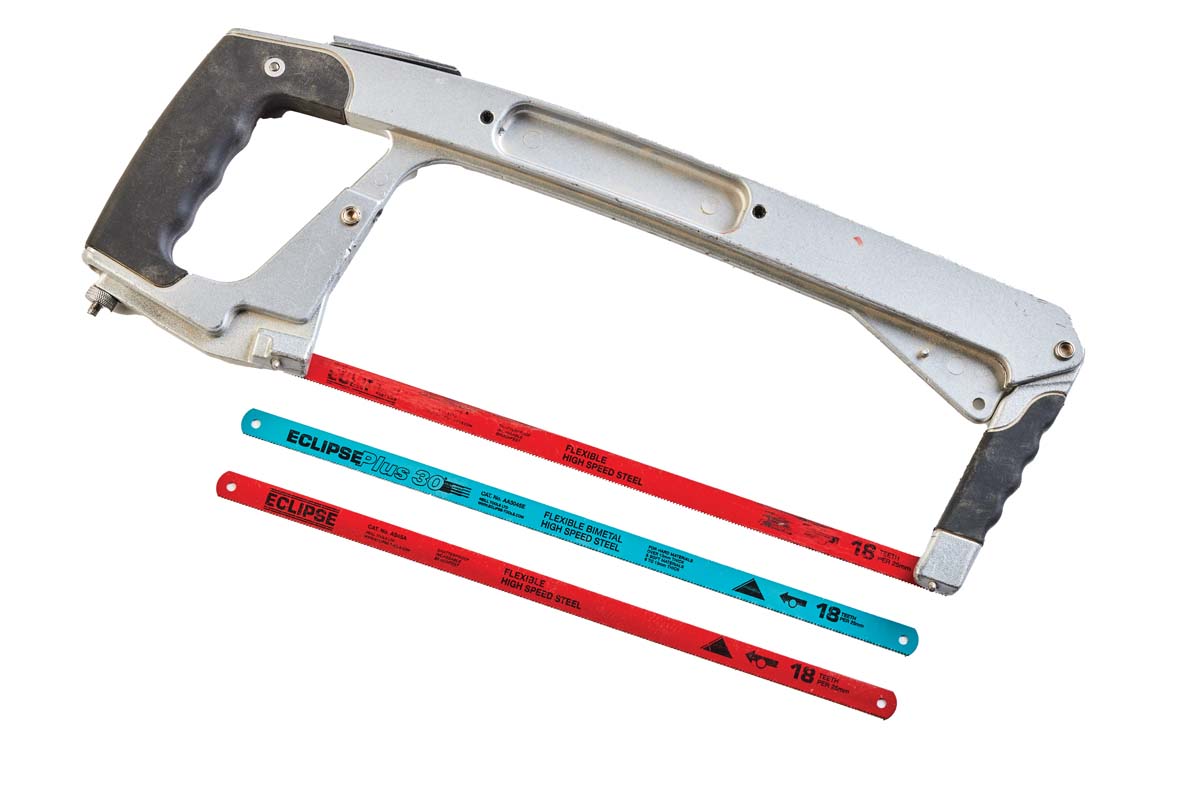 |
| A high-tension hacksaw and a selection of high quality blades will get you started working with metal. |
In practice, you need to act like you’re using a fancy $300 dovetail saw; use a careful grip, an assured stance, hold directly to the layout line, and saw with confident strokes using the full length of the blade. If you treat it like a craftsman’s tool, the hacksaw can deliver a craftsman’s result.
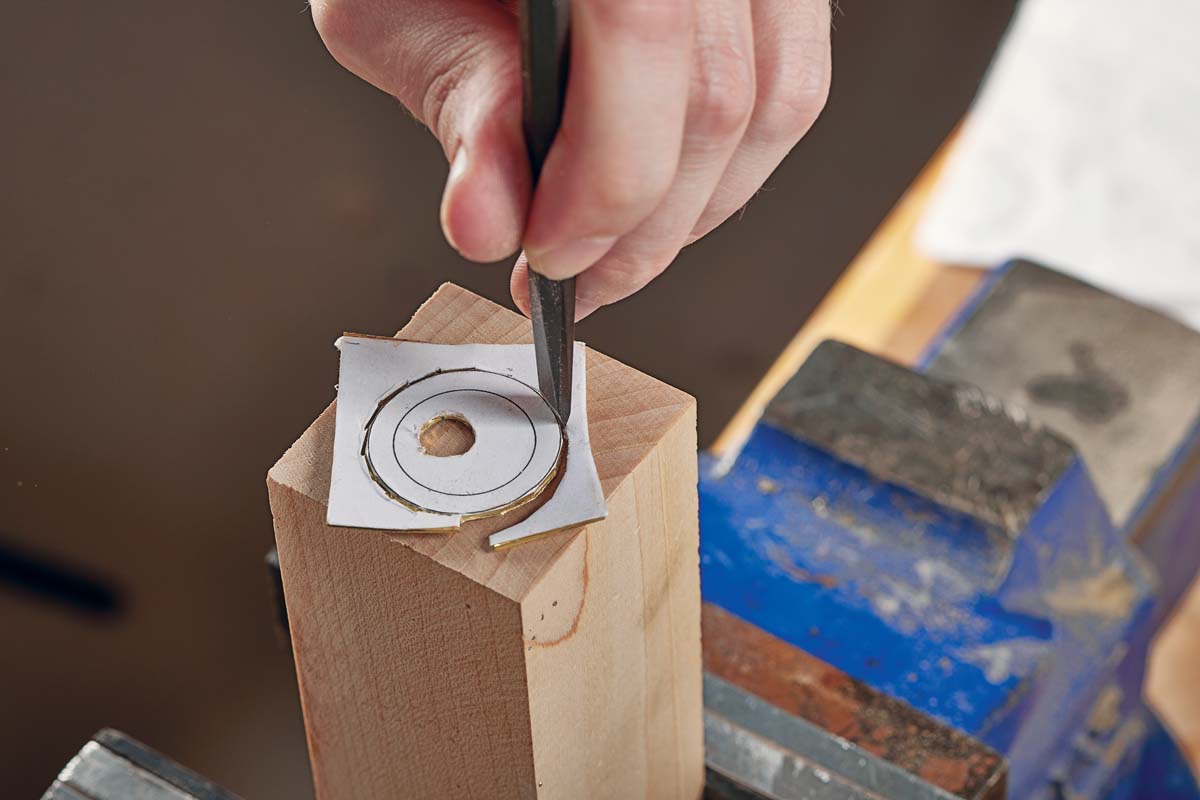
Jewelers saws can go where hacksaws only dream of with their narrow blades. The blades come in a variety of tooth counts for different materials and will surprise you with their strength and longevity. When using a jewelers saw, it is important to support the workpiece fully. I like to use a machinist vise with the jaws slightly open, or use what jewelers use, a bench pin.
Traditionally, a bench pin is a piece of wood with a V shaped cut to form a mouth and is clamped onto the edge of the workbench. With the work well supported, allow the saw to cut at its own pace, find a steady rhythm, and stick with it — the job will be done sooner than you think.
USING YOUR BAND SAW
You probably already own an efficient saw for cutting thin nonferrous metals — your bandsaw. Cutting metal with a woodworking bandsaw requires the workpiece to be fully supported on a sacrificial board. This prevents the blade from being overly aggressive and keeps the lower edge of the cut metal from hanging on the bandsaw’s insert — with support you get smooth feeding and cutting.
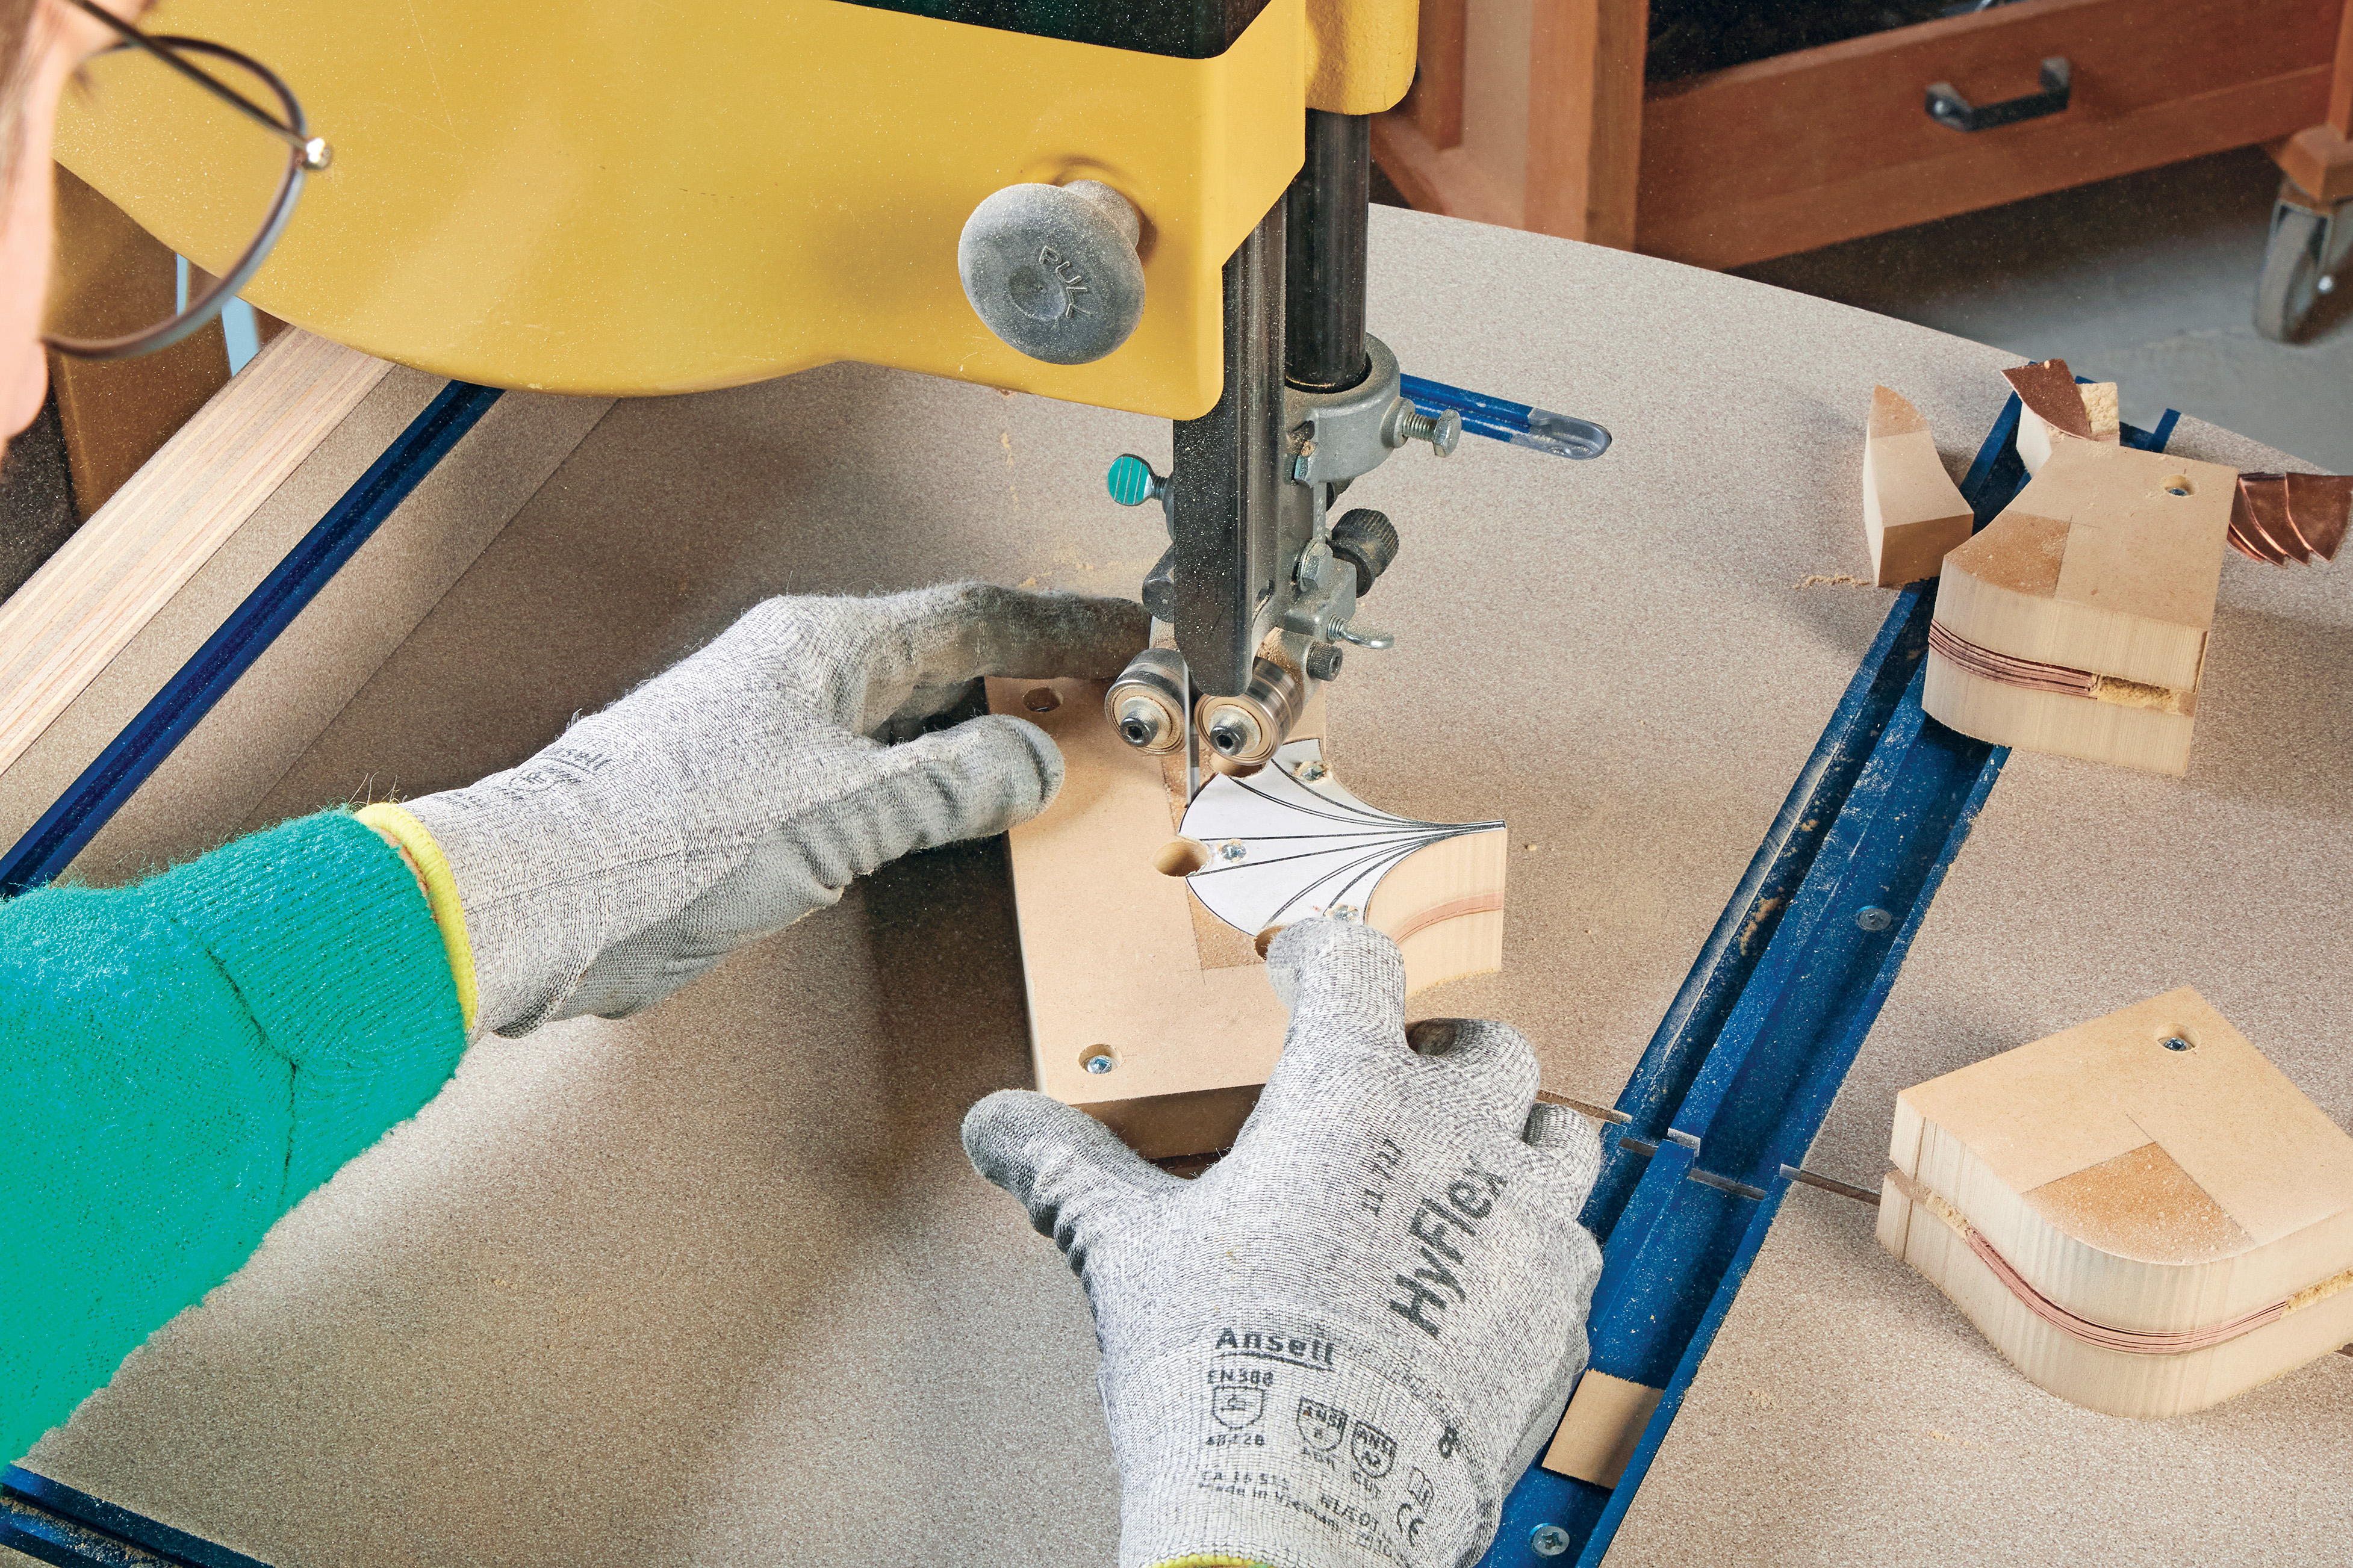 |
| A woodworking band saw and blade can cut thin, nonferrous metal that is secured to a sacrificial board. |
I usually use a piece of MDF with strategically placed screws, some double-sided tape, or my favorite method — glue. Metal can be held securely with any water-soluble glue such as white craft glue or hide glue. After the cutting is finished put it in water for 24 hours, the glue bond will loosen, and the workpiece will drop off.
SNIPS, SHEARS & SCISSORS
 |
| Tinner’s snips, shears, and scissors can handle sheet metal cutting large and small. |
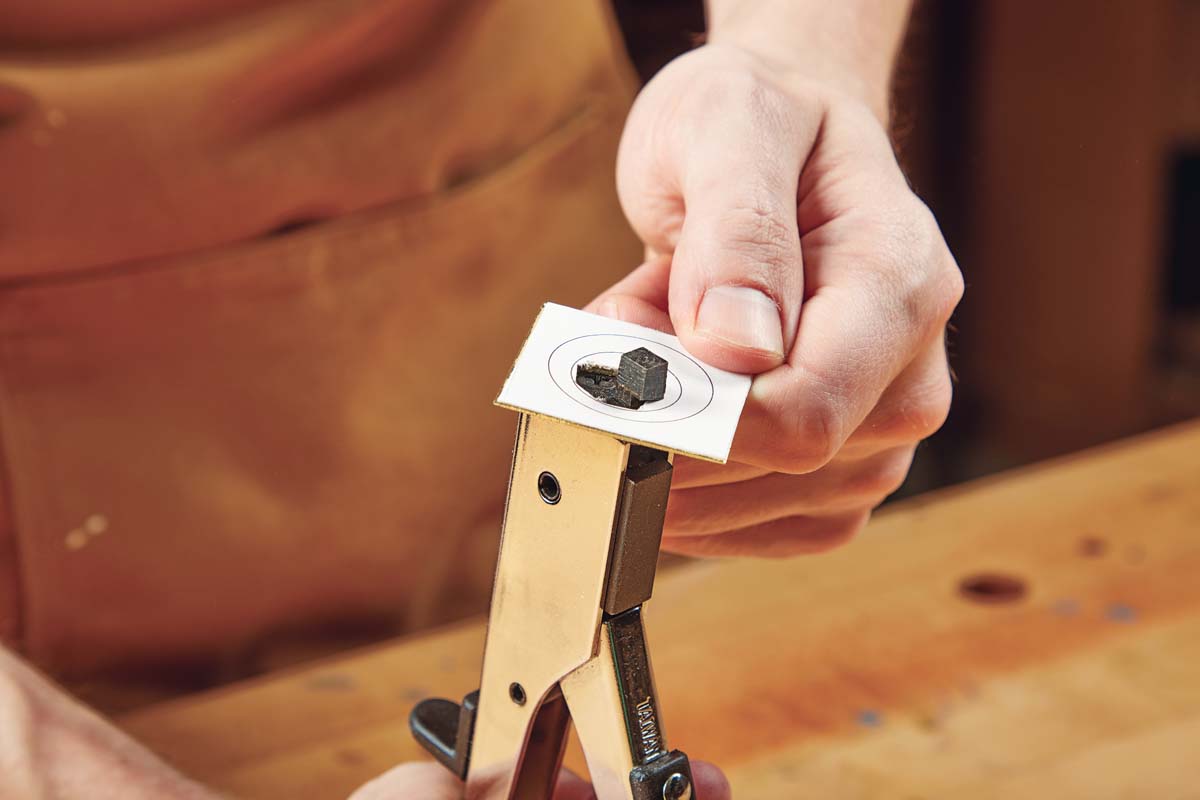
Thin sheet metal can be easily cut with metal-cutting scissors. Tinner’s snips are the most common, you probably already own a pair, and they work great for most cuts. In addition to large tinner’s snips, I like to have on hand medium-sized shears for precision straight cuts as well as small metal-cutting scissors for fine, delicate work.
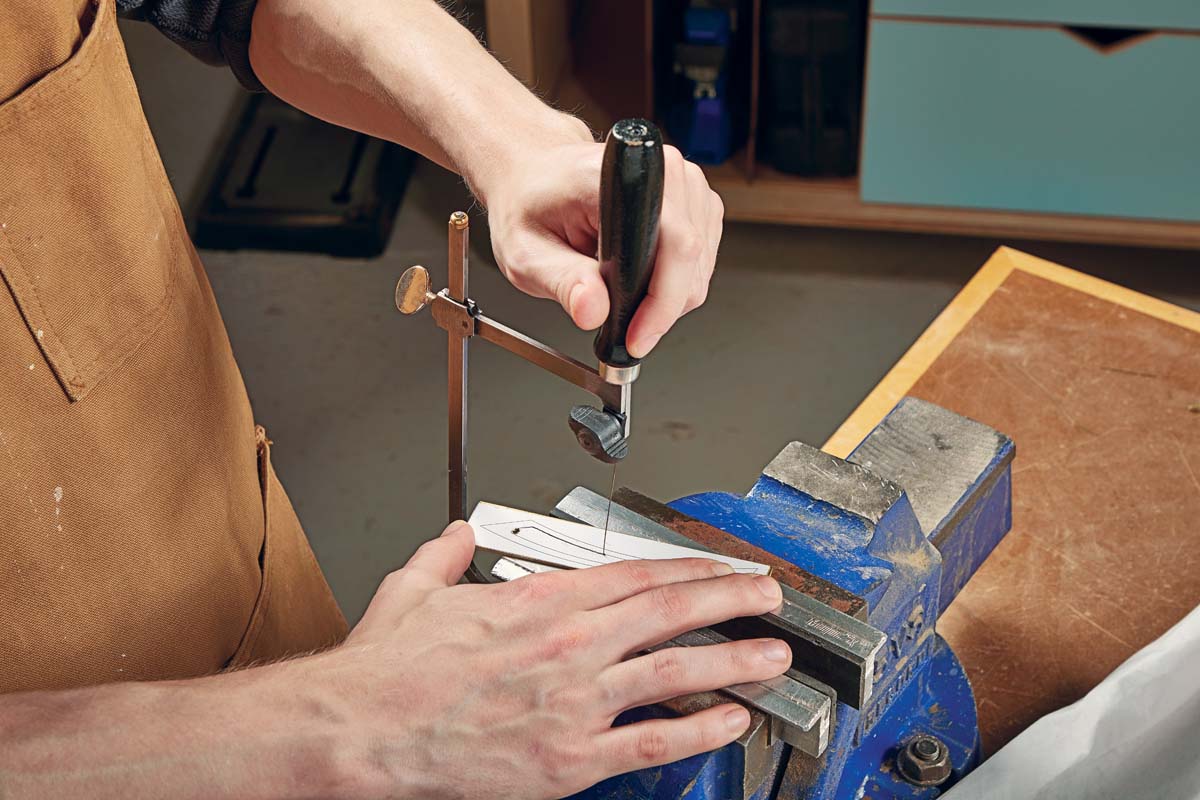 |
| When using a jewelers saw, support the work on the jaws of a vise and settle into a smooth, steady rhythm of saw strokes guiding the workpiece rather than the saw. |
Jewelry supply houses such as www.RioGrandeJewelySuppy.com offer many sizes and types of scissors and shears suited for all manner of decorative work. Whether you are using snips, shears, or scissors make sure they are rated for the thickness and hardness of the metal you are working with. And like any cutting tool, keep them sharp.
NIBBLE THE TIGHT SPOTS
 |
| The nibbler is handy tool that can “nibble” metal in small amounts at a time in tight locations. |
If you find yourself cutting out complicated sheet metal shapes, here is a great tool to have — a nibbler. As the name implies, it nibbles its way through a cut. As the handles are squeezed, a blade retracts and clips a small amount of metal as the sheet is held against an anvil plate. What makes a nibbler such a handy little tool is that it can cut tricky interior shapes, gets into tight corners, and doesn’t deform the material. It’s an awesome tool for final fitting and cleanup work when working with sheet metal.
THE HUMBLE COLD CHISEL
Don’t overlook the humble cold chisel for cutting metal. I’m not splitting rusted nuts off bolts with these tools, so I treat them more like a woodworking tool, grinding a 30° angle at the cutting edge and further sharpening them on a stone. This sharp edge allows the chisel to make surprisingly clean and accurate cuts in sheet metal. Thin metal can be cut in one pass backed up by a piece of MDF or hardwood.
For thicker metal I use a two stage process, first cutting most of the way through over the anvil plate of a machinist vise and then making a second through cut over an end-grain block of hardwood to protect the chisel’s edge. Cold chisels, a simple tool and a simple process that can often be the solution for tough cuts.
FILES FOR THE FINISH
 Versatility is what the cutting action of files offer — they are capable of rough shaping or fine finishing. The best place to file is on a big, heavy machinist vise. It can grip the work tightly and has the mass to dampen vibration and cut down on file chatter. To protect your work from scarring from the serrated jaws buy a set of jaw protectors or attach some blocks of hardwood with double-sided tape.
I recommend a set of files that includes: 10" straight coarse cut, 10" half round second cut, 10" knife file finish cut, a 10" round second cut, and a set of 6" files with a variety of shapes for detail work.
A few simple tools, some time spent learning, and a little practice is all that is required and you can be adding metal work to your projects.
 |
 |
| Cutting thick metal with a cold chisel starts by cutting part way through on the vise anvil. | Finish the cut on an endgrain block of hardwood to protect the chisels edge. |


