When it comes to gluing up a panel for a tabletop or cabinet, a flat, smooth surface with invisible joints is the goal. But arriving at the perfect panel with a minimum of work can be a challenge.
There are a number of steps I take before I ever put glue to wood so that I’m not disappointed with the final outcome of my panel glueup. For instance, starting with boards that are flat and smooth means less sanding in the final steps of surfacing the panel. Avoiding obviously warped, bowed or crooked boards will definitely mean a better panel. And I’ll offer a few other ways to avoid the pitfalls of a panel glueup. Plus I’ve included a jig you can build that will store the panel while the glue dries.
1 - Selecting and Arranging Boards
Selecting the right boards at the lumberyard is really where the process of assembling a panel begins. In addition to selecting flat, straight stock, the boards should be approximately the same in color and grain pattern as well.

After you have the lumber in your shop, you can determine which boards will lay side by side. For an example, take a look at the above photos. As you can see, similar types of grain look good side by side and will hide the glue lines.
Try to keep the edge grain running in the same direction too. With the grain going in one direction, you’ll have less trouble with tearout if you plane the surface of the panel.

Once you have the layout of the boards determined, you can mark the panel with chalk (drawing below). Drawing a large “V” on the face of the panel will help you orient the boards at glueup.
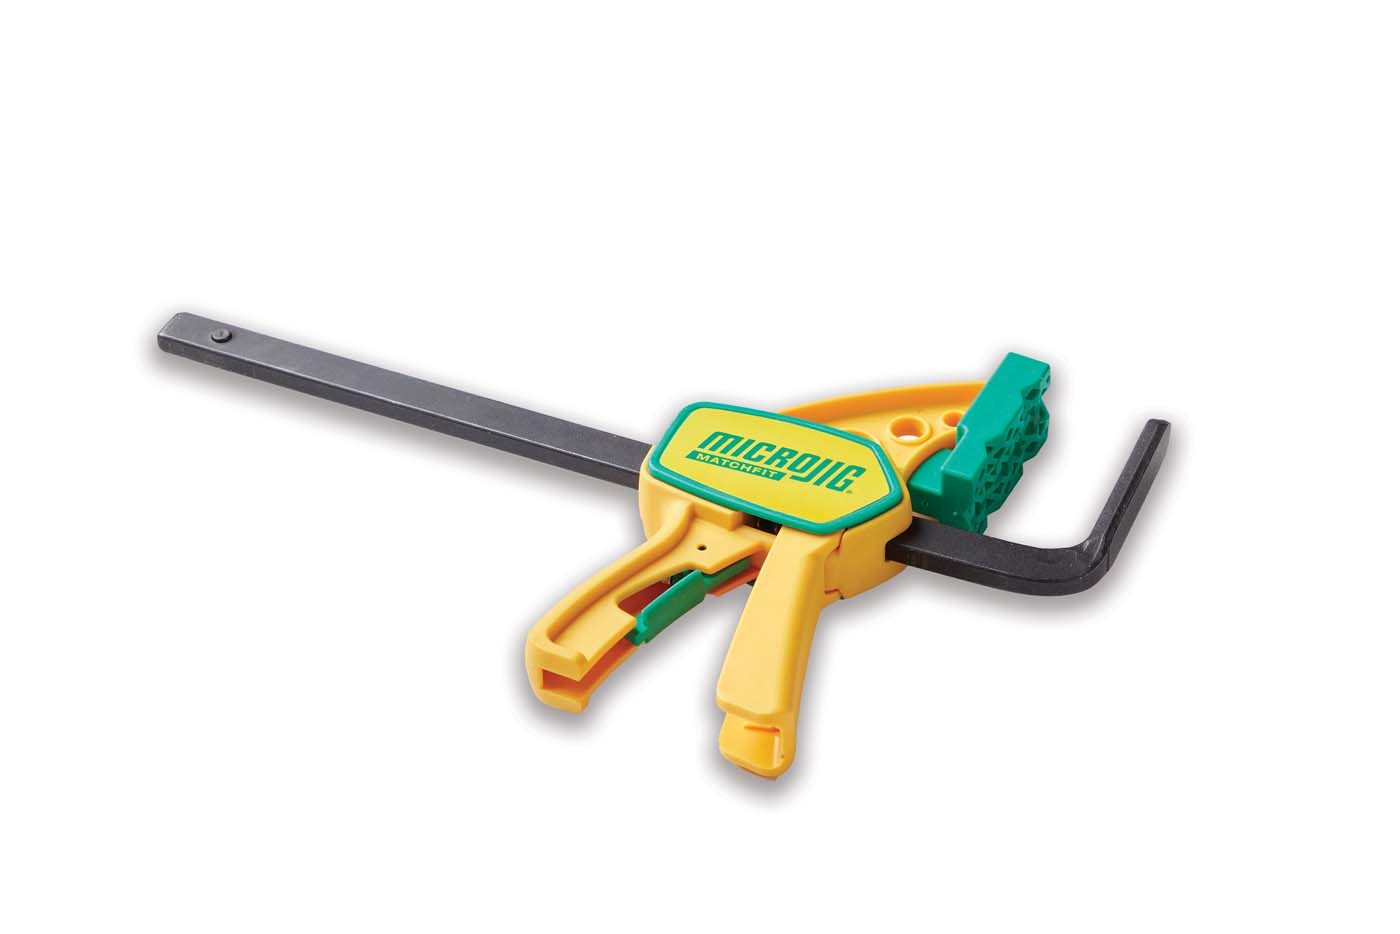
2 - Biscuits and Splines
When you add glue to the smooth surfaces on the edges of each board, they’ll slide pretty easily. So it helps to use splines or biscuits to keep the boards in place.

For help aligning the boards, biscuits are a good option. When you’re using biscuits be sure to position them a few inches from the ends so they’re not exposed when you cut the panel to the finished length. You can see what I mean in the photo above.
If you don’t own a biscuit joiner, you can cut a slot in the edge of the board for a spline using a slot cutter in the router. Then cut the spline to fit the slot.
3 - Clamp Spacing
When it comes time to add the glue and the clamps, there are few things I like to have ready before I start. Those things include a large, clean work area and enough clamps to get the job done.

For adequate pressure, clamps should be spaced about 6" apart, with half on the underside of the panel and half on the top side. I start by laying the bottom clamps about 12" apart. Then I lay waxed paper over the clamps to keep the glue from reacting with the pipes and causing stains on the boards. My next step is to lay out the boards on the clamps, making sure the chalk marks align. Spread the glue, add another layer of waxed paper, and then the top clamps go on.
I alternate tightening the clamp just a little at a time, making sure not to overtighten them, which could cause the panel to bow.
4 - Making Adjustments
If you haven’t used splines or biscuits to hold the boards in place during the glueup, you may need to make a few adjustments in the alignment.

As you can see in the drawing at right, if the ends of two boards aren’t flush, add a clamp to align them. If the problem is towards the middle of the panel, use a block and a dead-blow hammer to tap the boards into alignment.
5 - Free Up Bench Space
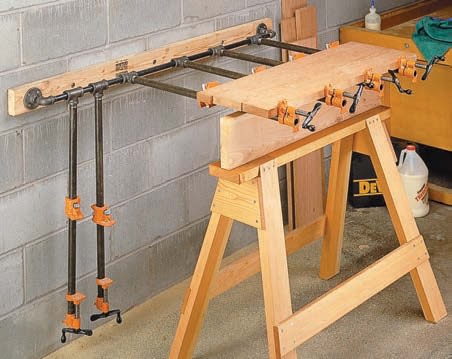
Once you have a panel glued up, you have to find a place to put it while the glue dries. The handy glue-up station shown in the photo above solved the problem for me.

As you can see in the drawing, the station is built from common plumbing supplies available at any hardware store or home center, attached to a length of 2x4 mounted to the wall. The flange, nipple, and elbow all connect to a section of black pipe that holds several tees. The end of your clamp will screw into the tee and swing up for glueup and back down against the wall when the panel is drying or the jig is not in use. A sawhorse and a riser hold the clamps level while you ready the panel for the glueup.