How To Remove a Stripped Allen Screw From Wood

Removing stripped screws can be a tricky task, especially when you’re dealing with wood. Allen screws, in particular, are hard to deal with due to their unique head shape. Luckily, there are techniques out there that can be used to tackle this pesky problem. We’ve researched the best methods and put together a step-by-step guide for removing a stripped Allen screw from wood so you can get your project finished quickly and without too much fuss. With the right tools and a bit of patience, you’ll be able to handle this inconvenience with ease. Keep reading to learn all the tricks of the trade.
Step 1: Identifying the Head of the Allen Screw
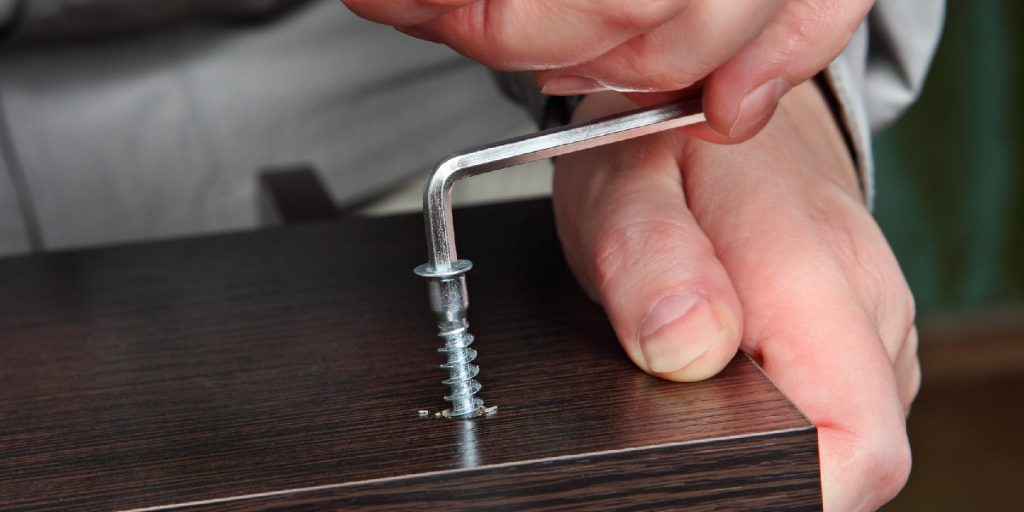
To begin, identify the head of the Allen screw. An Allen screw is characterized by its hexagonal-shaped head, easily visible when viewed from above. A standard Allen wrench fits into this head, allowing for the removal of the screw. It is important to note that if an Allen wrench does not fit into the head of the screw, it may be stripped. To identify whether or not the screw is stripped, take a look at the recess in the center of its head. If there does not appear to be any damage, then it could simply be too tight and may not require removal.
Step 2: Preparing to Remove the Stripped Allen Screw
Once you have confirmed that your Allen screw is indeed stripped, it is time to prepare for removal. First, gather your supplies. You will need an adjustable wrench and needle nose pliers. If you do not already own these tools, they can be found at any hardware store or purchased online. Once you have all of your supplies together, start by positioning them correctly around the stripped screw so that it can be effectively removed without damaging the surface of the wood.
Step 3: Removing the Stripped Screw from the Wood
Now that you have everything ready, you can begin to remove the stripped screw with your adjustable wrench and needle nose pliers. To get started, use the pliers to grip onto any ridges on the edge of the screw head that may still be accessible. As you grip onto these ridges, carefully apply pressure with your adjustable wrench in a counterclockwise motion until you feel some movement from the screw. Continue to maintain pressure with your wrench while slowly turning in a counterclockwise direction until you are able to successfully unscrew and remove the stripped Allen screw from its base in the wood without causing any further damage to either surface.
Tips for Preventing Stripped Allen Screws
Finally, here are some tips for preventing future stripped Allen screws:
- When installing new screws in wood or other materials, make sure they are not too tight as this can cause unnecessary strain on both parts involved and lead to stripping over time
- Using thread-locking adhesive can help ensure that screws remain secure even over long periods of time
- Always use needle nose pliers for tightening and loosening screws when necessary
- Always practice caution when using sharp objects like needle nose pliers, as these items can easily cause damage if used improperly
Conclusion
Following this step-by-step guide should help make removing a stripped Allen screw from wood easier and more manageable than before. Be sure to keep safety in mind when tackling this project, and always use protective gear when necessary. With these simple steps and tips in mind, removing a stripped Allen screw will no longer be an impossible task!
