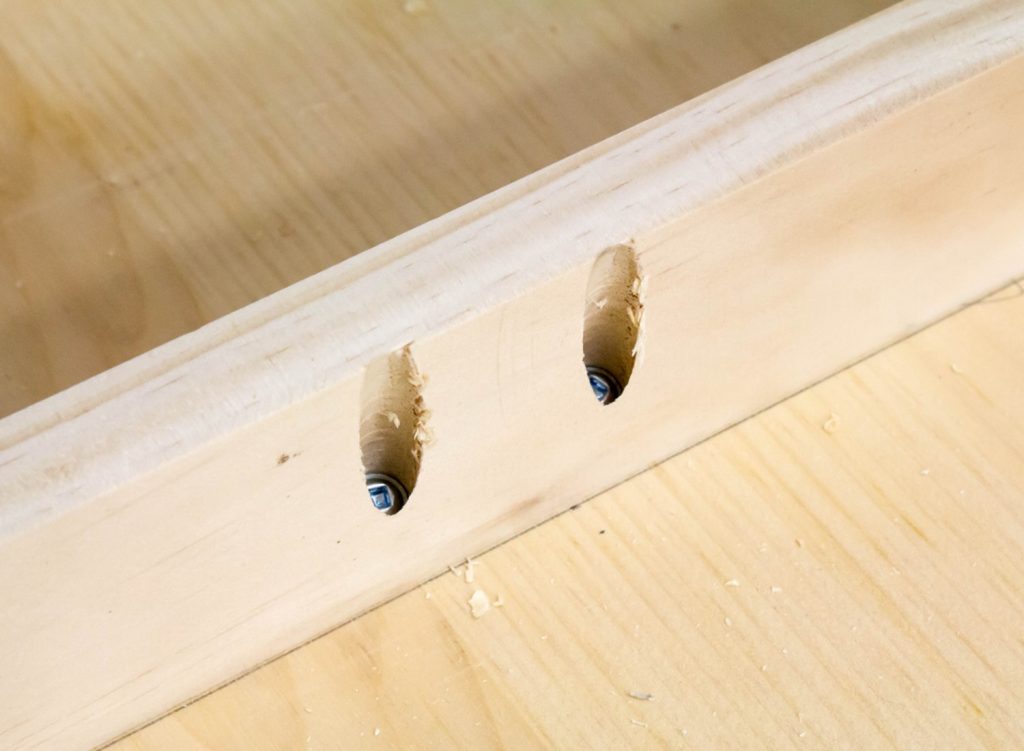
Create a Pocket Hole: An Easy Step-by-Step Guide for Novice Woodworkers

For aspiring woodworkers eager to enhance their skills, learning to create pocket holes is a rewarding experience. Pocket holes provide a simple yet versatile method for seamlessly joining two pieces of wood, making it a valuable addition to your woodworking techniques.
Whether you’re working on furniture or other wooden structures, mastering pocket hole creation improves your ability to achieve sturdy and professional-looking connections. This blog offers a straightforward, step-by-step guide specifically designed for novice woodworkers.
What is a Pocket Hole?
A pocket hole is a type of joint that involves creating a hole at an angle in one piece of wood and connecting it to another piece of wood using a special screw. This method is often used in furniture making, cabinet construction, and other woodworking projects as it provides a strong and durable joint while also being quick and easy to create.
Step 1: Gather Your Materials
Before you start creating your pocket hole, make sure you have all the necessary materials on hand. This includes a pocket hole jig, a drill with an appropriate sized bit, special pocket hole screws, clamps, and of course, the two pieces of wood you wish to join together.
Step 2: Adjust Your Jig
The pocket hole jig is a handy tool that helps you create consistent and accurate pocket holes. It typically has adjustable guides and stop blocks to ensure you drill the hole at the correct angle and depth. Before using your jig, make sure to adjust it according to the thickness of your wood pieces.
Step 3: Mark Your Wood
To ensure that you place the pocket hole correctly, use a pencil to mark the exact spot where you want to create the hole on both pieces of wood. This will help you align the jig and drill in the right spot.
Step 4: Clamp Your Jig in Place
Place your jig on the marked spot and secure it in place using clamps. This will prevent your wood from moving while you drill and ensure that you create the hole at the correct angle.
Step 5: Drill the Hole
Using a drill with an appropriate-sized bit, carefully drill into your wood at the marked spot. Make sure to stop when you reach the depth indicated on your jig. Repeat this step for the other piece of wood.
Step 6: Connect Your Pieces
Now it’s time to connect your pieces together using the pocket hole screws. These screws have a self-tapping feature that creates its own thread as it’s drilled into the wood, providing a strong and secure joint. Simply insert the screw into the hole you created, and use a driver to tighten it until the pieces are firmly joined together.
Step 7: Add Finishing Touches
Once you’ve created your pocket hole and connected your pieces, you can make any final adjustments or add additional screws for added strength. You can also choose to fill in the visible hole with wood filler or a plug if desired, giving your project a clean and professional look.
Tips for Success
- When choosing a pocket hole jig, opt for a quality one that is durable and has adjustable features.
- Always measure and mark your wood pieces accurately to ensure proper placement of the pocket hole.
- Use clamps to secure your wood in place while drilling to avoid any movement or mistakes.
- Don’t forget to use the correct-sized drill bit for your pocket hole screws to ensure a proper fit.
- Practice on scrap wood before attempting to create pocket holes on your actual project.
Conclusion
As you can see, creating a pocket hole is not as daunting as it may seem. With the right tools and techniques, any novice woodworker can easily add this skill to their repertoire. So go ahead and give it a try on your next woodworking project, and see the strength and versatility of pocket holes for yourself.
