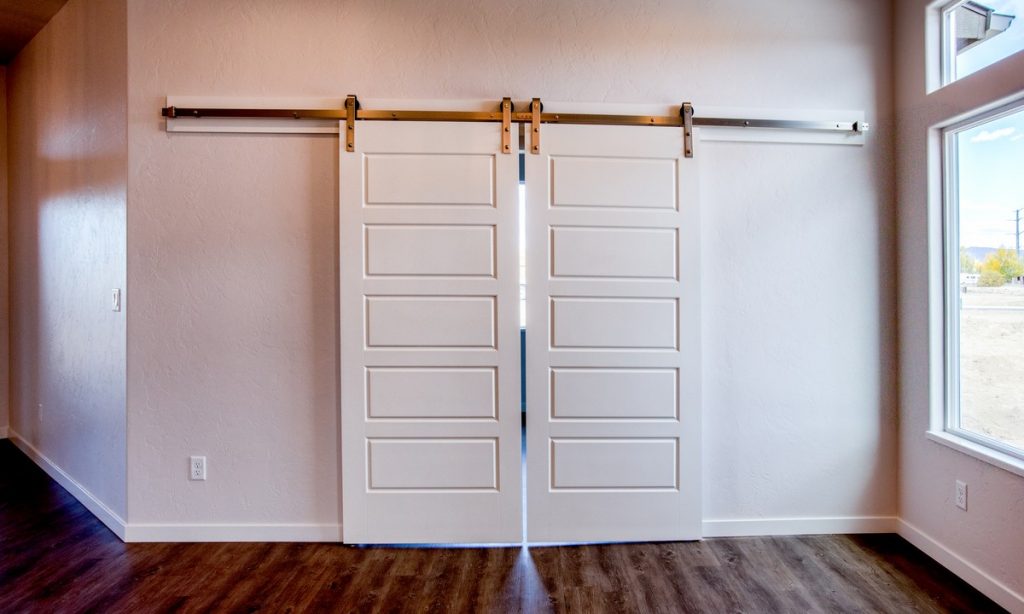
The Only Guide You Need for Installing a New Barn Door

Are you looking for a convenient, space-saving way to separate an area in your house? If so, you should consider installing a barn door. Barn doors are an increasingly popular home improvement trend and a stylish way to define a space in your home.
Whether it’s the classic look of a rustic barn door or the modern sophistication of a contemporary model, barn doors can be the perfect addition to any room. In this article, we’ll share a step-by-step guide to help you install one in your home. You’ll also find helpful tips and tricks to make the whole process a breeze. So let’s get started.
Understanding Your Door
Before you begin the installation process, it’s important to understand your door and its measurements.
Door Type
First and foremost, consider the type of door you’d like to install. Do you prefer a wooden door with a rustic look or something more modern? Different types of doors can require different installation methods, so make sure you understand the materials and measurements before continuing.
Door Measurements
Properly measuring your door is essential to ensuring a successful installation. Measure the length, width, and height of the jamb to ensure a good fit.
Door Weight
Consider how heavy your door is by testing it out beforehand. If your door is too heavy or large it may require extra support or additional hardware that would not otherwise be necessary.
Mount the Door Track
Once you understand what type of barn door you’re working with, you can begin mounting the track that enables the door can slide.
Choose the Correct Location
Before beginning, decide where you want to mount your track. Typically this will be on an empty wall, but it can also be mounted on a ceiling if desired. Make sure there is enough room for the door to slide freely without interruption by furniture or other wall hangings.
Mark the Spot
Before attaching, mark where you’d like to mount the track onto your wall using a pencil and tape measure.
Attach the Track
Once marked, attach your track using lag screws and make sure they are securely fastened into wood studs in the wall or other supportive structures (if the wall are not wood framed).
Hang the Door
Now that you have successfully mounted and secured your track onto your wall, it’s time to hang your door!
Door Hinges
Mount two hinges onto each side of your door using mounting plates and lag screws. Make sure to screw directly into wood studs if possible.
Door Handler
Next, install your handle onto one side of your door with mounting plates and lag screws as previously described for hinges above.
Connect the Door to the Track
After attaching all components to your door, mount it onto its track by guiding it onto each side of the track until it slides freely into place. Secure it by tightening lag screws through vertical slots located at each end of the track. Make sure these screws penetrate the wood studs before finalizing them with washers and nuts from each side of the vertical slots.
Test and Secure the Door
You’re almost finished! Once all components have been attached and secured properly, it’s time to test how well everything works.
Testing
Slide the door back and forth several times while checking how free-flowing it feels along its entire length of motion on its track pathway. You should make sure there is no excess friction when moving. If found, adjust the tension screws accordingly until you are satisfied with the performance.
Securing the Door
To ensure your newly installed barn door remains securely in place when in use, you can add some extra security measures, such as installing pin locks at both ends of track’s grooves where the doors slide into place when engaged. Use appropriate hardware for the locks depending on which material is being used.
Conclusion
You now have all information needed to complete a successful installation project for your sliding barn door at home. By following the steps listed above, you should be able to confidently get the job done and have your new barn door up in no time.
