DIY Garage Shelves: So Easy You Can Build Them in a Single Day

As the old saying goes, “a place for everything and everything in its place.” This is especially true when it comes to our garages. A well-organized garage not only makes finding things easier but also creates more space for your car, tools, and other equipment. Why settle for a cluttered and disorganized garage when you don’t have to?
By building your own shelving, you can maximize the storage potential of your garage without spending a fortune on professional shelving systems. In this post, we’re breaking down how to successfully construct DIY garage shelves that you can easily build and finish it all in a single day. Read on to learn how to tackle the project.
Benefits of DIY Garage Shelves
Building your own garage shelves offers a range of advantages that make it a compelling choice for many homeowners. One of the most notable benefits is cost-effectiveness. DIY shelves are a budget-friendly alternative compared to purchasing pre-made systems or hiring professionals for installation.
Additionally, the customizable nature of these shelves provides the freedom to tailor the design according to your specific needs and the available space in your garage. The simplicity of the project is another key factor. Armed with the right tools and materials, constructing garage shelves becomes an easy and straightforward task that virtually anyone can tackle.
Materials and Tools You’ll Need
- Hammer
- Nails
- Screws
- Drill
- Measuring tape
- Stud finder (optional)
- Level (optional)
- Plywood boards
- 2×4 lumber
Step-by-Step Building Guide
- Measure and Mark: Begin by measuring the space where you want to install your shelves. Make sure to account for any obstacles like pipes or electrical outlets. Using a stud finder, locate the studs on the wall and mark them with a pencil.
- Cut Your Boards: Using a saw, cut your plywood boards into the desired length for your shelves. You can also ask your local hardware store to cut them for you if you don’t have a saw at home.
- Cut Your Support Pieces: Cut the 2×4 lumber into 16-inch pieces to serve as support beams for your shelves.
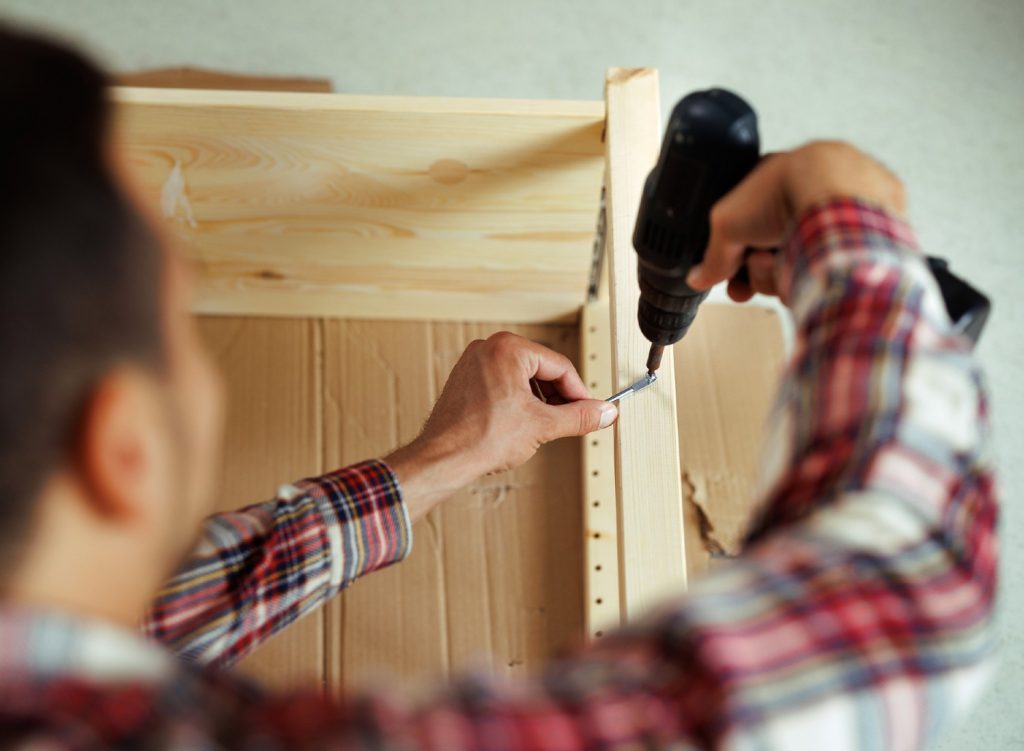
- Drill and Screw: Using a drill, attach the support pieces to the back and sides of the plywood boards. This will provide stability and prevent your shelves from sagging.
- Attach to Wall: Now that your shelves are ready, it’s time to attach them to the wall. Using a level, make sure they are straight before drilling and screwing them into the marked studs.
- Repeat for Additional Shelves: Depending on how many shelves you want, repeat the previous steps to add more. Make sure to leave enough space between each shelf for your items.
- Finishing Touches: Once you’ve installed all of your shelves, you can paint or stain them for a more polished look. You can also add additional support beams underneath the bottom shelf if needed.
And that’s it! You now have sturdy and functional garage shelves that you can be proud of. Not only did you save money, but you also created a space that is uniquely tailored to your needs.
Tips and Tricks
- To ensure strong and stable shelves, make sure to use enough screws when attaching the support pieces.
- You can also use brackets for extra support, especially for longer shelves.
- Be creative with your shelving design! You can add hooks or baskets for additional storage options.
Conclusion
A well-organized garage not only makes finding things easier but also creates more space for your car and other equipment. With these easy-to-follow steps, you can build sturdy and functional garage shelves in just one day. Plus, you get to save money and have the satisfaction of doing it yourself. So grab your hammer and start building those shelves.
