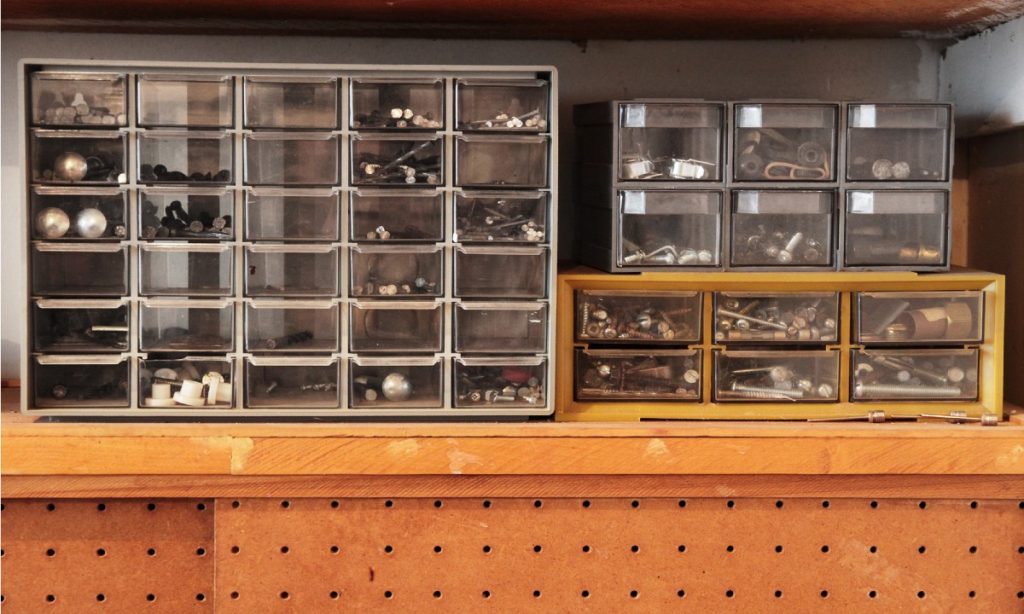
Create Your Own DIY Tool Organizer for Your Workshop

Do you enjoy woodworking, home improvement, or DIY projects on the weekends? Is organizing your tools a problem? A tool organizer can help. Creating your own tool organizer can be a highly personal project based on your storage space and how often you use your tools. You might want to scale up for easily accessible power tool placement or scale down for compact storage. There is no universal answer to the tool storage problem. Every do-it-yourselfer has a collection of tools at home that might use some organization, and there are a few ingenious solutions. Here are seven ways to create your own tool organizer that will help you get your workshop in order.
SEVEN SIMPLE WAYS TO CREATE YOUR OWN DIY TOOL ORGANIZER
Create separate zones for tools
Making a detailed inventory is the first step in creating your own tool organizer. Once you have a rough understanding of the available tools, organize them into similar categories. Sort all the tools by type, such as small hand tools, power tools, and so on. Next, make zones and use cabinets to group tools.
Make a tool cabinet using pegboard backing
Having tool organizers made specifically for your space is the best method to keep your tools neat and tidy. If you need a workbench, then rather than conveniently buying one, consider creating one with drawers and shelves to accommodate all of your tools. And the best way to make the most of any available vertical space is to build a tool cabinet. Make use of pegboard as a backing and also on the cabinet doors to provide a large surface area for hanging tools.
Customize a wall panel using containers and baskets
An increasing number of people are deciding to forego traditional cabinet storage in favor of more visible, open shelving.
If you’re looking to fill an empty wall, a huge slat wall system, like the kind you’d find in a store, is a great option. Hooks are a great option to use with a slat-wall system. You may also use bins and clear plastic containers to group similar goods together. That way, you can fit more stuff into the same amount of space.
Hang miscellaneous tools off wall strips or hooks
Again, having a well-made vertical tool organizer is one of the best ways to keep your work area clear of clutter. It’s easy to lose track of or forget where you put your tools if you keep them in a toolbox or a drawer. That’s why it’s recommended to have as much wall space as possible. There are a variety of wall-mounted tool organizer options, such as pegboards and slat boards. Using vertical strips with anchor hooks is another popular choice. Think of using a magnetic strip for small tools.
Keep oddly shaped tools in labeled totes
Not all tools are suitable for display on a pegboard wall, or perhaps they simply won’t fit. Totes made of see-through plastic are ideal for storing and transporting oddly shaped objects like tubes of chalk and paint rollers. And store the containers on open shelves.
Even if the containers are transparent, it is good to label each one. This step will make it more likely that everyone in the family will put the tools back where they belong.
Build a battery recharging station
As long as you can keep track of the chargers and batteries for your cordless power tools, they are fantastic. Build a special charging station for the most frequently used power tools, and include an outlet to make the storage area usable.
A small wall unit would be a perfect power tool organizer for storing a small variety of power tools, but if you have considerably more cordless equipment, you may require something more robust.
Use clear mason jars to organize nuts and bolts
Some people are careful hoarders who keep every last screw, while others aren’t. If you belong to the former group, you’ll want to create a strategy for sifting through all your random items. Clear mason jars are useful for organizing small parts, but you must be able to store them in a way that does not take up valuable counter space. You could build open shelves specifically for them.
THE BOTTOM LINE!
An organized workplace is typically more productive with fewer errors, and arranging your tools is a simple approach to making your space a more efficient place to work. Nevertheless, all spaces are different, so creating your own tool organizers is an option that works for practically everybody.
