


Quick & Easy DIY Finishing Stand for Woodworking Projects
Applying finish to a small woodworking project can be tricky, especially when you need to coat all sides. Set a freshly finished piece directly on your workbench or a sheet of paper, and the wet finish can stick to the surface as it dries. When you pick up the project, you may end up with a damaged finish and a mess to clean up.
Fortunately, there's a simple solution. With a scrap piece of pegboard and a handful of golf tees, you can make a quick, inexpensive finishing stand that keeps your project elevated while the finish dries.
Make a Simple Finishing Stand With Pegboard and Golf Tees
You don't need to build a complicated finishing rack to support small woodworking projects. This handy shop tip uses just two materials you may already have around the house.
- Scrap pegboard: Provides a stable base with evenly spaced holes.
- Wooden golf tees: Act as small supports that hold the project above the workbench.
To set up the finishing stand, insert several golf tees through the holes in the pegboard, positioning them to support your project. The pegboard keeps the tees upright and prevents them from tipping over.
You can move the tees to different holes to accommodate boxes, shelves, small cabinet parts, and other woodworking projects.
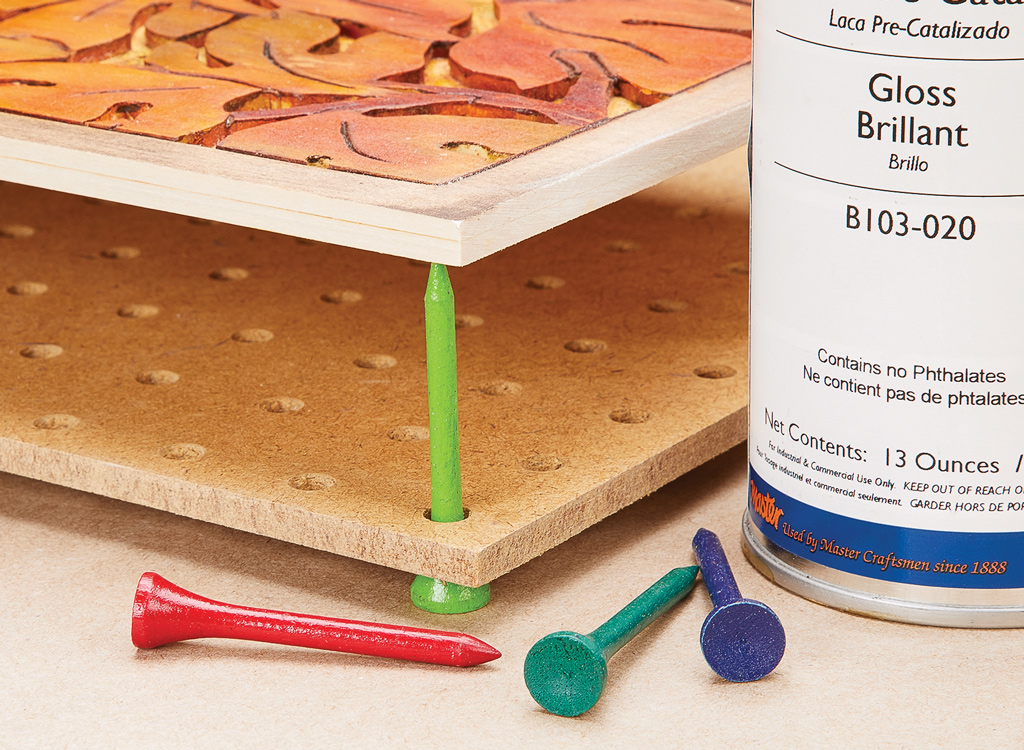
Keep Your Project Elevated While Applying Finish
Once the golf tees are positioned, simply set your project on their pointed ends. The small contact points leave only tiny marks on the underside of the workpiece, making them far less noticeable than the marks left by setting a wet project directly on the bench.
The elevated platform also allows air to circulate underneath the workpiece, helping the finish dry without sticking to the work surface.
This is especially useful when applying a clear finish, stain, or paint to small projects. You can finish the underside first, then carefully turn the piece over and rest it on the tees while you work on the remaining surfaces.
For best results, position the tees where any small contact marks won't be visible. Make sure the supports are stable and allow the finish to dry according to the manufacturer's directions before handling the project.
A Handy Wood Finishing Tip for Any Workshop
One of the best things about this DIY finishing stand is how easy it is to customize. Move the golf tees closer together for small parts or spread them farther apart to support larger workpieces.
When you're finished, simply remove the tees and store the pegboard until your next finishing project. The entire setup takes only a minute or two and doesn't require any special tools or hardware.
It's a simple woodworking shop trick that can save time, prevent finish damage, and make applying finish to small projects a lot easier.
More Wood Finishing Tips & Techniques
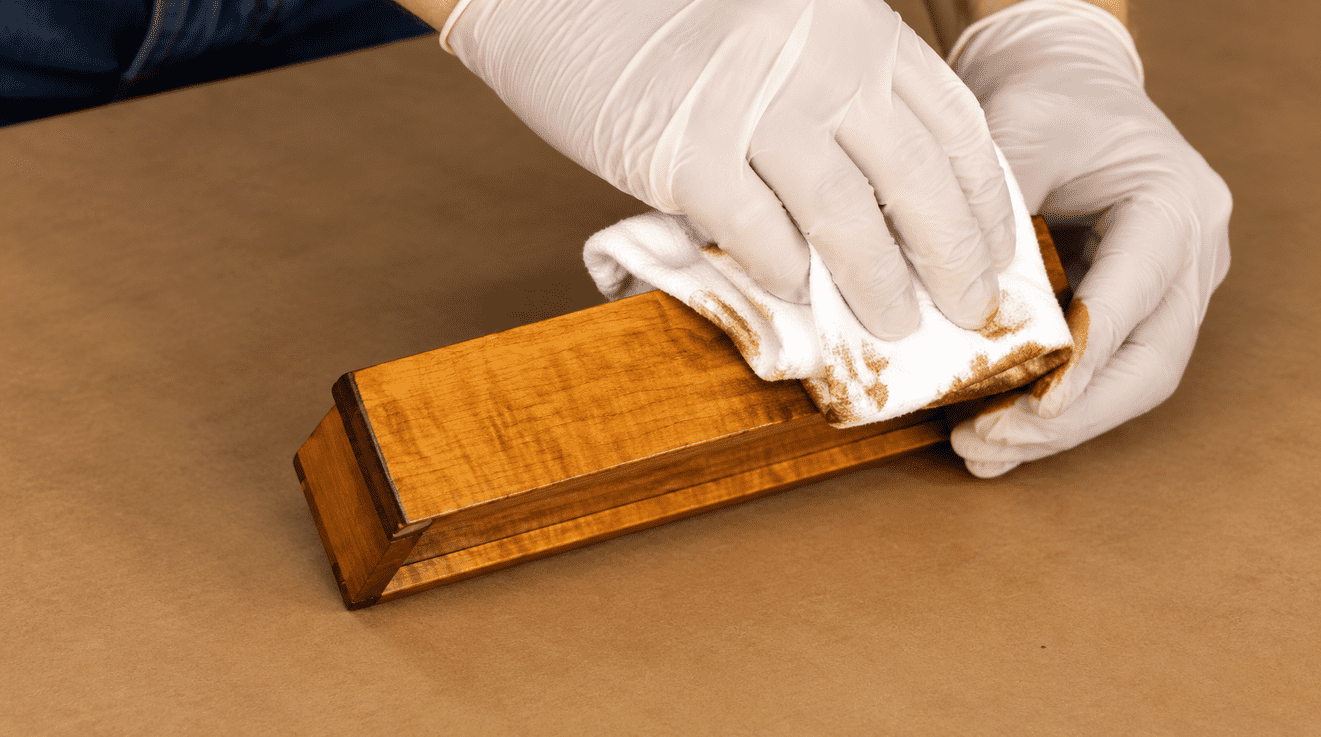
Getting a smooth, professional-looking finish doesn't have to be complicated. Explore more Woodsmith finishing tips, including surface preparation, choosing the right finish, and simple techniques for better results.
Explore More Wood Finishing Tips ➜ Tricks & Techniques for a Great Woodworking Finish


